Architecture 101: How to Create an Architectural Rendering
Written by MasterClass
Last updated: Jun 7, 2021 • 3 min read
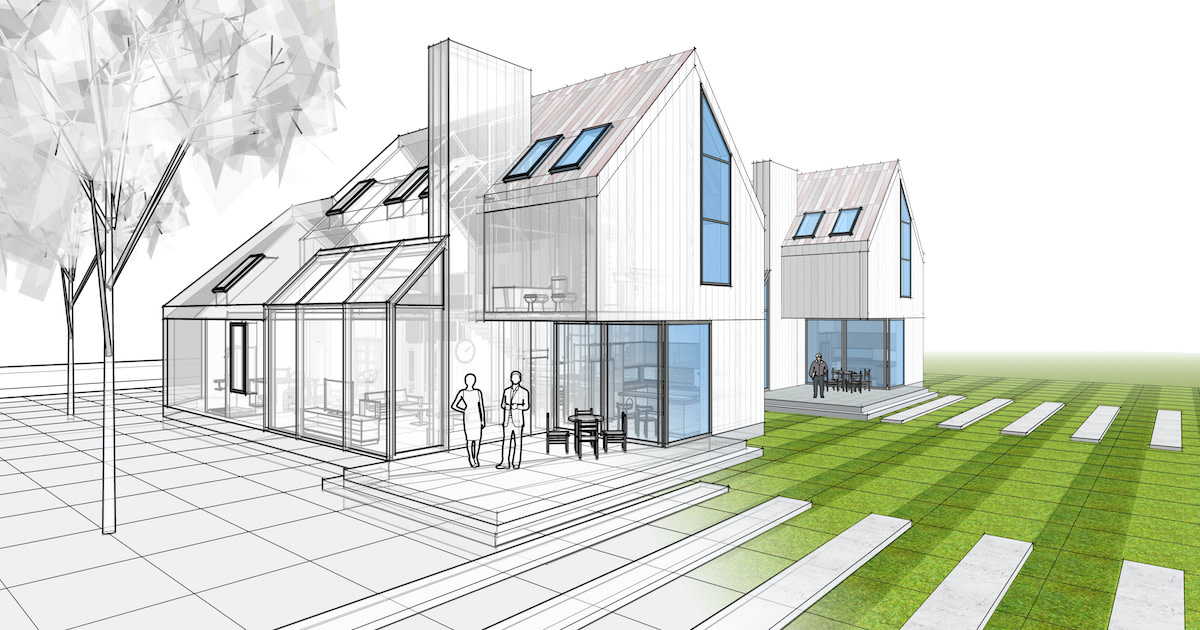
When designing a potential architectural project, it’s important to start with a simple, conceptual layout. A 3D architectural rendering is just one of the many parts of architectural design that can help you figure out the size of your building, as well as the kind of design or style you can use.
Learn From the Best
What Is Architectural Rendering?
Also known as an architectural illustration, or architectural visualization, renderings are a way to envision the proposed layout and building design as a three-dimensional digital model (or for a more traditional format, a real-life building model). Three-dimensional architectural visualization aids the accuracy and quality of your architecture project by helping plot out the dimensions and specific design aspects as a photorealistic rendering or physical representation.
What Is the Purpose of Architectural Rendering?
The best architectural renderings will help visualize what a potential building or home may look like and the placement of all the floors, windows, and other design features. While a floor plan or elevation typically plots out an interior in a two-dimensional format, an architectural rendering presents the space in three dimensions—allowing you to see everything on a more realistic scale.
With 3D visualization, you can see design features from another perspective, which can help you catch possible design flaws, or reveal aesthetic issues that were otherwise invisible in a 2D sketch. If you don’t have the time, architectural 3D rendering services are also available to help take your illustrations to the next level.
3 Types of Architectural Renderings
There are many ways to envision a construction or design project. Each design phase helps you build more layers into your architectural layout, eventually turning it into a complete model that can give a realistic scope of a building. For the three main types of renderings:
- 1. Exterior. In an exterior rendering, the viewing angle is from the outside of the building. This angle can include adjacent buildings or foliage to give a better sense of space and surroundings by including life-like environments. Exterior renderings can be crucial for real estate marketing because they allow a client to picture the building in its natural location.
- 2. Interior. For an interior rendering, the vantage point is inside the room. While a floor plan/elevation represents the interior as a 2D drawing, an interior architectural rendering displays colors, light, and shadow, giving a better, real-life representation of the interior design of a proposed space. Some software allows for 3D animation, allowing prospective buyers to take a virtual reality walkthrough of a property. Interior renderings are especially useful for real estate agents looking to sell a property or interior designers looking to sell their home design services. Virtual tours allow potential buyers to put themselves in a space in real-time.
- 3. Aerial. Aerial renderings give you a view of a building from above, which can show how the building will look in the neighborhood, and how it will blend in with the adjacent buildings.
What Is the Architectural Rendering Process?
If your budget doesn’t permit the use of professional architectural rendering services to produce your 3D images, you can tackle it on your own. Here are the main components of the architectural rendering process:
- 1. Create a sketch. Most architecture renderings still start out with a pencil and paper. Use these tools to create the initial sketch of your building and choose the scale you’ll make your illustration. Establish the dimensions of your building, and make it big enough to fit details, but small enough to fit your sheet of paper.
- 2. Define boundaries. If you have multiple floors, use lines to indicate where the floor divisions will be in your architectural drawings.
- 3. Add design elements. Once you have the bare-bones skeleton of your building, add different design elements, like transitional elements between floors and windows, framing, doors, or other exterior design aspects. Draw all elements to scale.
- 4. Incorporate side views. Repeat the above process for each side of the building, including an aerial shot. If you’re creating drawings for the interior, these will likely be your floor plan/elevation (which you can also convert into a 3D format).
- 5. Model the building. Use 3D modeling to take your rendering to the next level. If you don’t know how to draw in three dimensions by hand, use 3D rendering software like SketchUp or Autodesk 3ds Max (or hire an experienced renderer) to transform your 2D drawing into a 3D model. Your 2D sketch will make it much easier to implement the measurements and dimensions into the software.
Learn More
Get the MasterClass Annual Membership for exclusive access to video lessons taught by masters, including Frank Gehry, Will Wright, Annie Leibovitz, Kelly Wearstler, Ron Finley, and more.
