How to Clean Makeup Sponges in 7 Steps
Written by MasterClass
Last updated: Mar 7, 2022 • 2 min read
Just like your makeup brushes, your makeup sponges require thorough cleaning to remove product buildup and bacteria. Learn how to clean your makeup sponges with this step-by-step guide.
Learn From the Best
What Is a Makeup Sponge?
A makeup sponge is an absorbent tool that applies and blends beauty products into your skin for a smooth, even look. This makeup application tool helps you apply liquid foundations, concealer, highlighter, cream blush, eye shadow, and many other products. Their versatility makes them a favorite of makeup artists, and the sponges come in various forms, from circular, flat sponges to angular shapes with tapered points to help you zero in on hard-to-reach spots.
How to Clean Makeup Sponges in 7 Steps
It’s essential to clean your makeup sponges well after each use—dirty sponges can become a breeding ground for bacteria, leading to potential breakouts. Here’s a step-by-step tutorial to help you keep your beauty tools clean and effective:
- 1. Select a cleanser: Many soaps effectively clean these makeup tools, including liquid soaps (like hand soap or dish soap), facial cleansers, makeup brush cleaner, or baby shampoo. You can also use a bar of soap by working it into a lather on your hands with clean water before applying it to your makeup sponge. If you use oil-based makeup, add a drop of olive oil or other oil to help break down old makeup.
- 2. Apply cleanser: After you finish your skincare routine and apply makeup, add a squirt of soap to your dirty makeup sponge.
- 3. Massage: Run your sponge under water to create suds, and work the soapy water into your sponge by massaging it in the palm of your hand for ten to fifteen seconds.
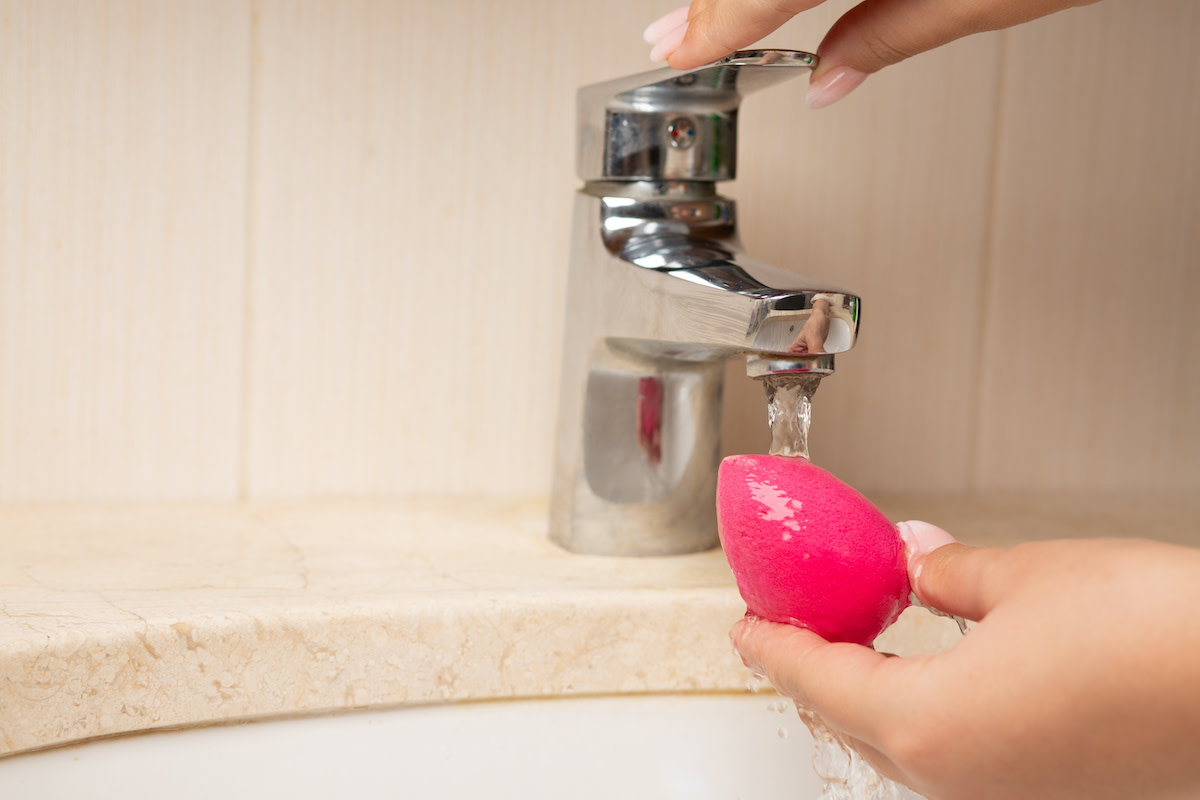
- 4. Rinse: Remove the soap and product buildup from your makeup sponge by rinsing it under running water or in a small bowl of warm water. Squeeze it out several times until it’s soap-free. Avoid wringing out the sponge, as you could alter its shape.
- 5. Double cleanse (optional): For stubborn stains or spots, repeat the cleansing and massaging process to double-cleanse your makeup sponge. You can also let your sponge soak in warm, soapy water for ten to fifteen minutes to help break down the remaining products.
- 6. Dry: Allow your makeup sponge to air-dry in an open area or on a clean towel before you return it to your makeup bag.
- 7. Replace regularly: While cleaning can extend the life of your makeup sponges, derms recommend purchasing brand new sponges every three to six months.
Learn More
Get the MasterClass Annual Membership for exclusive access to video lessons taught by the world’s best, including Bobbi Brown, RuPaul, Anna Wintour, Marc Jacobs, Diane von Furstenberg, and more.
