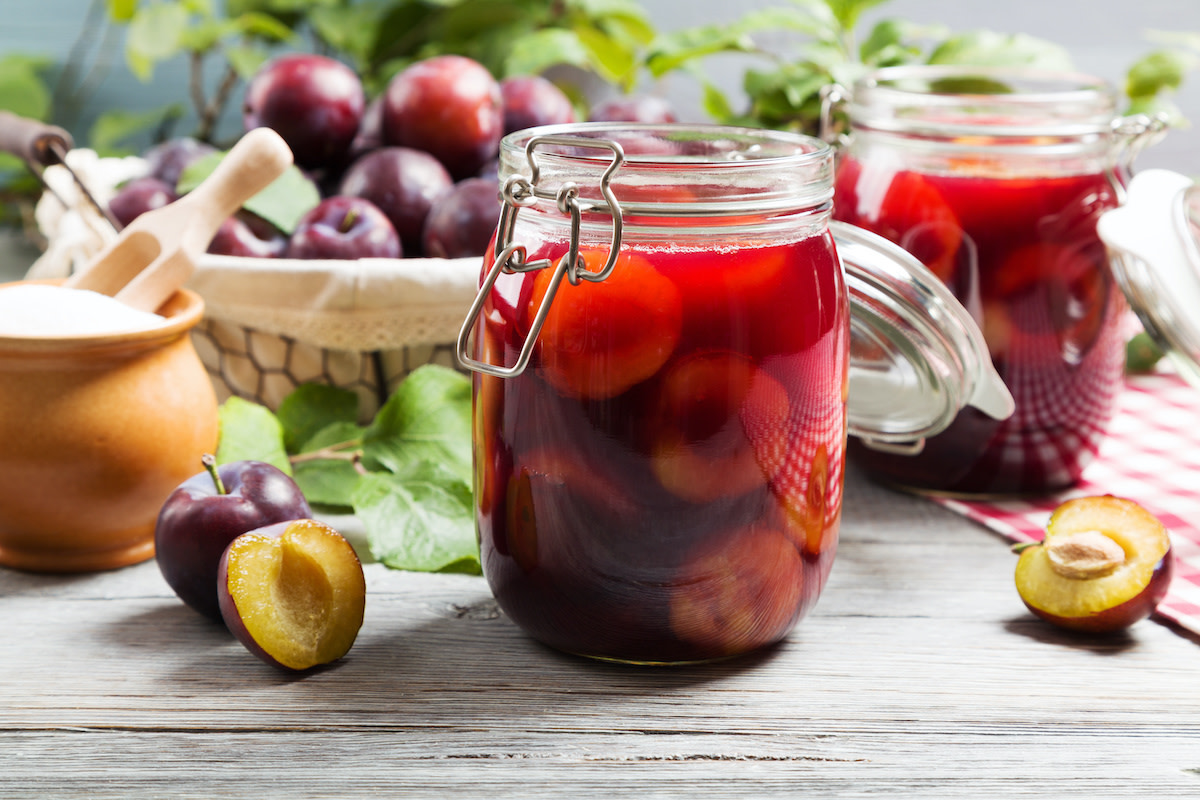
How to Can Plums: 3 Tips for Canning Plums
Written by MasterClass
Last updated: Dec 15, 2021 • 3 min read
Learn how to preserve fresh plums for later use as cake toppings, smoothie ingredients, jelly fillers, and more.
Learn From the Best
How to Can Plums in 7 Steps
If you’re looking to try out new plum recipes, home canning can be a great way to preserve your raw plums and keep them sweet for months, allowing you to make a plum jam, pie, or bread beyond the seasons when this stone fruit usually is ripe. Follow these steps:
- 1. Clean your canning jars. Before canning, clean your pint and/or quart jars, lids, and rims with soap and hot water.
- 2. Prepare a water bath canner. The canning process for plums does not necessitate special pressurizing equipment; instead, you can raw-pack the plums in a water bath canner. Bring a large pot of water to a rolling boil. After the water boils, lower it to a simmer and use tongs to place your quart or pint jars into the water. Hot jars are less likely to crack during the processing.
- 3. Create your sugar syrup. You can concoct your syrup to your liking. Combine two cups of sugar and five cups water for a medium-light syrup, or two-and-a-half cups of sugar and four-and-a-half cups water for a sweeter, medium syrup that’s a tad thicker. Spices like star anise or a splash of liquor, like whiskey, can enrich your syrup flavor. Add the ingredients to a saucepan and stir over medium heat until the sugar dissolves.
- 4. Rinse and pit your plums. Gently rinse your plums in cool water and pat them dry with a paper towel. Damson, wild, and Italian plums will work for your water bath canning. If you are canning whole plums, nick the skin to allow for expansion; otherwise, cut the plums in half and remove the pits.
- 5. Pack plums into your jars. Use tongs to remove your hot jars from the water. Add your whole plums or plum halves into the jars, simply packing them but not squishing them down. Use a ladle to fill jars with your hot syrup, leaving a half-inch of headspace at the top. With a fork or chopstick, remove any air bubbles on the sides of your jars.
- 6. Process the cans. Place your filled and sealed jars into the water bath canner. There should be enough water so that there’s a two-inch headspace covering your jars when submerged. Bring the water to a boil, boiling twenty minutes for pint jars and twenty-five minutes for quarts.
- 7. Let the jars cool. After the elapsed time, remove the jars from the boiling water and let them dry, and cool atop a towel for twelve hours. Do not open for an hour as the jars will need to neutralize. Store in a cool, dry place; these will keep unopened in a pantry for up to a year and a half.
Can You Can Plums Without Sugar?
When preparing plums for canning, you do not have to rely on a simple syrup of just sugar and water. Water alone can work for canning. Sugar does not play a role in the preservation; it adds extra sweetness. For a lighter syrup, fruit juice will also work, and you can choose or combine the kind you’d like to use to act as the syrup for your canning. Grape, peach, or apple juice are suitable, and you can water the juice down if it is too sweet for your liking.
3 Tips for Canning Plums
Canning plums is relatively straightforward, but a few helpful tips can enhance and expedite your experience:
- 1. Elevation will dictate canning time. Different elevations above sea level will influence the total time for canning. If you are under 3,000 feet, can for twenty-five minutes for pints and thirty minutes for quarts. For heights of 3,000 to 6,000 feet, process in the boiling water for thirty minutes for pints or thirty-five for quarts. If you are higher up, at 6,000 feet or more, process for thirty-five minutes for pints or forty for quart jars.
- 2. Keep your excess syrup. If you have extra simple syrup, you can use it in cocktails or infuse it with other ingredients and spices for future jams or preserving recipes.
- 3. Source ripe plums. All plum varieties work for canning, but you’ll still want to pick the freshest ones. Avoid plums with dark spots or blemishes, and feel the fruit in your hand. It should have some weight and be tough but with some give when lightly squeezed. It is overripe if it is too soft or leaks when you squeeze.
Want to Learn More About Cooking?
Become a better chef with the MasterClass Annual Membership. Gain access to exclusive video lessons taught by the world’s best, including Mashama Bailey, Gabriela Cámara, Niki Nakayama, Chef Thomas Keller, Yotam Ottolenghi, Dominique Ansel, Gordon Ramsay, Alice Waters, and more.
