DIY Retaining Wall: How to Build a Retaining Wall
Written by MasterClass
Last updated: Jul 13, 2021 • 3 min read
A retaining wall is a practical landscaping element that improves drainage, prevents soil erosion, and provides an opportunity to customize the aesthetic of an outdoor space.
Learn From the Best
What Is a Retaining Wall?
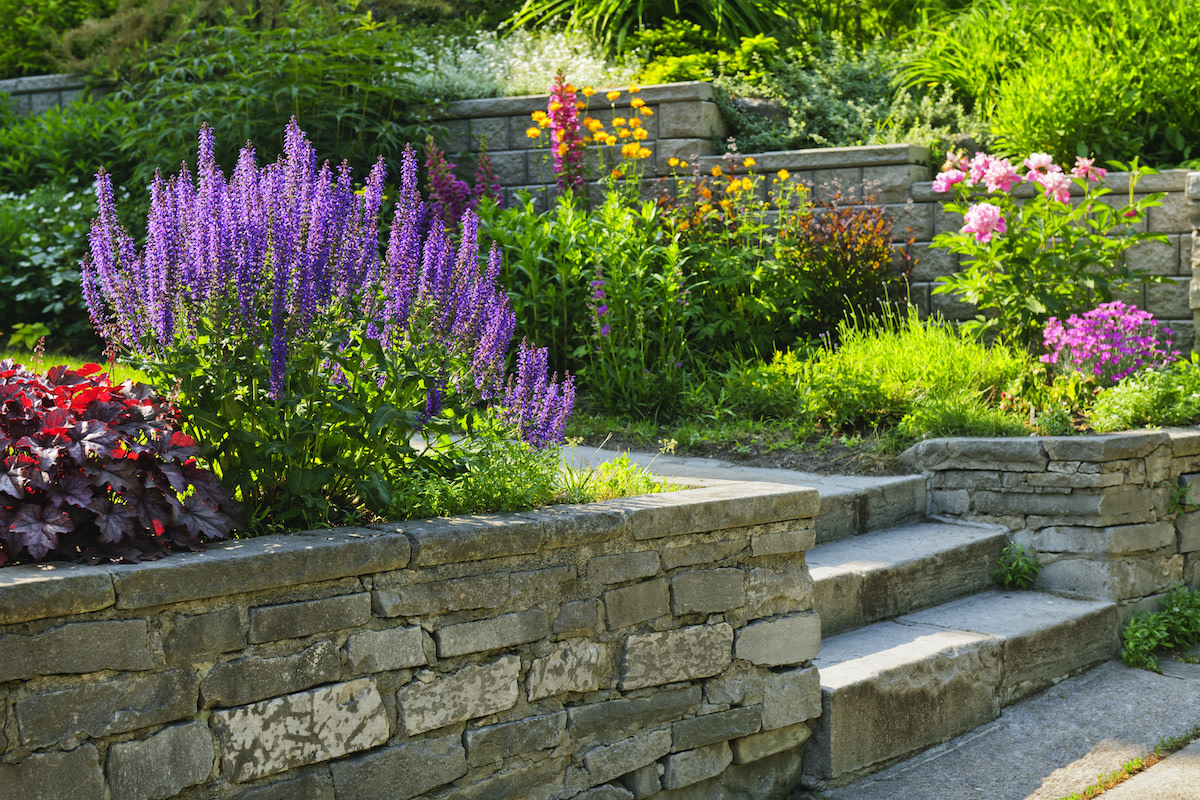
A retaining wall is a wall used to set back soil in an orderly way on sloped outdoor spaces. The height of the wall allows homeowners to add tiers to their garden area—for instance, a retaining wall can bring a hill to a premature halt to create room for a ground-level garden space below. Landscapers commonly use straight retaining walls to provide structure to an area with uneven ground.
3 Benefits of Retaining Walls
Retaining wall installation can help you mitigate many of the problems of landscaping on hilly terrain. Here are additional benefits of starting a retaining wall project in your backyard:
- 1. Increase visual appeal. This DIY project can create multilevel landscaping. Multiple retaining walls are capable of turning a previously craggy yard into a stylish one, with sections cordoned off as separate tiers.
- 2. Prevent soil erosion. Retaining wall design generally wards off the worst aspects of soil erosion due to how well it can encourage proper drainage. Once you build a retaining wall to your desired height, your yard will be far less likely to succumb to landslides or other shifts in unregulated, hilly ground. Most feature drainage pipes or drain tiles to further mitigate the erosion process by allocating waterfall efficiently and effectively.
- 3. Install tasteful hardscaping. While you can use simple cinder blocks, you can look to other materials—many people use elegant natural stone for their retaining wall hardscaping. The back length of the wall may be what holds up the soil, but the front of the wall can add a charming touch to your garden. From the straightforward clarity of concrete blocks to the fancy fortitude of fieldstone, your retaining wall’s base material can complement a fire pit and add to your garden’s overall aesthetic.
How to Build a Retaining Wall
It is possible to build your own retaining wall as a home improvement project. Here is a basic, step-by-step installation guide:
- Check building codes. To ensure you can carry out this project, check if the wall will go against any building codes or regulations in your area. Check to see if you need a building permit or must adhere to any specific local guidelines.
- Decide on a type of wall. Different retaining walls suit different needs. For instance, gravity walls hold back the soil with their stones’ mass alone, whereas cantilevered walls include steel bars leading to additional reinforcement. Do some research to determine which type is right for your specific needs.
- Build a firm foundation. You must ensure your retaining wall is built on a sturdy, reliable foundation. Excavate the ground to the point where you have a trench tall enough for your liking. Once you’re finished digging, it’s a good rule of thumb to tamp down your ground flat to create an even foundation. Whether you use a hand tamper or something more mechanical is up to you—just make sure the foundation is flat and firm. Add a layer of gravel or paver base at the bottom before you lay the base course of retaining wall blocks.
- Install a drainage system. You can’t get the most out of your retaining wall without adding in a functioning drainage system. A drainpipe should eventually reach from the topsoil to the bottom of your wall, so plan accordingly. The pipe should jut out at the bottom discreetly and allow for water to be released in an appropriate area.
- Keep everything level. As you start stacking the second course of blocks on top of the first, it’s essential to keep things level. Use a torpedo level as you go, and hit each new row of blocks with a rubber mallet to even them out.
- Backfill as you go. As the wall gets higher, the backs of the blocks may be further and further away from the soil itself—this is where backfilling comes in. Backfill these areas between the back of the blocks and the trench itself with gravel to create a more secure buttress against the soil.
- Lay the capstones. Once the retaining wall approaches your desired height, it’s time to lay the top capstones of your retaining wall. Use construction adhesive to anchor in these top slabs.
Learn More
Get the MasterClass Annual Membership for exclusive access to video lessons taught by the world’s best, including Frank Gehry, Will Wright, Annie Leibovitz, Kelly Wearstler, Ron Finley, and more.
