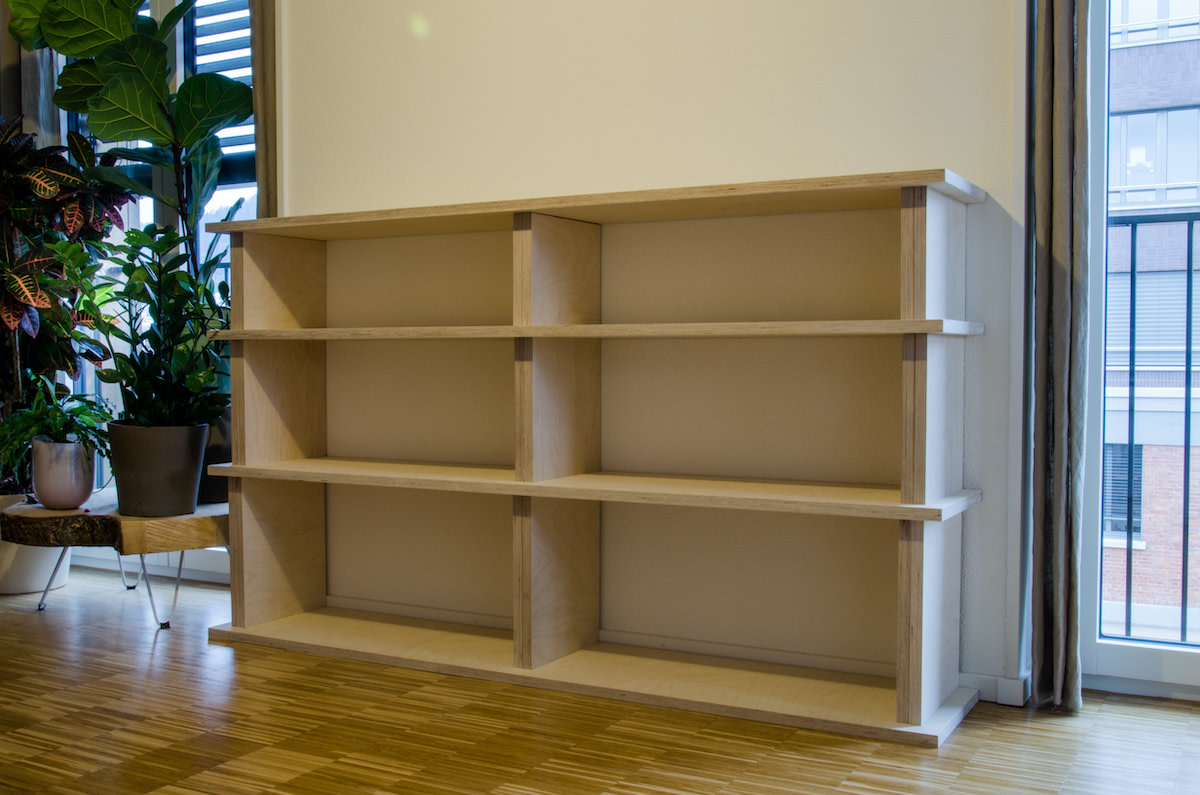
DIY Bookcase Tutorial: How to Build Your Own Bookcase
Written by MasterClass
Last updated: Aug 19, 2021 • 4 min read
Building a bookcase is a straightforward DIY project that requires planning, the right tools, and the building materials of your preference. Learn how to build your own bookcase with our step-by-step tutorial.
Learn From the Best
What Is a Bookcase?
A bookcase is a type of storage furniture with built-in shelving for books and other objects. Common materials for bookcases include solid wood, like pine, oak, or birch plywood, particleboard, medium-density fiberboard (MDF), heavier wood, metal, and plastic.
Bookcases are available in various shapes, from a small crate to tall options that extend from floor to ceiling. Bookcases may feature fixed or adjustable shelves held in place by shelf supports. They are most commonly arranged with the back panel against a living room or bedroom wall or built into the wall itself.
Depending on its size, a bookcase can accommodate objects other than books, including framed photographs, artwork, and houseplants. In this way, a bookcase can be a simple storage solution, especially in smaller living spaces.
4 Common Types of Bookcases
Here are a few types of DIY bookcases to consider for home improvement, makeover, or woodworking projects:
- 1. Crate bookcase: A crate bookcase comprises four or more connected wooden crates, which serve as shelving units. It’s a relatively easy DIY project that requires little more than crates you can repurpose and plywood. To make a crate bookcase, you’ll need to cut the crates to fit with a circular saw and use a brad nailer to attach them.
- 2. Modular bookcase: The modular bookcase is a set of connected squares of different dimensions that can accommodate all shapes and sizes of books and other items. A modular bookcase is an attractive and ideal way to save storage space, but drawing plans beforehand is necessary to ensure the squares fit.
- 3. Shelf bookcase: The shelf bookcase has adjustable shelves and is adaptable to any room. A shelf bookcase in a kid’s room or home office is a great space-saving unit, as it can hold books, toys, and other items.
- 4. Tree bookcase: Though perhaps one of the most complicated DIY bookcase ideas, a tree bookcase is a unique way to decorate a room and store books, with the trunk resting against a wall and the branches serving as shelves. A table saw and sander are necessary to complete this offbeat home décor idea.
How to Build a Bookcase
The following is a step-by-step guide to building a bookcase:
- 1. Draft your plans. Before you head down to the lumberyard for material, you’ll need to draft your DIY bookshelf plans. Determine what you want to store in your bookcase—paperback books, coffee table books, record albums, photographs, and a small television are all options. The standard shelf depth for a book is 11¼ inches, while the standard shelf length is about ¾-inch thick, with shelf supports spaced apart at no less than 32 inches. Anchor any bookcase over three feet tall with a narrow base to a wall as a safety precaution.
- 2. Gather your materials. There are dozens of materials from which you can choose to build your bookcase. Plywood with a hardwood veneer—like birch, maple, or oak—is a great durable option. You’ll also need the following tools for the project: a table saw, nails and a hammer, a cordless drill with a combination drill bit, wood glue, jigs, a tape measure, a router, and a level. You’ll also need a sander or fine-grit sandpaper, like 220-grit sandpaper, for sanding the wood before assembly.
- 3. Cut the wood. Use the tape measure to mark the lumber, and then cut it with your table saw. Depending on the size of your bookcase, your cut list should feature two side panels, shelves, a top board, the back panel (or backer board), a face frame, which hides the front edge of the bookcase’s frame, and if desired, a baseboard or crown molding.
- 4. Mark and drill. With both sides parallel to each other, mark the locations of the shelves from top to bottom. Use a framing square, or carpenter’s square, to ensure that the top and bottom edges are flush, and with a jig or drill, drill pocket holes at a 15-degree angle into the shelves. In woodworking, pocket holes offer builders a way to hide screws by drilling at an angle to form a pocket for the screw.
- 5. Attach the shelves. Add wood glue to the sides, attach the shelves, and then drive screws into the pocket holes into all shelves, including the top and bottom shelf. Cover the pocket holes with plugs. If you’re using a face frame, you can attach them to the front edge of the bookcase with wood glue and then fasten them with finish nails. If you’re adding crown molding or a baseboard, you can cut them with a miter saw and apply.
- 6. Add the back panel. Use a framing square or carpenter’s square to ensure all of the bookcase’s edges are flush and the frame is plumb, or level. Lay the back panel on the bookcase, drive pilot holes (if necessary), and fasten the back panel with finish nails or screws. If you want to stain the bookcase, use an oil-based interior wood stain.
Ready to Give Your Space a Chic Update?
Master everything from color theory to pattern mixing with the MasterClass Annual Membership and exclusive lessons from award-winning interior designers like Kelly Wearstler and Corey Damen Jenkins. From shopping for statement furniture to designing a lighting scheme to choosing the newest member of your plant family, the skills you’ll pick up are sure to make your house, apartment, or condo feel even more like a home.
