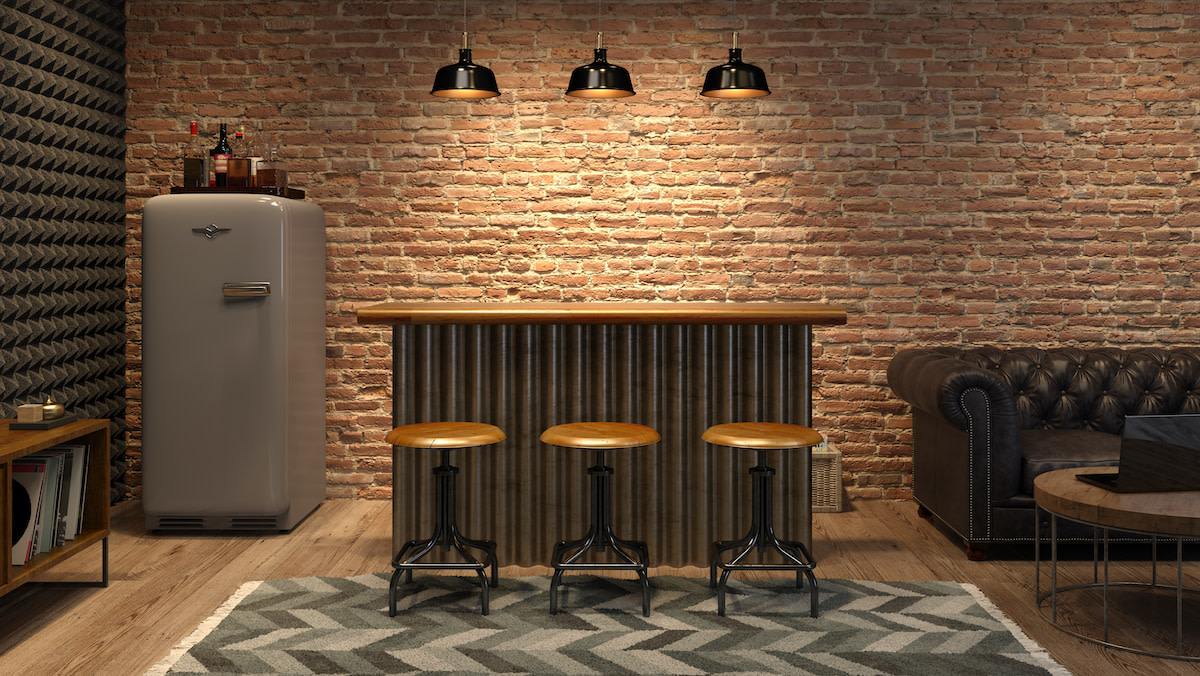
How To Build a Bar: 7 Essential Steps for Building Your Own Bar
Written by MasterClass
Last updated: Apr 12, 2022 • 4 min read
A home bar is a popular DIY project. Learn how to build a bar for your home, whether you are in the middle of a makeover or are looking to replace your bar cart with a more permanent basement bar.
Learn From the Best
What Is a Bar?
The term “bar” has two meanings: a bar is an establishment that serves beer, wine, and spirits to customers for in-house consumption, and the word also describes the furniture with a countertop to serve drinks and shelves to store alcohol. Though bars remain popular destinations, homemade bars are common woodworking projects, both as an indoor option for a living room or an outdoor bar to enliven a backyard space. There are many different DIY bar plans for all levels of woodworking abilities that provide tutorials and cut lists to help you develop your bar design and build it.
What Are the Main Parts of a DIY Bar?
A standard bar includes these main sections.
- 1. Back bar: The bartender at your home bar operates from the back bar. It’s a space for storing and serving liquor with shelves for your alcohol and mixology tools.
- 2. Front bar: The area where guests stand or sit at bar stools and consume drinks is the front bar. It has several parts: the horizontal bar top, or countertop; the bar wall, a vertical piece supporting the top of the bar that separates the bar front from the back bar; the bar rail, or bar molding, which is a concave piece that helps keep objects on the bar top; and the bar rail, or footrail, which runs along the bottom of the bar wall and serves as a footrest for guests.
- 3. Underbar: Glasses and bar tools remain out of sight but within reach in the underbar. Depending on the home bar plans, the underbar may include a refrigerator, microwave, or wine rack. If you plan to build a wet bar, the sink is part of the underbar. (A dry bar is one without a sink.)
How to Build a Bar: 7 Essential Steps for Building Your Own Bar
You can make an easy DIY bar in your own home with the right tools and equipment. Here’s a step-by-step guide:
- 1. Gather your materials. Before you begin your home bar build, create a shopping list of the materials you need. Determine if you plan to build a bar with leftover wood, such as wood from pallets or carpentry scraps, or if you need to purchase wood for the body and bar molding. Plywood is a budget-friendly option, though medium-density fiberboard is also a good choice. In addition, purchase the material you plan to use as a footrail.
- 2. Prep your tools. A DIY home bar project requires power tools to cut, sand, and drill the building material. Use a table saw, compound miter saw, or circular saw to cut wood, a nail gun to connect pieces, an orbital sander to smooth surfaces, and a cordless drill for holes. You will also need a hammer, a level, a tape measure, and clamps. Get a caulk gun to apply construction adhesives, such as wood glue, or wood filler for smooth surfaces. Gather wood screws to link larger pieces and brad nails or finish nails, which are lighter and less obtrusive than other nails, to connect bar molding, and remember to grab your safety glasses.
- 3. Measure the pieces and space. Use your tape measure to determine the dimensions of your bar project. The height for a standard front bar is forty-two inches, while bar tops are between sixteen and eighteen inches wide. Bar rails are typically five to eight inches from the floor. Measure the area of the room to determine where to place your bar, keeping in mind the space required in the back for your home bartender.
- 4. Construct the bar frame. Measure and cut frames for three sections—the front bar and two smaller “wings,” or walls. Attach the wing frames to the front bar frames with wood screws. Make sure the frame is level, and consider securing the frame by mounting it to the drywall in the room,
- 5. Build the front bar. Use the drill to pre-drill holes to attach plywood to the bar frame. Connect the plywood to the frame with wood screws or wood glue, and smooth out any holes with wood filler. Pre-drill holes on the perimeter of the bar frame and add trims with wood screws or wood glue.
- 6. Add the shelves and bar top. Build your underbar by cutting shelves with a circular saw and attaching them with wood glue to the underbar. Measure the plywood piece reserved for the bar top so there’s an overhang of six inches on the front and either side. Attach the bar top to the frame with screws.
- 7. Apply finishing touches. Use the miter saw to cut the bar molding at forty-five-degree angles. Hold one piece to the front of the bar, and link the mitered ends to the bar molding on the wings. Connect them to the bar with screws through the underside of the bar top. Add brackets where your bar rail will hang; slide the bar rail through the brackets and secure it with screws. Use the sander to smooth the bar top, stain the top with wood stain, and add epoxy resin or polyurethane to laminate the surface.
Learn More
Learn more about mixology from award-winning bartenders Lynnette Marrero and Ryan Chetiyawardana. Refine your palate, explore the world of spirits, and shake up the perfect cocktail for your next gathering with the MasterClass Annual Membership.
