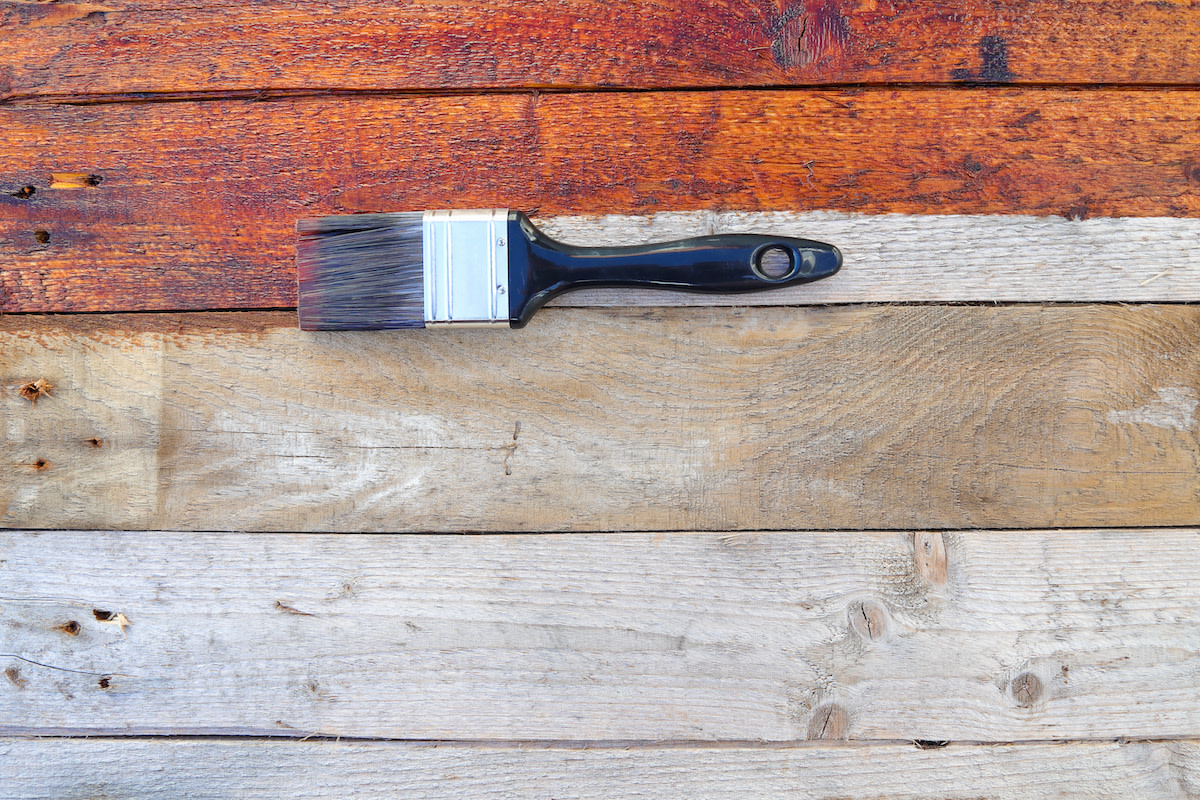
How to Age Wood: Making Wood Look Weathered
Written by MasterClass
Last updated: Oct 29, 2021 • 2 min read
There’s something so elegant and cozy about well worn wooden furniture. But antiques can be expensive and hard to find, which is why clever DIYers have come up with a way to age wood quickly at home.
Learn From the Best
3 Reasons to Weather Wood
If you love the look of old, weathered wood, you may want to make new wood look old, rather than seeking out the perfect vintage wood piece or waiting years for the wood to age naturally.
- 1. It’s an easy, DIY makeover. If you’re bored of your existing wooden furniture and want a change, weathering or staining your existing furniture is a great way to achieve a rustic look without buying all-new furniture.
- 2. It can add charm and character to your home decor. There’s nothing wrong with furniture made from new wood, but giving your furniture a weathered look can make a space feel cozy and lived-in.
- 3. It’s less work than sourcing aged-wood furniture. Furniture made from disused barn wood, driftwood, or old pallets is fun and trendy, but you can achieve a similar patina on furniture you already have using easily sourced materials.
What You’ll Need to Weather Wood
You don’t need to have completed many DIY projects or even have much experience with woodworking to distress a piece of wood. Here are some of the materials you’ll need to gather, depending on which method you’re using, all of which are readily available at hardware stores.
- Steel wool and/or ungalvanized nails
- White vinegar
- Mason jars or cups
- Black tea
- A paintbrush or foam brush
- Polyurethane wood finish
- Sandpaper
How to Weather Wood
To simulate the effects of the aging process on any type of wood, use this basic method.
- 1. Soak a steel wool pad or ungalvanized nails in white vinegar overnight or up to several days for greater effect. The longer the wool soaks, the more of a grayish color your wood will take on.
- 2. Steep several bags of black tea in a separate mason jar for an hour. The tannins in the tea will help darken the wood.
- 3. Use a clean, dry brush to apply the tea and then the vinegar solution to a small piece of scrap wood–ideally the same type of wood that you’re staining in the final project, since different wood will react differently to your stain.
- 4. If you’re happy with the overall color and effect, move on to the next step. Otherwise, begin again, steeping your steel wool and tea for more time if you want a more extreme stain or for less time if you want a subtler stain.
- 5. If working with painted wood or previously stained wood, rub the furniture you plan to distress all over with sandpaper, or use an orbital sander if you have one. This will help erode the existing finish and help your stain absorb into the wood.
- 6. If you’d like to further distress the furniture, you can also scar the surface at this stage using nails and metal chains to create dents and scratches.
- 7. Apply the tea and then the ironed vinegar to the piece of furniture, making sure to apply an even coat for an even effect. Apply a second coat if necessary.
- 8. Use a polyurethane finish on the wood surface; this will act as your sealer.
- 9. Let the wood dry. Your wood stain is now complete, and you’ve achieved an aged look in a fraction of the time it would take naturally.
Learn More
Get the MasterClass Annual Membership for exclusive access to video lessons taught by the world’s best, including Kelly Wearstler, Ron Finley, Bobbi Brown, RuPaul, and more.
