How Do You Scald Milk? Step-by-Step Instructions
Written by MasterClass
Last updated: Aug 25, 2021 • 3 min read
Learning how to scald milk can help you alter the flavor of recipes or remove bacteria while you’re cooking or baking with milk.
Learn From the Best
What Is Scalded Milk?
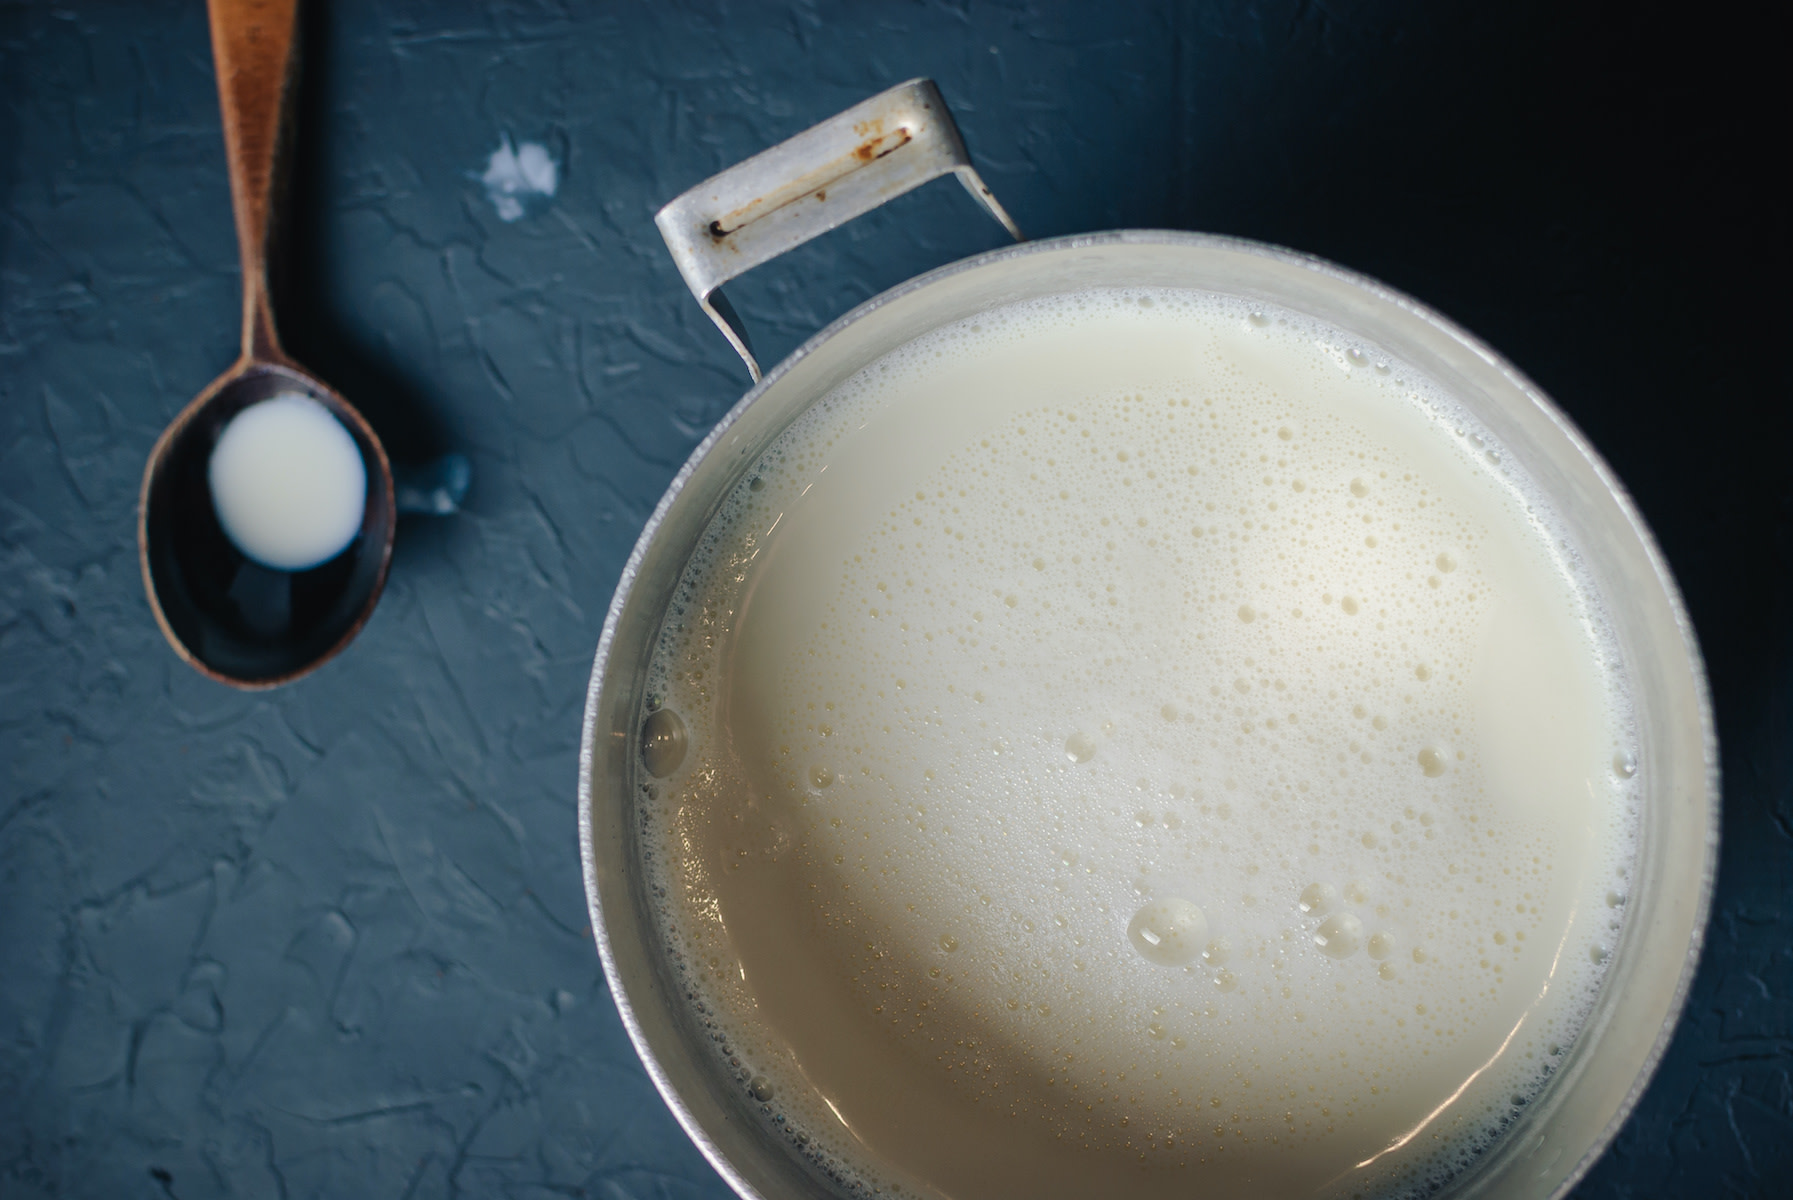
Scalded milk is cold milk that’s been brought near—but not past—its boiling point. Before the scalding concludes, the temperature of the milk should come to 180 degrees Fahrenheit.
You can apply the process of scalding to both dairy milk—like nonfat or whole milk—or substitutes like oat milk or almond milk. Heating milk for scalding helps kill bacteria, neutralize enzymes, and alter milk proteins that already evaded the process of pasteurization (in which distributors heat milk to a lesser degree) or that might get in the way of your recipe’s success.
Although you can sometimes use scalded milk or hot milk as is, take note if a recipe calls for you to let the hot liquid cool to a medium heat—or room temperature—before you move on to the next step. Baking recipes in particular often call for cooled-off, warm milk rather than scalded milk. For example, if you scorch the milk too much and pour the hot liquid into a bread recipe, the high heat could kill the yeast.
3 Reasons to Scald Milk
There are practical and optional reasons for scalding milk. Here are three scenarios in which you might choose to scald milk:
- 1. To infuse flavors: Dropping spices or extracts into your milk as it scalds can amplify the flavors of a given recipe. General dessert and ice cream recipes can especially benefit from these sorts of infusions. Sweets like cinnamon rolls or vanilla bean ice cream can have richer flavors if you make them with milk infused with cinnamon or vanilla.
- 2. To make yogurt: While pasteurizing milk gets rid of harmful bacteria, you need to reduce even the harmless bacteria to ensure a homemade yogurt culture holds together. Scalding milk allows the cornerstone of yogurt—good bacteria—to thrive without any intervention from competition.
- 3. To prepare bready recipes: Bread dough requires cooled-down, scalded milk so it can rise. The initial scalding will neutralize the whey protein in milk and thus prevent it from affecting the gluten in bread; if you allow the milk to cool down first, it will ensure the yeast won’t be affected during the proofing process, in which the dough rises. If you’re making dinner rolls or another bready recipe, use the warm liquid after it’s reached room temperature.
How to Scald Milk
Follow these steps to scald milk within the right temperature range.
- 1. Gather your materials. If you’re scalding milk on a stovetop, use a heavy-bottomed saucepan and an instant-read thermometer to keep an eye on the temperature of the milk. If you’re planning to scald milk in the microwave, use a heat-proof glass bowl or a similar container.
- 2. Heat the milk adequately. For the stovetop method, place the bottom of the pan above a medium-high heat flame you would use for boiling water. For the microwave method, heat the milk on high, stirring every twenty seconds, and repeat the process until you reach the desired temperature. Leave a wooden spoon or other microwave-safe utensil in the bowl for small bubbles to collect on—this will help prevent the liquid from popping out of the container. Whether you’re using the stovetop or the microwave, check the temperature often to make sure the milk doesn’t become too cold or too hot. The total cook time can vary, so focus instead on reaching 180 degrees Fahrenheit.
- 3. Let the milk cool. If a recipe requires you to let the scalded milk cool before combining it with other ingredients, make sure to let it settle before you mix it in. Once the initial cooking time is complete, let it simmer down from 180 degrees to room temperature.
Want to Learn More About Baking?
Become a better baker with the MasterClass Annual Membership. Gain access to exclusive video lessons taught by the world’s best, including Dominique Ansel, Joanne Chang, Gordon Ramsay, Chef Thomas Keller, Mashama Bailey, and more.
