How to Do Happy Baby Pose: 3 Happy Baby Pose Modifications
Written by MasterClass
Last updated: Jun 7, 2021 • 4 min read
Some yoga poses, or asanas, serve to build strength and increase flexibility in the body. While happy baby pose can gently increase flexibility, its primary function is to calm the mind and offer a sense of soothing relaxation and overall wellness to the practitioner.
Learn From the Best
What Is Happy Baby Pose?
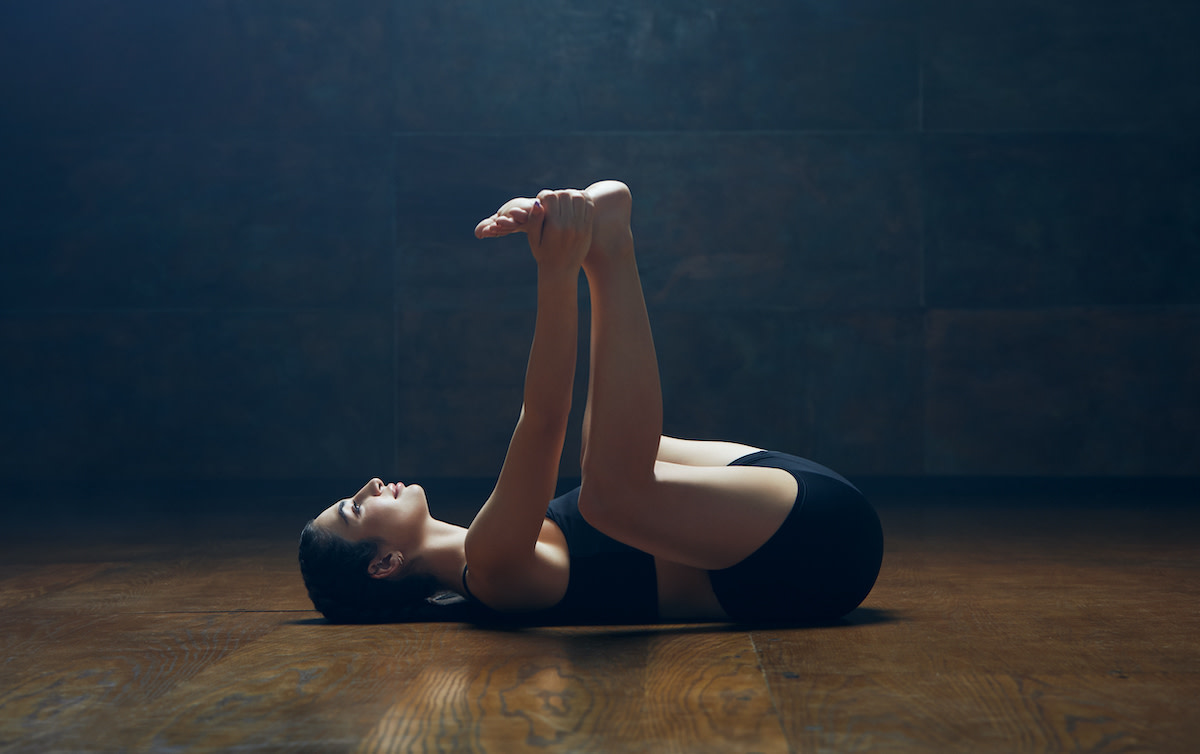
Happy baby pose is a passive, restorative hip opener often practiced alone or near the end of a yoga class as a part of a cool down right before Savasana. In Sanskrit, happy baby pose is known as Ananda Balasana, with Ananda meaning “joy or bliss” and Bala meaning “child.” Some yogis refer to the posture as dead bug pose because of how the hands and feet are suspended in the air during this pose.
This asana helps yogis open the hips in a safe and restorative way, releasing any tension that may be stored there from walking, exercising, or sitting in a car or at a desk for long periods. The pose can gently re-align the spine, provide a therapeutic stretch to the groin and inner thighs, and a deep stretch to the hamstrings, depending on how much you choose to bend your legs or straighten them.
How to Do Happy Baby Pose
Happy baby pose is accessible as a tool for relaxation at any time of day, from the floor, your yoga mat, or even your bed. Follow the guidance below to enjoy the relaxing and restorative stretch that happy baby pose offers:
- 1. Lie down on your back. Tuck your chin in slightly to ensure the back of your neck is long. Ensure that your spine’s natural curves are present and that your sacrum is connected to the floor.
- 2. Bring the soles of the feet to face the sky. On an inhalation with bent knees, lift the legs and point the soles of your feet towards the sky or ceiling.

- 3. Reach for the outer edges of your feet. Keeping the head and neck on the floor, reach for the outsides of your feet. You can bend your legs as much as necessary and breath steadily in and out through the nose. If you need to release some tension in the body, exhale one to three times through the mouth, and then re-seal your lips to breathe through the nose.

- 4. Ensure proper spinal alignment. Ensure your tailbone and lower back connect to the floor, and the back of your neck remains long and on the ground.
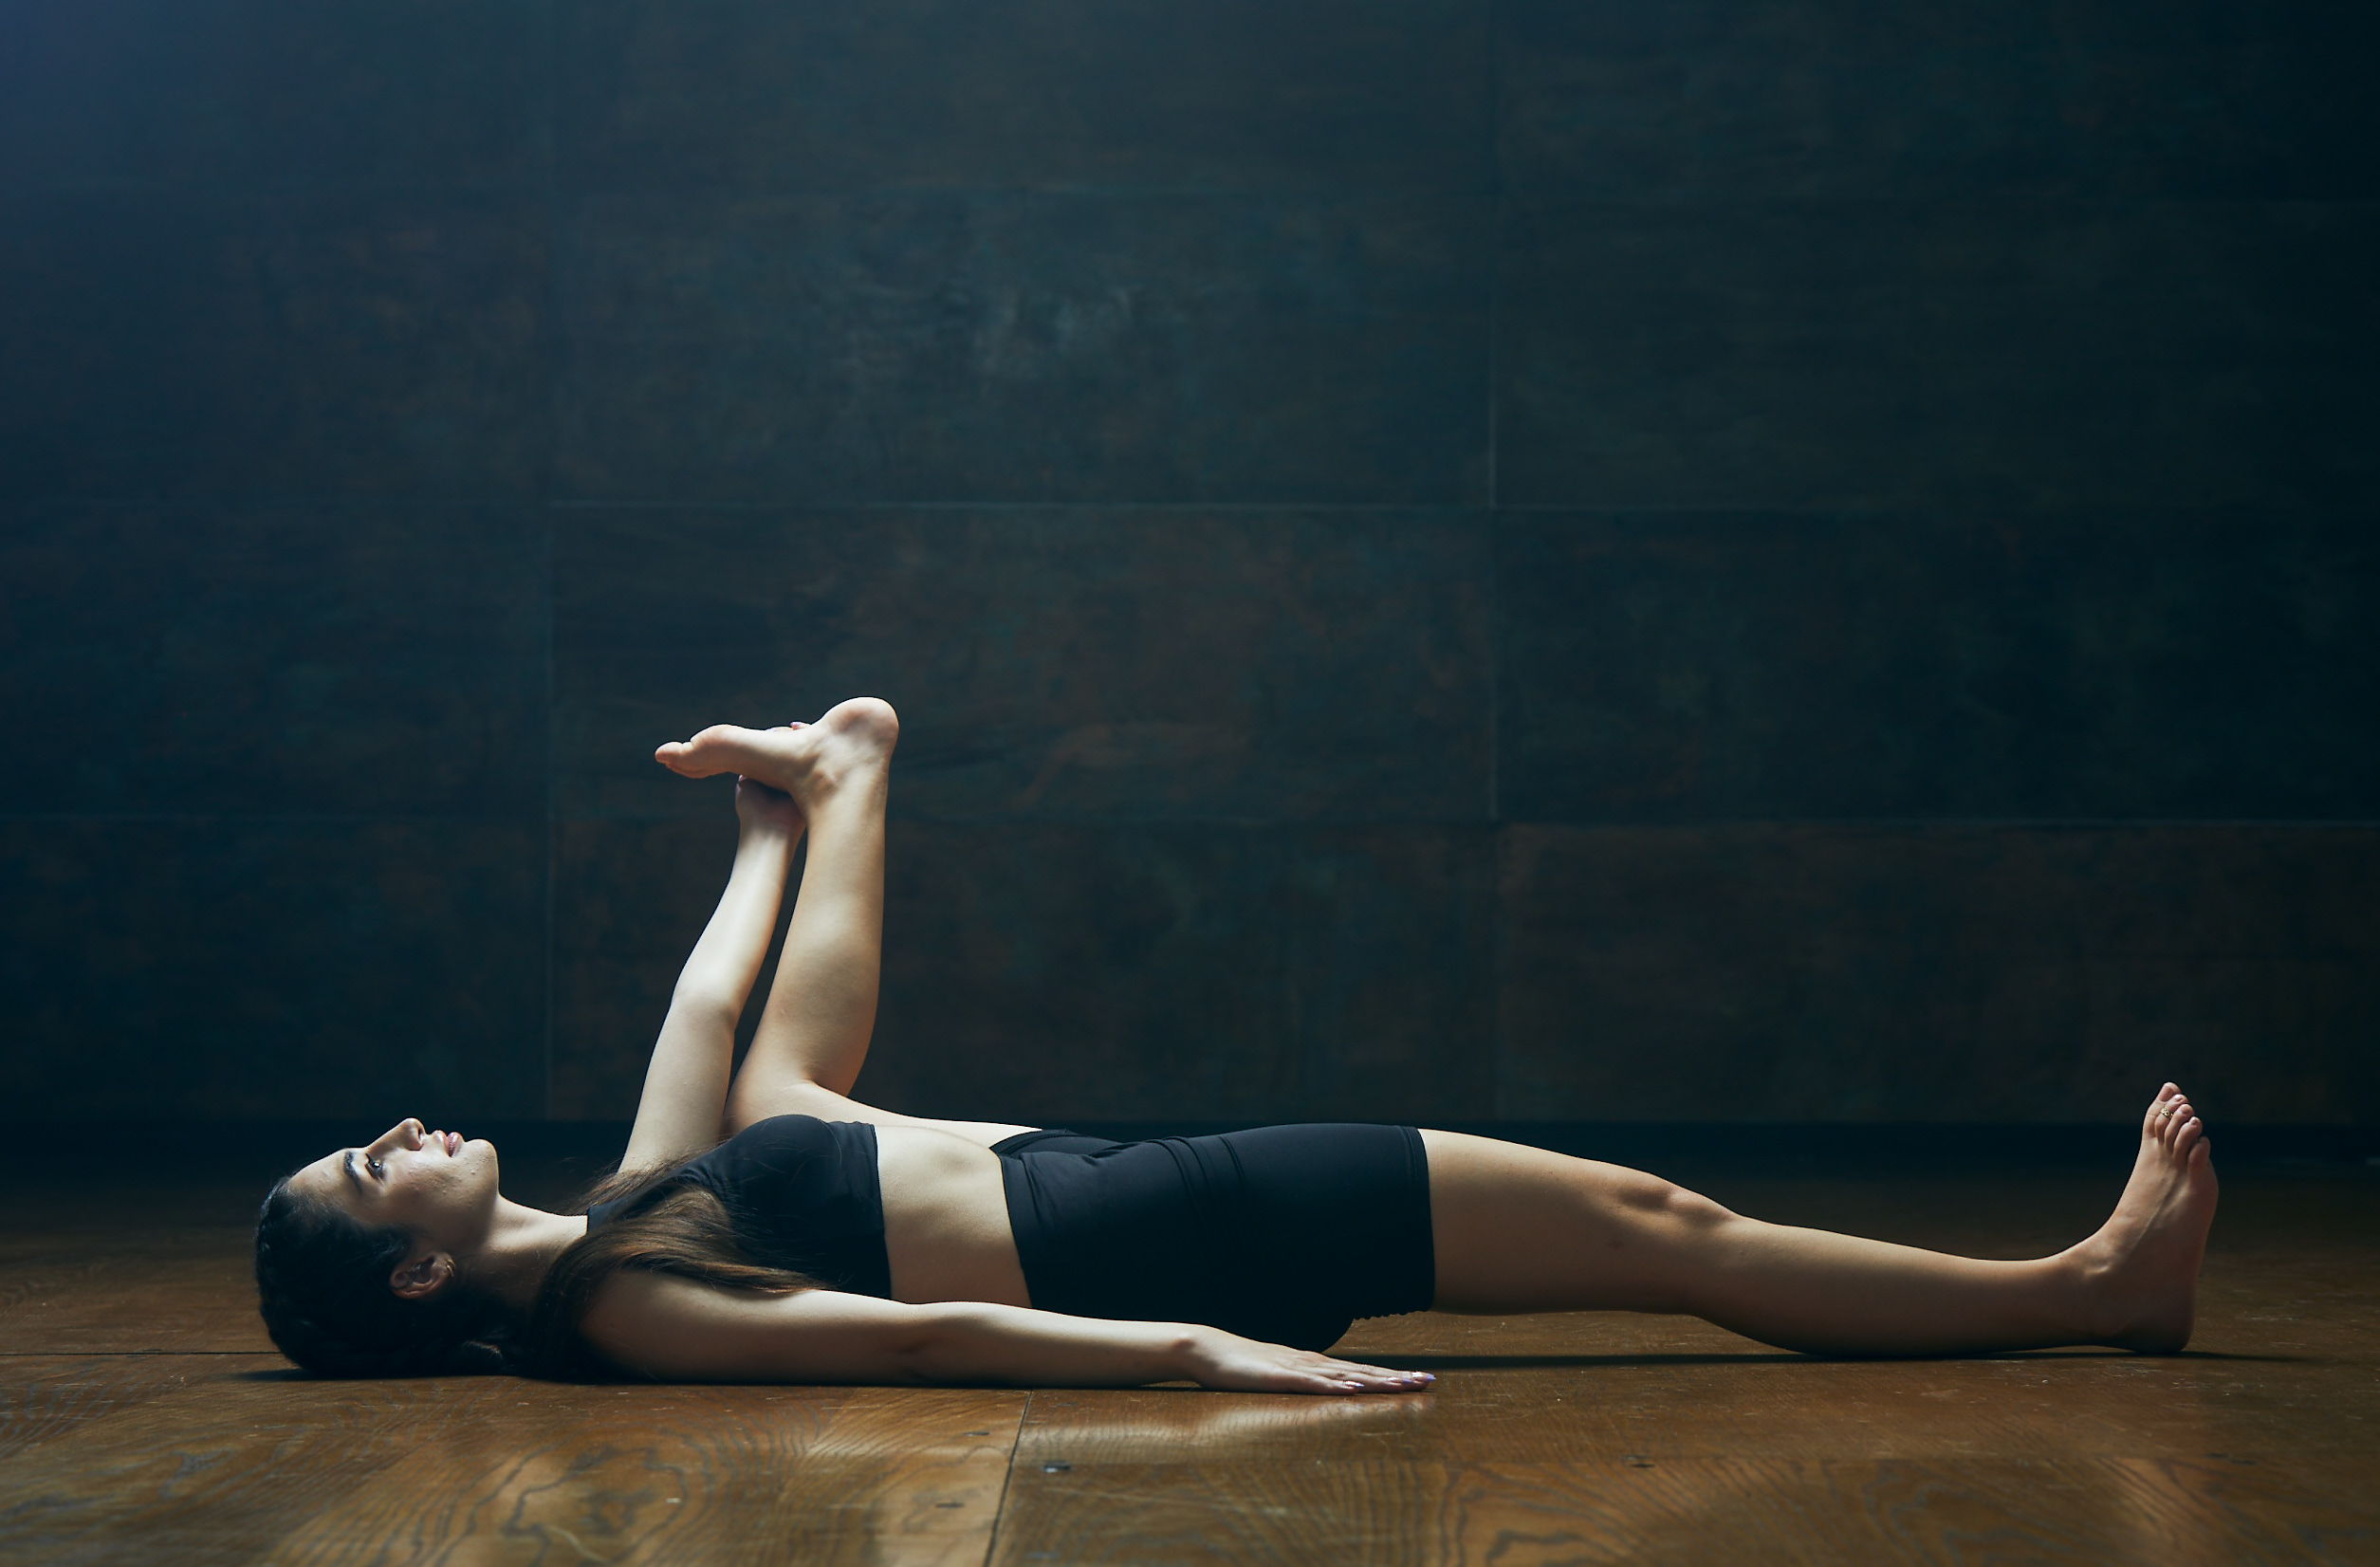
- 5. Bend and straighten one leg at a time (optional). As you continue to focus on your breath, play around with keeping your knees bent and then straightening each leg one at a time to create an optimal stretch. You can gauge the intensity at which you practice this hip opener by bending your knees more and bringing them closer together if the stretch is too deep.
- 6. Rock back and forth (optional). Rock side to side, the way a child at play would, gently massaging the lower back and breaking up any tension or stagnancy in the body.
- 7. Point the corners of your mouth up. Unfurrow the brow between the eyes, relax your jaw, and point the corners of your mouth up.
3 Ways to Modify Happy Baby Pose
Here are some modifications to make happy baby pose more accessible for those with a history of neck injuries or stiff backs and legs:
- 1. Reach for your shins or ankles. If your feet are too far away, reach for your shins or ankles instead. Even for the most inflexible, with practice and intention, you may eventually be able to reach your feet.
- 2. Use a folded blanket. A common mistake that beginners make is to lift the head and neck off the mat, creating tension in the upper back. If you have a neck injury or just want more support, place a folded blanket under your head to keep the back of the neck long and release any tension in the upper body during this pose.
- 3. Use a yoga strap. If you are having a hard time reaching your feet, or need more support, consider placing a yoga strap around the bottoms of your feet and holding onto each strap, adjusting the stretch to your level of comfortability.
3 Happy Baby Pose Variations
There are a few variations you can practice to feel the stretch in different parts of the legs and hips or to deepen the stretch:
- 1. Peace fingers around the big toes. Instead of grabbing the outer edges of the feet, you can make “peace fingers” and wrap them around your big toes. This move gives you a firmer grip than grabbing the outsides of the feet and offers you more leverage to pull your legs towards you and open your hips more.
- 2. Hands grasp the inner parts of the feet. You can also reach for the inner edges of the feet and see how that feels on your body.
- 3. Press the knees apart wider with your elbows. With your fingers wrapped in “peace fingers” around the big toes, press the inner knees open wider with the elbow. This move will deepen the stretch in the inner groin.
How to Do Yoga Safely and Avoid Injury
Proper form and technique are essential to ensure the safety and effectiveness of a yoga practice. If you have a previous or pre-existing health condition, consult your physician before practicing yoga. Postures may be modified based on your individual needs.
Ready to Learn More About Yoga?
Unroll your mat, get a MasterClass Annual Membership, and get your om on with Donna Farhi, one of the most celebrated figures in the world of yoga. Follow along as she teaches you the importance of breathing and finding your center as well as how to build a strong foundational practice that will restore your body and mind.


