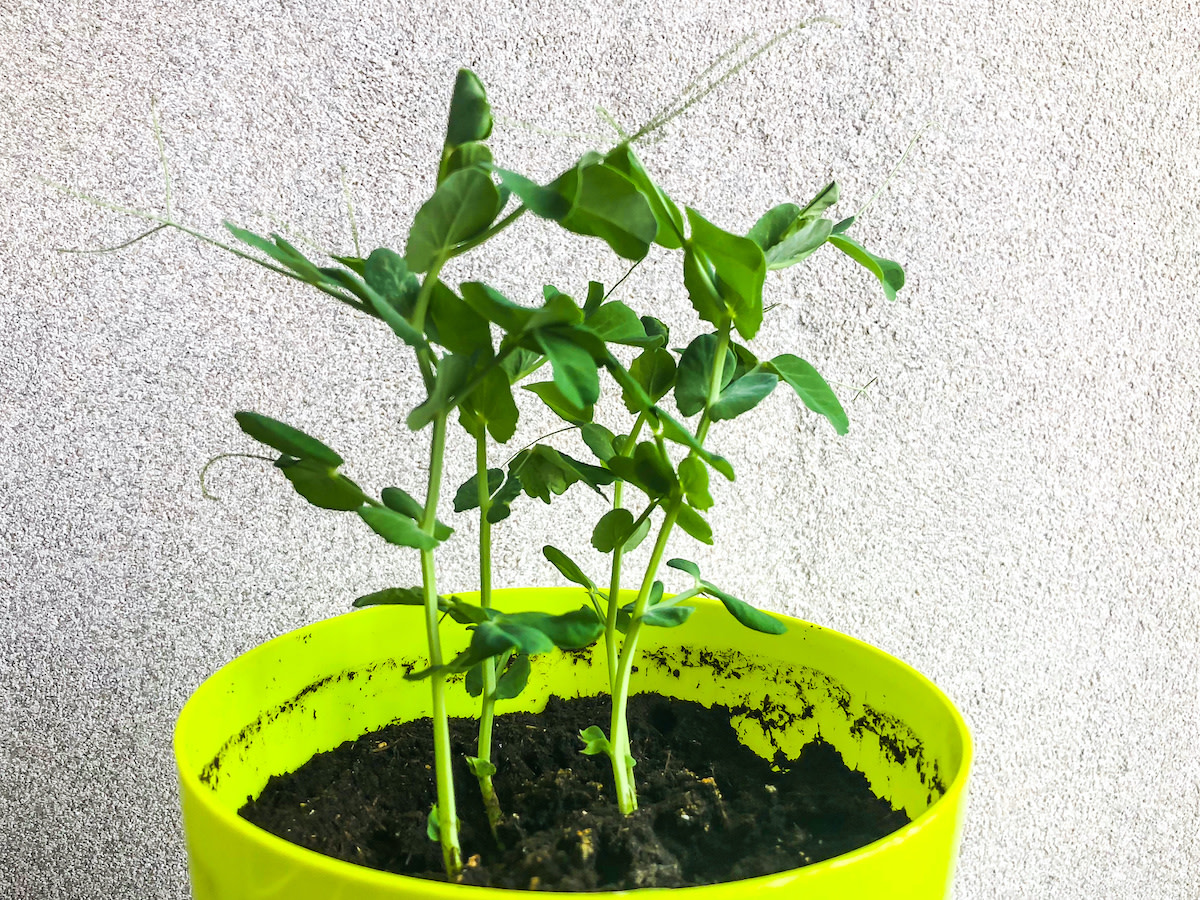
Growing Peas in Containers: 4 Steps for Homegrown Peas
Written by MasterClass
Last updated: Sep 10, 2021 • 4 min read
Homegrown peas are sweet, and you can enjoy them right off the vine. Peas are also resilient, high-yield plants that don’t require much upkeep, making them a great option for beginning gardeners or those looking for a low-maintenance plant.
Learn From the Best
Types of Peas to Grow in Containers
A pea plant can thrive in container gardens, which can work well for small or indoor spaces. There are many varieties of peas to choose from for your container gardening, such as the following categories:
- Garden peas: Sometimes also called shelling peas or English peas, garden peas have pods that are inedible, but you can shell them to eat the peas inside.
- Snap peas: The thin pod of a snap pea is edible, just like the peas themselves. Snap pea pods are sweet and crunchy right off the vine. You can eat them raw or add them to recipes, such as stir-frys or rice dishes. Snap peas are ready for harvest approximately three weeks after the plant has flowered.
- Snow peas: Similar to snap peas, snow peas and their entire pod are edible raw or cooked. Snow peas grow quickly, so you should harvest them as soon as the peas turn green, right after flowering occurs.
5 Considerations for Growing Peas in Containers
You can use a variety of combinations to make your pea containers uniquely your own, but here are a few necessary components to get you started:
- 1. Containers: Pea plants require a soil depth of only eight inches, so you can choose a shallow, wide container, such as a windowsill planter box. The container should have adequate drainage holes and good air circulation to ensure the root systems do not sit oversaturated in water. For growing edible pea plants, opt for a pot or window box made of terracotta, since plastic containers could leach chemicals into the soil, and metal containers can overheat in full sun, potentially drying the soil and damaging plant roots.
- 2. Garden soil: Choosing the right potting soil can set your container garden up for success. If your potting mix lacks nutrients, you may need to compensate by fertilizing your container plants. You can add fertilizer to the soil every few weeks after planting the seeds, or you can supplement your soil with compost to add nutrients.
- 3. Seeds: Choose the seeds for the pea plant that suits your tastes and growing conditions.
- 4. Sunny location: Pea plants require full sunlight or partial shade to thrive. Choose an area that receives plenty of sun and has good air circulation. If your plant is growing during the hotter summer months, partial shade can protect your plant from the harsh afternoon sun.
- 5. Support system: Your pea plant will need a support system to grow vertically. Your support system can be a trellis (trellises are often available at gardening stores, usually in wood, metal, or plastic varieties), metal arch, or bamboo rod, or you can even reuse materials such as wooden chopsticks or old rulers.
4 Easy Steps for Growing Peas in Containers
Gardening comes with challenges, but even a novice gardener can follow these simple steps to give their peas the opportunity to grow and thrive:
- 1. Determine the best time to plant peas. The first step for growing peas in containers is to plan when to plant your crop, as the growing season will vary depending on your local climate. Peas are a cold-weather crop and thrive in cool weather. Depending on the climate of your region, peas can continue growing year-round if the winters are mild. A general rule of thumb is to plant pea seeds a few weeks before the final frost date in your area, or during the early spring to fall.
- 2. Plant the seeds. It can take as little as sixty days from the time you plant peas to the first time you can pick a pod off the vine. When planting your seeds, sow the seeds directly into the soil, with each seed spread about two inches apart. Add a trellis or other support system when you plant the seeds to avoid disrupting any plant roots beneath the surface of the soil. With proper support, your pea vines can grow up to eight feet tall.
- 3. Water your peas regularly. Once the soil has covered the seeds, water the soil thoroughly for the first time—moist soil will allow the seeds to germinate. Though plants in the pea variety are generally low-maintenance, it is important to keep the soil moist, especially because container gardens require more moisture than plants in the ground. If the soil is too soggy, the plant can rot, but if the topsoil is visibly dry, you should water the plant. If daily watering is not practical for you, you can layer mulch on top of the soil to help it retain moisture.
- 4. Harvest the peas when they are ripe. Pea plants are generally a high-yield crop. As healthy pea plants grow, they will continually sprout and produce new peas. Harvest peas when they are bright green and have large pods, taking them from the bottom of the plant to the top (the peas at the bottom of the plant are older, so you should eat them first). Gently hold the plant as you pop the pea off the plant to avoid damaging the vine.
Learn More
Grow your own garden with Ron Finley, the self-described "Gangster Gardener." Get the MasterClass Annual Membership and learn how to cultivate fresh herbs and vegetables, keep your house plants alive, and use compost to make your community—and the world—a better place.
