Gluten-Free Sourdough Bread: Recipe and Baking Tips
Written by MasterClass
Last updated: Feb 2, 2026 • 4 min read
Whether you want to make a classic boulé or a long sandwich loaf, this recipe for gluten-free sourdough is sure to become your favorite.
Learn From the Best
What Is Gluten-Free Sourdough Bread?
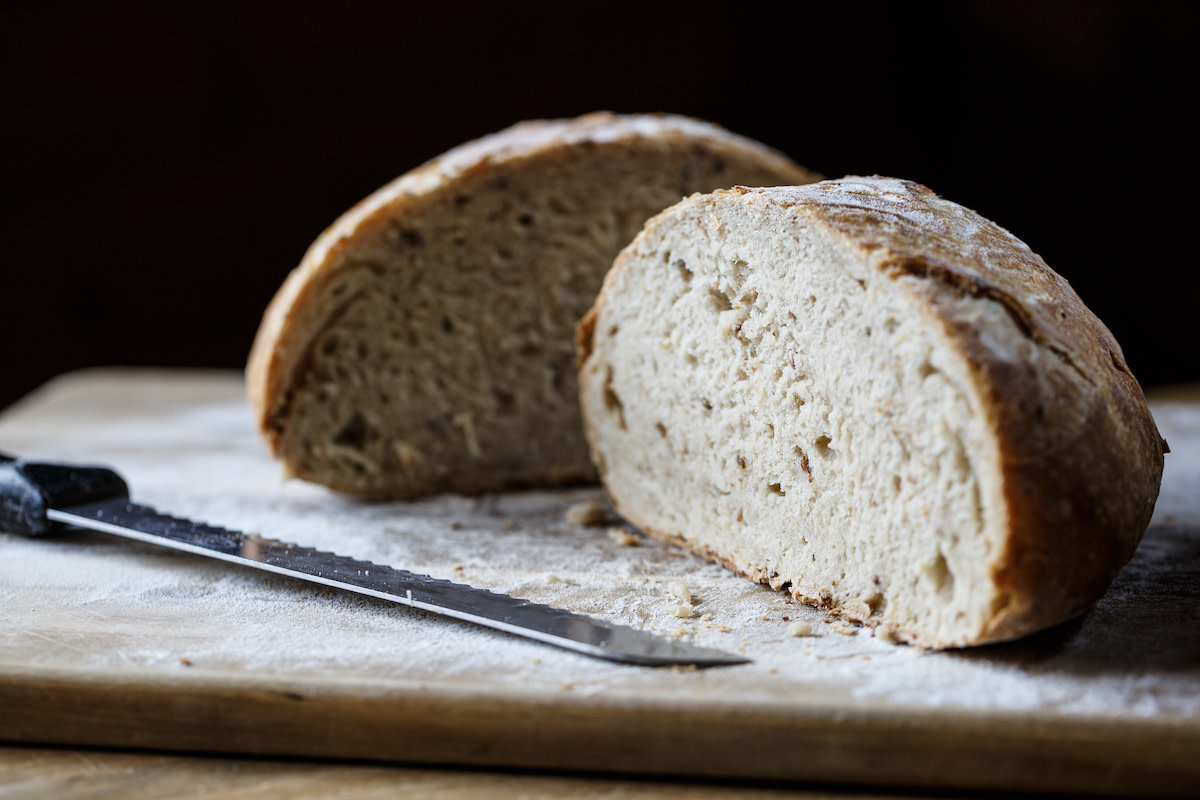
Gluten-free sourdough bread is a version of the famous tangy bread made with fermented sourdough starter and gluten-free flour. Sourdough bread is a blanket term for bread made with a living culture of natural, wild yeast, rather than commercial yeast. The fermented sourdough starter for this gluten-free recipe contains bacteria and acids that add a layer of tanginess to the wheat-free loaf.
Certain conventional diets, such as paleo, low-carb, or low-calorie diets, might involve removing gluten from food options. On the other hand, some people choose to avoid gluten for medical reasons, including difficulties processing it, like with gluten intolerance or Celiac disease. Gluten-free sourdough bread is a good option for those who have removed gluten from their diets.
5 Tips for Making Gluten-Free Sourdough Bread
Whether you have experience in alternative bread baking or are just exploring the world of gluten-free baking, these tips will help you craft the best gluten-free loaf of bread possible:
- 1. Ensure the starter is active. As is the case for regular sourdough bread, using a highly active gluten-free starter will result in a lighter, less dense loaf. For a previously refrigerated starter, plan on feeding it about three times before baking. To test the starter’s readiness, drop a spoonful of it into a cup of room-temperature water: If it floats, it’s ready. Follow this sourdough starter recipe.
- 2. Make your own flour mix. While an all-purpose gluten-free flour blend is the most convenient choice for making gluten-free bread, you can experiment with different flours, like sorghum flour, brown rice flour, buckwheat flour, millet flour, teff flour, oat flour, tapioca flour, and white rice flour. You can also try various thickening agents—like xanthan gum, flaxseed, arrowroot, potato starch, psyllium husk powder, and tapioca starch—to achieve your texture of choice for this dairy-free loaf.
- 3. Be gentle with your dough. When preparing sourdough bread, handle the dough as little and as gently as possible to preserve the air pockets, which will yield a loaf with a lighter crumb.
- 4. Cool the loaf completely. Allowing your gluten-free loaf to cool completely before slicing into it is imperative. The loaf has time to properly solidify during the cooling process, preventing a gummy, chewy texture.
- 5. Store properly. Your gluten-free sourdough bread loaf will keep well at room temperature, covered tightly in plastic wrap for up to 3 days. Slice the cooked and cooled bread, and store it in an airtight bag in the freezer for long-term storage. Remove frozen slices as needed and pop them into the toaster, toaster oven, or low-temperature oven until warm.
Homemade Gluten-Free Sourdough Bread Recipe
makes
1 loafprep time
30 mintotal time
1 hr 40 mincook time
1 hr 10 minIngredients
Note: The total time does not include at least 14 hours of inactive time.
- 1
In a medium bowl, mix together the sourdough starter, rice flour, and ¾ cup of filtered water until combined. Cover the bowl with plastic wrap and place it in a warm place to ferment overnight, from 8–16 hours. The longer the rest time, the more potent the sourdough flavor will be.
- 2
Make the psyllium husk mixture when you’re ready to assemble your dough. In a large mixing bowl, whisk together the psyllium husk, olive oil, sugar, salt, and the remaining 1¼ cups of water. Set the psyllium husk mixture aside to thicken for 10 minutes.
- 3
Whisk the sourdough starter mixture into the psyllium husk mixture until well incorporated.
- 4
Sift the all-purpose flour into the wet ingredients and stir with a wooden spoon until a rough dough forms. Using your hands, gently knead the dough until it becomes a smooth ball.
- 5
Turn the dough out onto a clean work surface and gently knead it until it is soft and smooth. If the dough seems dry, add one extra tablespoon of filtered water at a time.
- 6
Place the dough inside a large bowl or banneton lightly dusted with rice flour.
- 7
Cover the bowl with plastic wrap or a clean tea towel and place it in a warm spot to rest for 3 hours.
- 8
When your loaf is almost done with the second stage of proofing, preheat the oven to 425 degrees Fahrenheit. Place a Dutch oven inside of the preheated oven to warm it up.
- 9
Remove your loaf from the bowl. Place the loaf in the center of a long sheet of parchment paper. Leave 8 inches of excess parchment on either side of the dough.
- 10
Using a sharp knife, score the top of the bread with the pattern of your choice.
- 11
Using oven mitts, remove the hot Dutch oven from the oven and close the door to trap the heat.
- 12
Holding on to the excess parchment paper on either side of the loaf, gently lower it into the hot Dutch oven.
- 13
Place the lid on the pot and return it to the oven. Bake the bread for 45 minutes.
- 14
Remove the Dutch oven lid and continue baking the bread until the crust browns to your liking, about 25–40 minutes.
- 15
Remove the pot from the oven and use the parchment paper wings to transfer the bread loaf to a wire rack carefully.
- 16
Let the loaf cool fully to room temperature—at least 3 hours—before slicing and serving.
Become a better chef with the MasterClass Annual Membership. Gain access to exclusive video lessons taught by the world’s best, including Gordon Ramsay, Gabriela Cámara, Chef Thomas Keller, Dominique Ansel, Yotam Ottolenghi, Alice Waters, and more.
