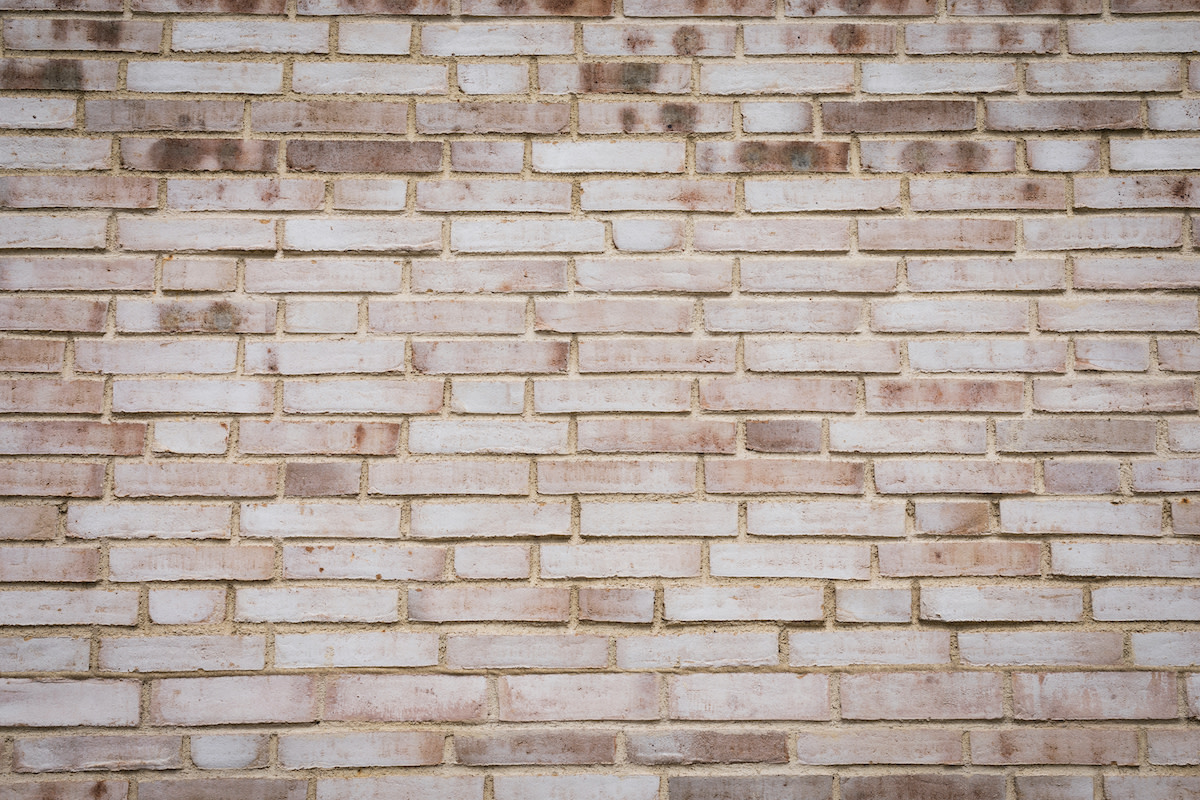
How to Do a German Smear: Guide to Mortar Washing Brick
Written by MasterClass
Last updated: Jul 26, 2021 • 3 min read
Masonry contractors and handy DIYers use the mortar-based treatment known as German smear to revitalize old brick home exteriors or create a distressed appearance for a new faux brick or real brick surface.
Learn From the Best
What Is German Smear?
German smear (or German schmear) is a design treatment that uses a spreadable paste called mortar to give brick color a white tint. Originating in Germany, the technique involves spreading mortar on brick—usually a red brick interior or exterior wall or brick fireplace—and removing some of it while it’s still wet to re-expose the underlying brick. The completed look of the brick exterior is typically reminiscent of old-world country manor houses or cottages in Northern Germany.
This technique is different from other painted brick techniques primarily because it uses mortar instead of paint. Other popular methods of treating brick include painting with regular latex paint or limewash paint. However, German smear is more durable than limewash and whitewash and adds both color and texture.
What Are the Advantages of German Smear?
The German smear technique has a few advantages for homeowners, including:
- Aesthetic appeal: German smear creates a warm and inviting rustic appearance on old or new brick walls and fireplaces. The smearing treatment is popular among homeowners who want to incorporate old-world charm into their home décor or remodel.
- Flexibility: German smear is very amenable to individual tastes because you can make the white mortar as light or heavy as you wish.
- Inexpensive: This design treatment can give your red brick walls a makeover at a relatively low cost, as the materials are inexpensive, and you can do the process yourself as a home improvement project.
- Permanence: Once applied, German smear lasts a long time with relatively little required upkeep—unlike other painting treatments, which you’ll need to reapply every couple of years.
What Are the Disadvantages of German Smear?
The German smear technique has a few disadvantages for homeowners, including:
- Labor: Applying German smear is a straightforward project that a handy DIYer can tackle, but it requires a lot of work. It is a labor-intensive process that can take many days, depending on the scale of a project—from a simple fireplace to an entire house.
- Permanence: The mortar wash’s durability is also one of its drawbacks, as once it is applied, it is very difficult to remove. Due to this permanence, some homeowners prefer hiring a masonry contractor to apply their smear, which can be expensive.
- Prerequisites: You can only apply German smear to a bare brick surface, as it will not adhere to painted brick.
How to Apply German Smear on Brick
Some professionals recommend hiring an expert to apply your German smear due to the technique’s permanent quality, but it is straightforward enough to take on as a DIY project. To give your brick surface a rustic update, check out the following step-by-step tutorial:
- 1. Clean the brick. The critical first step is to prepare the brick and grout lines for application by cleaning them before applying the mortar, which won’t stick otherwise. Clean the brick and grout with a power washer or a stiff bristle brush and water. The goal is to remove any build-up of mildew, grease, or dirt.
- 2. Mix the mortar. After the designated surface is prepped, it’s time to mix the ingredients to create the white mortar. This deceptively simple task requires mixing dry mortar with water using a 70-30 ratio. The desired consistency is similar to something between cream cheese and cake batter. It can be difficult to achieve this ratio, so many DIYers opt to purchase pre-mixed mortar.
- 3. Prep the brick. Wet the brick with a garden hose (or sponge and water if indoors) before applying the mortar. This step will make it easier for you to work with the mortar before it dries to achieve your desired effect.
- 4. Apply the mortar. Experts recommend practicing on a small, hidden section before diving into the bigger project. Use a sponge, trowel, or paint roller to apply the mixture to the surface of the brick. Spread the mortar in small areas, working from top-to-bottom. After a few minutes, check in on the mortar to see how it is drying. Once it is stiff but not dry, wipe some of the smear off with a wet sponge or wire brush.
Ready to Give Your Space a Chic Update?
Master everything from color theory to pattern mixing with the MasterClass Annual Membership and exclusive lessons from award-winning interior designers like Kelly Wearstler and Corey Damen Jenkins. From shopping for statement furniture to designing a lighting scheme to choosing the newest member of your plant family, the skills you’ll pick up are sure to make your house, apartment, or condo feel even more like a home.
