Front Lighting Photography: How to Shoot With Front Light
Written by MasterClass
Last updated: Aug 27, 2021 • 3 min read
Shooting with front light is one of the easiest ways to create a beautiful photograph. Check out these tips for lighting your images using the technique.
Learn From the Best
What is Front Light in Photography?
In photography, front light is a type of lighting that places the main light source directly in front of the subject. Amateur and professional photographers often utilize this type of lighting because it’s simple to set up and evenly illuminates the subject using natural light or artificial light.
One of the few drawbacks of front lighting is that it creates less dramatic images than other lighting, like backlights and side lights, and can be limiting in outdoor shoots.
3 Advantages of Front Light
There are several advantages to using a front light, including:
- 1. Simple to use: Front light is one of the easiest and most common types of light to use in photography. The light source evenly illuminates the subject, so even amateur photographers who don’t have much experience with lighting techniques can create an attractive image.
- 2. Flattering: Front light doesn’t create harsh shadows on the subject, so it’s ideal for shots at family gatherings or capturing landscape images. When light is coming from the front of the image, it also means that fewer facial lines or blemishes are visible in the subject’s face.
- 3. Versatile: You can create front lighting with natural and artificial lighting, so it’s great for indoor and outdoor photography. If necessary, a modifier, like a diffuser or a reflector, can manipulate front lights to produce a great image.
3 Disadvantages of Front Light
There are some disadvantages to using front light, including:
- 1. Images may lack drama: Front light creates attractive images that work well for many situations. However, it doesn’t create complicated or dramatic images in the same way as other types of lighting.
- 2. Creates a flat background: With front light, shadows fall behind the subject. While it may conceal facial lines, it can also create a flat, two-dimensional image. As such, it’s not typically considered the best lighting for portrait photography.
- 3. Outdoor shooting challenges: Front light is useful for outdoor photography, but it works best in certain lighting conditions, especially with the soft light of early morning or late afternoon. A fill flash, in which the camera aperture and film speed adjust while the camera flash fires, helps brighten front lighting when shooting outdoors.
How to Shoot With Front Lighting
There are many photography tips that you can use to shoot with front lighting, including:
- Angle the light. Change the direction of light to lend depth and definition to an image using front light. Position your light mount, or move your subject, so the light is above and angles down to them. The higher position causes shadows to fall downward, but the subject remains in front light.
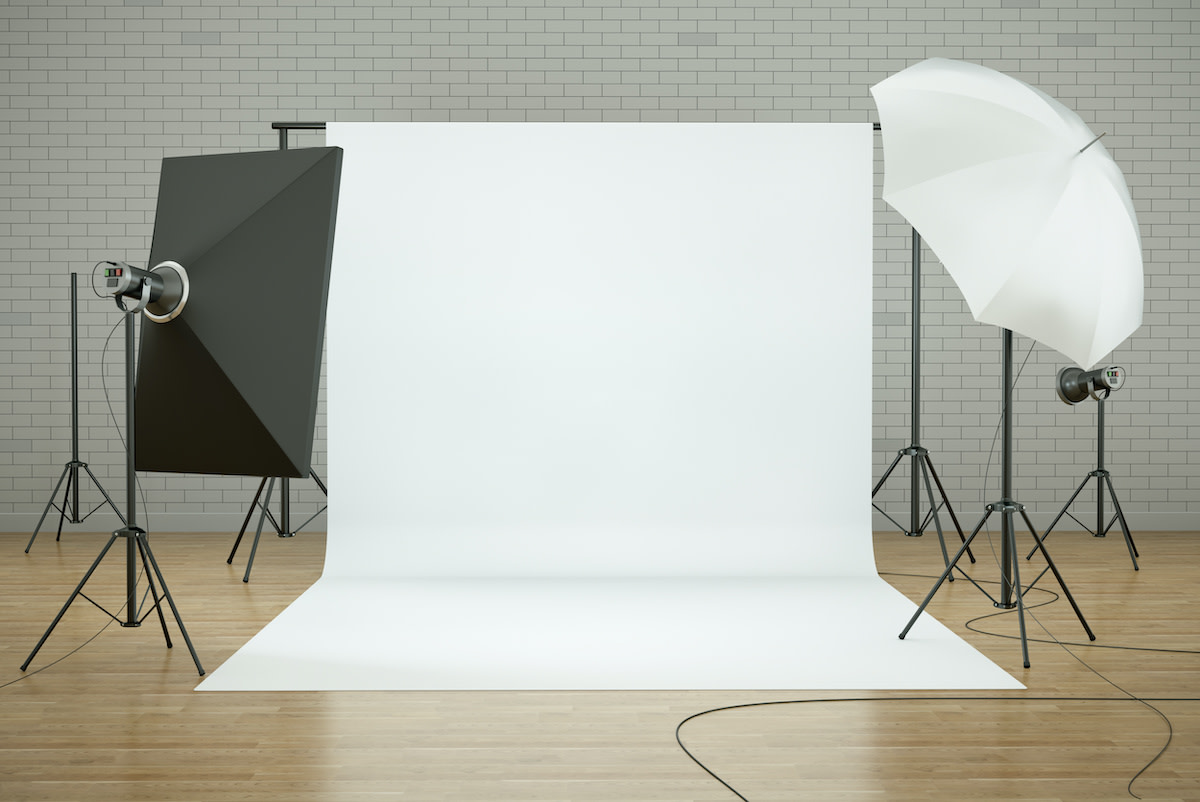
- Diffuse the light. To soften outdoor lighting, use a diffuser—a light modifier that attaches to the flash unit—to filter the amount of light on your subject. Diffused light keeps the subject lit from the front but softens its brightness. A softbox helps diffuse light, but an umbrella can also work.
- Monitor the light. Note the position of the sun if you’re shooting outdoors. Front light puts direct light in the subject’s eyes, so the bright, late morning sun will cause them to squint or cast long shadows. There’s a reason photographers call the period after sunrise or before sundown the golden hour: This is when the sun is low, creating a warm glow around subjects.
- Reflect the light. Reflecting light off another surface will also give you softer front light. To achieve the right brightness, you can bounce sunlight or artificial light off a white sheet, white cardstock, a light-colored umbrella interior, or even cardstock wrapped in tinfoil.
Differences Between Front, Side, and Back Lights
There are a couple of differences between front light, side light, and backlight, which revolve around the light placement and shadowing.
Backlighting occurs when the light source is behind the subject, while photographers place the lighting source to the side of the subject in side lighting. In front lighting, the source is in front of the subject.
Front light creates attractive two-dimensional images with few shadows. Side lighting contrasts between deep shadows and hard light, or bright, intense light to produce striking images, while backlighting places the subject in a hazy silhouette with long, dramatic shadows.
Want to Learn More About Photography?
Become a better photographer with the MasterClass Annual Membership. Gain access to exclusive video lessons taught by the world’s best, including Annie Leibovitz, Tyler Mitchell, Jimmy Chin, and more.
