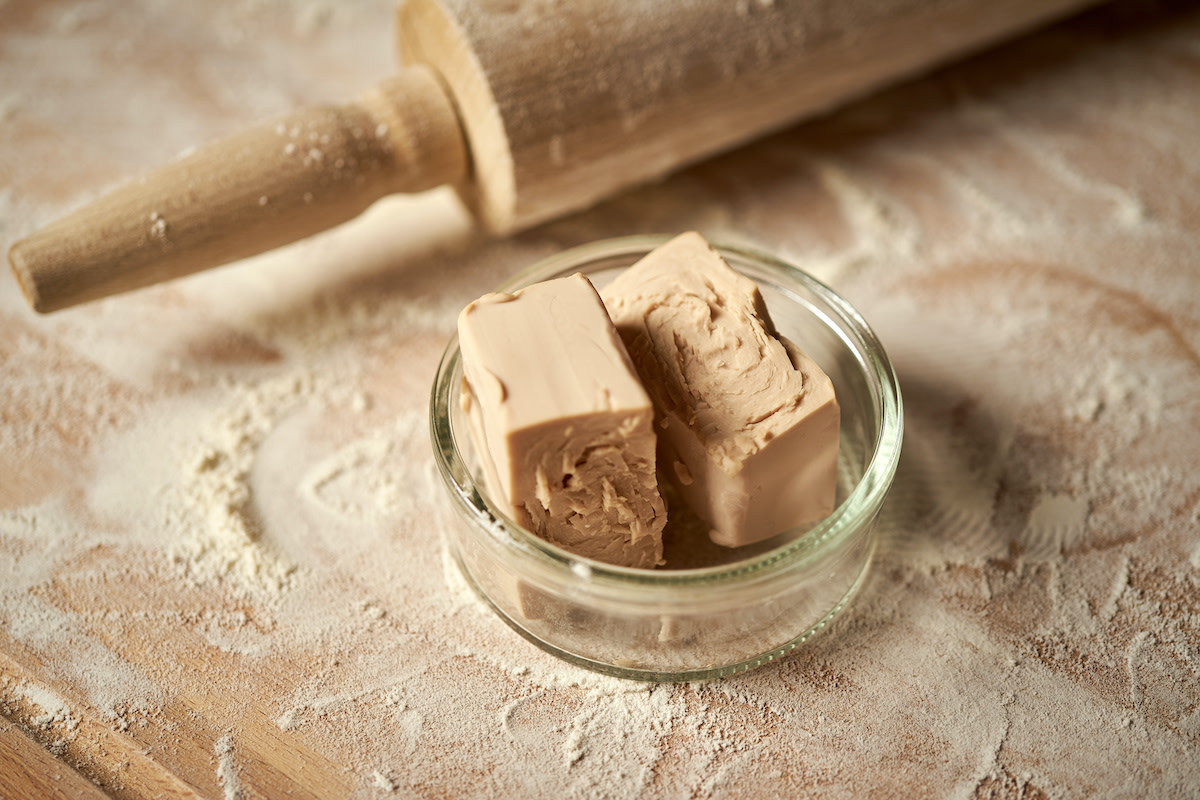
There are upwards of 1,500 different yeast types worldwide, but home bakers have a soft spot for just one: Saccharomyces cerevisiae, the single-celled microorganism better known as baker's yeast.
Learn From the Best
What Is Fresh Yeast?
Fresh yeast, also known as cake yeast or baker’s yeast, consists of moist, living yeast cells compressed into small cakes that professional bakers use to make bread and other baked goods. Fresh yeast acts as a leavener in the baking process, helping baked goods rise and imparting a slightly sweet flavor. As the most perishable of the commercially available yeasts, you can find fresh yeast in the refrigerated section of well-stocked grocery stores.
3 Tips for Using Fresh Yeast
Fresh yeast is a good fit for baked goods that require a long, slow rise time (think French breads like brioche) thanks to its quick activation and ability to stay active for more extended periods.
- 1. Proof. While you can crumble fresh yeast directly into dry ingredients, some bakers prefer to proof it to ensure the yeast is alive. To proof, add fresh yeast to warm liquid and mash with a fork to break it up in the warm water. Learn more about proofing.
- 2. Use for large batches. Fresh yeast has a limited shelf life, so using it for large-batch baking ensures it will not go to waste. Make a large batch for the holidays or special occasions or when testing out a recipe.
- 3. Tweak to make a dry yeast substitute. If a recipe calls for active dry yeast, but you want to swap it out for fresh yeast, you may need to tweak the recipe to account for the extra moisture. Bakers typically use a 2:1 ratio when calculating yeast by weight in bread making: Since one packet of active dry yeast is .25 oz, use one packet of cake yeast, which is usually .6 oz.
How to Make a Yeast Starter
Making your own starter takes about five days. Once fermentation begins, you’ll need to add flour and water to feed the yeast and allow it to grow, developing layers of flavor and enabling the dough’s rise—which will usually take longer than a loaf made with commercial yeast.
- 1. In a large mixing bowl at least twice the size of your mixture, combine three tablespoons of all-purpose flour and three tablespoons of water and mix with a spatula until evenly combined. Loosely cover and leave at room temperature for 24 hours.
- 2. The next day, add another three tablespoons of flour and three tablespoons of water and mix to combine. Loosely cover and leave at room temperature for another 24 hours.
- 3. On day 3, add six tablespoons of flour and six tablespoons of water and combine them. Loosely cover and leave at room temperature for another 24 hours.
- 4. On day 4, remove a fourth of the mixture from the container and discard. Loosely cover and leave at room temperature for another 24 hours.
- 5. By day 5, your yeast starter should be ready to use. It should be light, bubbly, and fluffy, and have a pronounced, almost sweet, fermentation aroma without any acidity. To double-check, pinch off a small amount of starter and place in a bowl of warm water. If it floats, it’s an indication that the starter is ready.
What Is the Difference Between Fresh Yeast and Dry Yeast?
There are four main differences between dry yeast and fresh yeast:
- 1. Texture: Fresh yeast has a moist, putty-like consistency, like soft cheese or kneaded eraser. Dried yeast—both active dry and instant—looks and feels like refined sugar or grains of polenta.
- 2. Shelf life: Active dry yeast has a much longer shelf life than fresh yeast. Active dry remains usable for several months when stored at room temperature (though it should always be activated in warm liquid first, especially if they’re long past the expiration date). Fresh yeast requires refrigeration and must be used within a week or two.
- 3. Activation: Active dry yeast requires a proofing or blooming step before it can be incorporated into the dough, which “proves” that the yeast cells are still alive, and thus, effective. This activation process involves combining the dry yeast granules with warm water (hot water can kill the yeast cells) and a bit of sugar, then letting the mixture sit undisturbed for a few minutes until a layer of frothy, aromatic foam appears. Both fresh yeast and instant yeast don’t require this step and can be added directly to dry ingredients before kneading.
- 4. Rising time: The drying process involved in producing active dry yeast kills about a quarter of the yeast cells, forming a protective coating around the living cells, slowing down fermentation, and producing a noticeably ripe flavor. As a result of skipping this process, fresh yeast contains more living yeast cells and no fermentation hurdles, which means a bigger, faster rise.
Bready for More?
We’ve got you covered. All you knead (see what we did there?) is The MasterClass Annual Membership, some water, flour, salt, and yeast, and our exclusive lessons from Apollonia Poilâne—Paris’s premier bread maker and one of the earliest architects of the artisanal bread movement. Roll up your sleeves and get baking.
