Foreshortening Explained: How to Use Foreshortening in Drawing
Written by MasterClass
Last updated: Jun 9, 2021 • 2 min read
In fine art, foreshortening is a method for painting or drawing objects so they appear to recede in three-dimensional space.

Learn From the Best
What Is Foreshortening?
Foreshortening is a fine art technique that captures how the eye perceives objects or subjects receding in space. Foreshortening is a fundamental part of linear perspective drawing, and it gives two-dimensional art the illusion of depth. Though the mathematics involved in foreshortening can be complex, you do not have to be a master of numbers to become a master of foreshortening. A sense of geometric shapes and angles can aid your drawing.
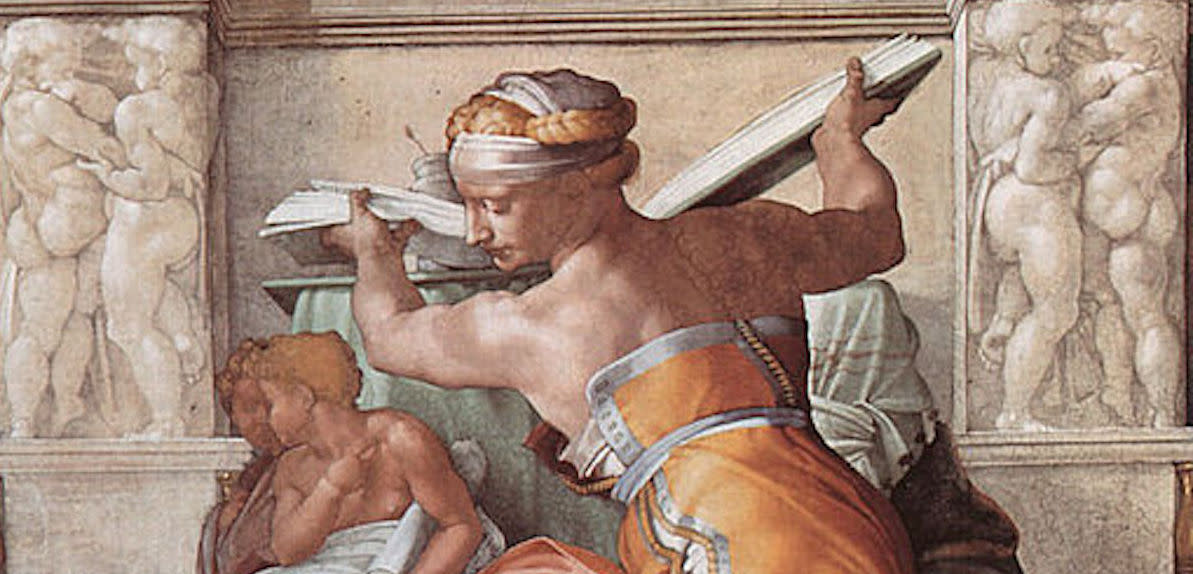
Renaissance artists often employed foreshortening in figure drawing; Andrea Mantegna, for instance, painted The Lamentation Over the Dead Christ (c. 1480), a work that exemplifies how a foreshortened figure can appear to extend from the background to the foreground. Another example of foreshortening is Michelangelo’s frescoes in the Sistine Chapel (1508–1512), in which human figures appear to be ascending vertically.
How to Use Foreshortening in Drawing
There are several ways to execute foreshortening to give depth to your visual art:
- Perspective lines: A horizon line, drawn flat across your picture plane, will help establish your vanishing point and give focus to your work. For example, in one-point perspective, the angles of a road, sidewalk, or railroad tracks leading toward your vanishing point will create depth and a sense of distance.
- Geometric shapes: Broken down into parts, a boot in profile might look like a vertical rectangular prism that perpendicularly meets a cylinder on its side. If you can imagine your objects as simple shapes, you can get a sense of which shape has to overlap with the others and which shapes to draw larger to give perspective to your artwork.
- Coil technique: Break your subjects down into simple shapes, then create three-dimensionality by drawing coils or concentric ellipses to evoke their surfaces. With a pencil, lightly draw ellipses that follow the contours of your subject. The coil technique can be helpful for drawing a human body or any other subject composed of many different shapes.
- Contour and refine: Shade and contour the shapes to create a refined sense of depth.
A Simple Foreshortening Drawing Exercise
The theory behind foreshortening is helpful, but drawing tutorials and exercises will enrich your learning and offer you hands-on experience. To begin, try drawing your arm in different positions:
- 1. Move your arm through a hook punch motion. To practice drawing foreshortening, make a fist with your dominant hand, stretch your arm far to the side, and then slowly bring your arm and fist inward, ending in front of your face. You just threw a hook punch.
- 2. Divide that action into three parts. First, your arm is outstretched to the side, then it’s at about a 45-degree angle from your body, and then it's directly in front of you.
- 3. Draw each phase of the punch. Your fist is, of course, the same size throughout, but it will appear bigger in each drawing as it gets closer to your body. Using perspective lines and geometric shapes (a cylinder for your arm, a sphere for your fist), draw the three phases of this punch.
Ready to Tap Into Your Artistic Abilities?
Grab the MasterClass Annual Membership and plumb the depths of your creativity with the help of modern artist Jeff Koons, abstract artist Futura, and stage designer Es Devlin. Our exclusive video lessons will teach you to do things like utilize color and scale, explore the beauty in everyday objects, and so much more.