Foam Rolling Hip Flexors: How to Foam Roll Your Hip Flexors
Written by MasterClass
Last updated: Sep 3, 2021 • 4 min read
Learn the common mistakes to avoid when foam rolling hip flexors and how to complete this lower-body foam roller exercise properly.
Learn From the Best
What Is a Foam Roller?
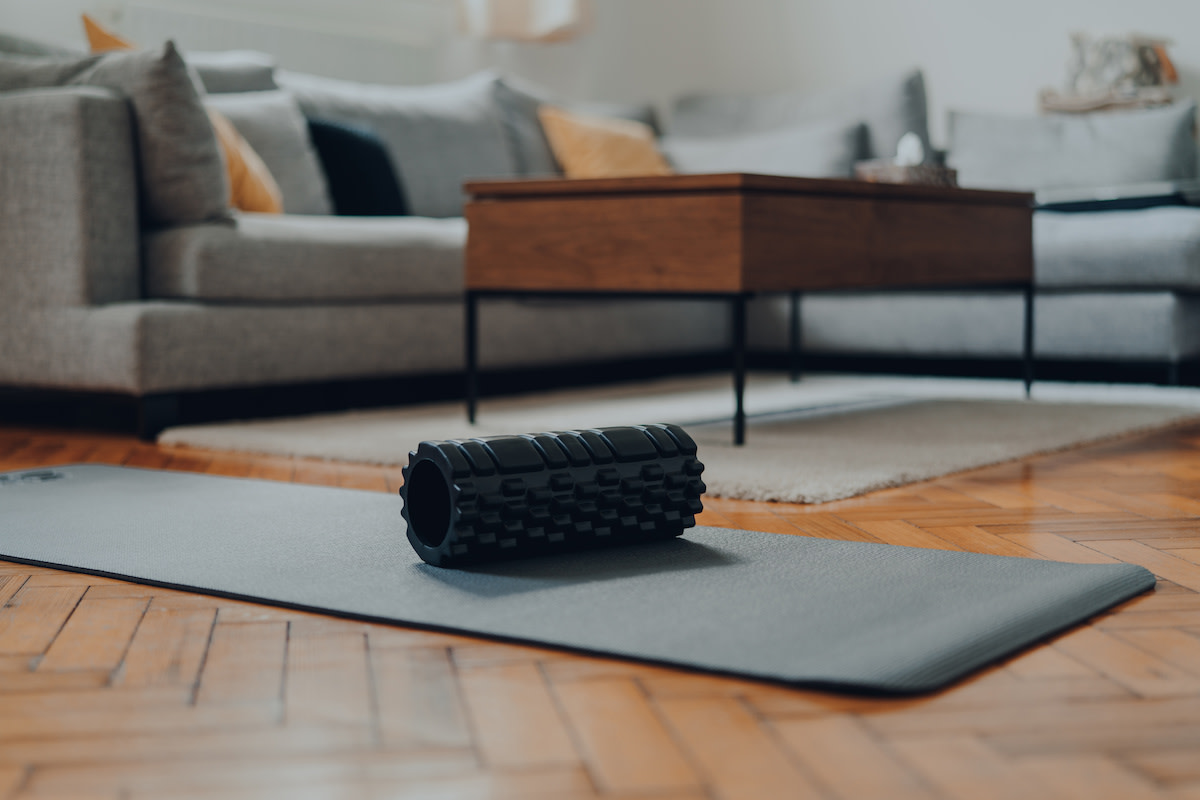
A foam roller is a cylindrical piece of foam used to target muscle soreness after a workout by administering self-myofascial release (SMR), or self-massage. Self-myofascial release refers to the muscle (myo) and connective tissue (fascia). One of the biggest benefits of foam rolling is working out pain or soreness caused by adhesions (otherwise known as tightness) or trigger points (otherwise known as knots).
Foam rolling exercises release tension in the body's tight spots and muscle tissue to prevent injury, support athletic performance, and increase the quality of soft tissue. When performed properly, they also help improve blood flow, promoting overall wellness and muscle elasticity. Physical therapists often use foam roller exercises to target muscles throughout the entire body, including the lower back, upper back, glutes, hamstrings, IT bands (ITB), hip flexors, quadriceps, and calf muscles.
4 Common Mistakes to Avoid When Foam Rolling Hip Flexors
Foam rolling hip flexor stretches can help loosen up tight hip muscles, increase hip mobility, and alleviate hip pain. Using proper form is crucial to protect your hip flexor muscles from injury. Consider these common mistakes when practicing foam roller hip flexor exercises.
- 1. Foam rolling directly on an injury: If you're experiencing pain in your hips as a result of an injury, do not roll directly on the injured spot. This will likely exacerbate the damage, causing more inflammation and pain. Instead, roll away from the pain point to work the connecting muscles. Work several surrounding muscles for short intervals, slowly making your way closer to the trigger point.
- 2. Rolling in the wrong direction: To work out tight hip flexors properly, keep the foam roller perpendicular to your body. Move your body in a forward and backward motion along the foam roller. Work one side of the body at a time, alternating between the left and right hip.
- 3. Using too little or too much pressure: Foam rolling is meant to ease tension, not create more. If you're experiencing pain or not achieving your desired result, adjust the amount of pressure you're using. Control the impact of your bodyweight throughout the range of motion by supporting your body with your forearms.
- 4. Rolling over bone: Bones in the hips and pelvic area can often be mistaken for tight muscles. Applying pressure to bone can cause pain and inflammation. Consider using a tennis ball to reach small, tight spots.
How to Foam Roll Your Hip Flexors
Perform 1–2 sets of 30–90 seconds before or after exercising.
- 1. Lie facedown on a yoga mat. Place the top of one of your hips on the foam roller. The foam roller should be positioned just below your hip bone.
- 2. Place your forearms on the floor as if you were performing a plank. Your chin should remain tucked throughout the movement as if you were holding an egg under your chin.
- 3. Engage your core. Your ribs should be down and your pelvis should be slightly tucked to prevent your low back from sagging.
- 4. Your non-rolling leg should be off the floor with only your toes in contact with the ground. Each set should begin from this starting position.
- 5. While maintaining your alignment, use your non-rolling leg and arms to slowly roll up and down your hip flexor. Roll from the top of your quad to your hip bone.
- 6. Roll the front and side of your hip to cover the hip flexors.
- 7. Use the foam roller to slowly roll your hip flexors until you find the most tender spot. Hold on that spot for 30–90 seconds while relaxing until the discomfort is reduced.
- 8. Repeat on the opposite leg.
How to Work Out Safely and Avoid Injury
If you have a previous or pre-existing health condition, consult your physician before beginning an exercise program. Proper exercise technique is essential to ensure the safety and effectiveness of an exercise program, but you may need to modify each exercise to attain optimal results based on your individual needs. Always select a weight that allows you to have full control of your body throughout the movement. When performing any exercise, pay close attention to your body, and stop immediately if you note pain or discomfort.
To see continual progress and build body strength, incorporate proper warm-ups, rest, and nutrition into your exercise program. Your results will ultimately be based on your ability to adequately recover from your workouts. Rest for 24 to 48 hours before training the same muscle groups to allow sufficient recovery.
Want to Dive Deeper Into Your Wellness Journey?
Throw on some athleisure, fire up a MasterClass Annual Membership, and get ready to sweat it out with exclusive instructional videos from Nike Master Trainer and GQ fitness specialist Joe Holder. Want to improve your cardiovascular endurance? Give Joe’s HIIT workout a go. Trying to get a little swole? He’s got a strength training workout for that. From fitness tips to nutrition hacks, Joe will have you feeling healthier in no time.
