How to Build a DIY Firepit in 7 Steps
Written by MasterClass
Last updated: Jul 16, 2021 • 4 min read
Building a DIY firepit is an affordable and easy home landscaping project that can add value to your outdoor space.
Learn From the Best
What Is a Firepit?
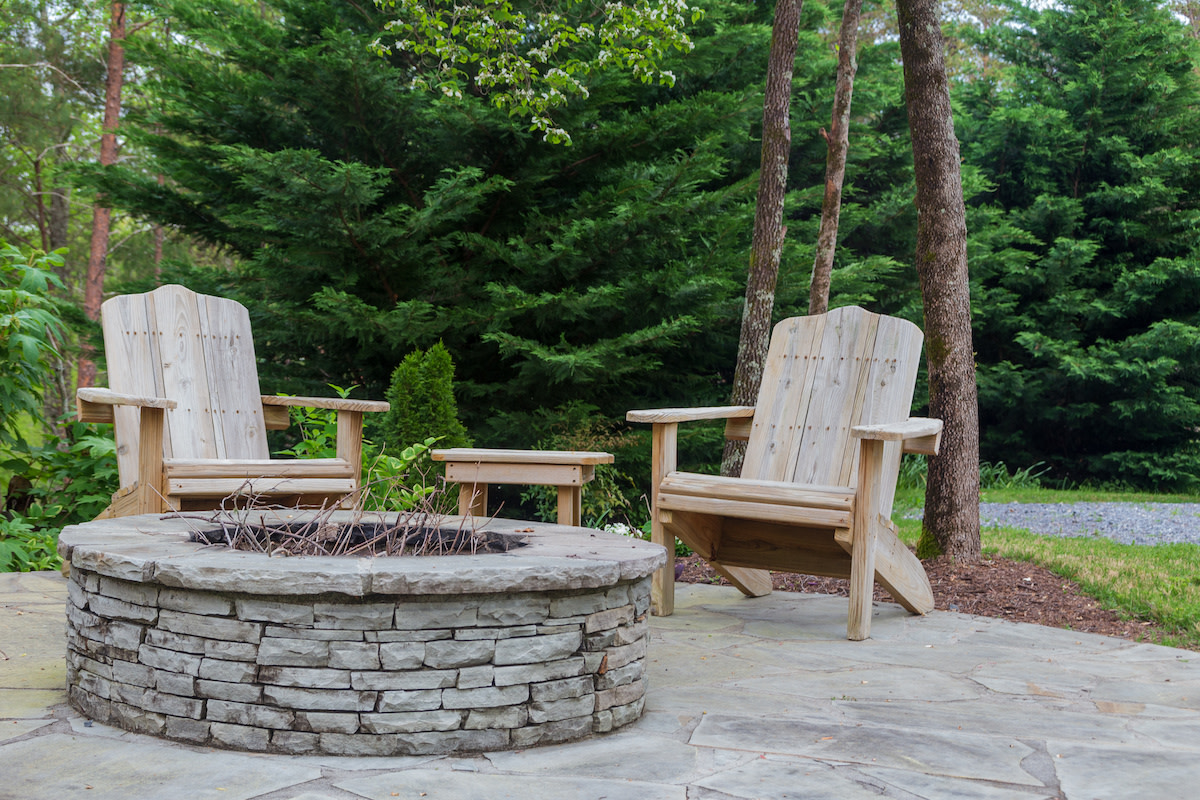
A firepit is a hole or basin used for building and containing small outdoor campfires typically located in a home’s backyard. Firepits are often built from stone, metal, pavers, or clay bricks. You can purchase a firepit from any home goods store that is fueled either by propane, fire gel, or wood. Instead of purchasing a firepit or commissioning a landscaping company to build one for you, you can save money by building a DIY firepit in your backyard.
What Materials Are Used to Build Firepits?
Here is an overview of some of the most commonly-used materials building a firepit.
- Stone pavers: Stone pavers are an affordable material that are easy to lay which makes them popular for DIY home projects like firepits. Rectangular pavers can be stacked and grouted in a square formation, or trapezoidal pavers can be stacked to make a circular firepit.
- Concrete blocks: Concrete blocks are another popular and affordable DIY material for firepits. They don’t require too much hands-on construction and can be arranged easily in a circle or square.
- Natural stones: Natural stones like river rocks or lava rocks can be paved into a round or square firepit for a rustic look.
- Metal: A large metal bowl or slab can be used to make a metal firepit. Metal firepits are sometimes accompanied by a frame built of lumber or stone or shielded in glass cages.
4 Ideas for Building a DIY Firepit
There are countless ways to design and construct your outdoor firepit. Here are a few design ideas for your own firepit.
- 1. Firepit with pavers: Pavers can be used as a simple firepit base. You can use trapezoidal paver blocks stacked four high into the ground in a circle on top of a base of gravel. Sprinkle the pavers with sand to fill the gaps to prevent them from shifting.
- 2. Filled-in pond or water feature: If you’re tired of the small pond or water feature in your home, you can repurpose it as a firepit. Lne the bottom with gravel to insulate the ground, and circle the basin with garden stones for a natural-looking, affordable firepit.
- 3. Firepit kit: You can buy a ready-made firepit kit from most home improvement stores. All you need is to construct a stone or brick circular well for the kit to sit in.
- 4. BBQ firepit: Attach a grill plate to the top of any DIY firepit fto give it cooking functionality, especially if you’re constructing a simple rectangular firepit made out of stone pavers.
How to Build a Firepit
If you’re looking for a DIY project, here is a step-by-step guide of how to build an easy firepit with pavers that you can buy from your local home improvement store.
- 1. Look into restrictions. You may be contractually obligated to let your home insurance company know you’re building a backyard firepit on your property. If you’re part of a homeowners association, you may also need to notify them of your plans to build a firepit.
- 2. Choose and measure your worksite. Use a tape measure to plot out the area that you plan to build your firepit. Make sure that this location is far enough away from your home. Decide on what shape and size your firepit will be, whether circular, square, or something else. Outline the area where you’ll be installing your firepit with spray paint or stakes. Make note of the square footage of your work area, which will help you calculate how many pavers you will need.
- 3. Excavate your firepit area. Use a spade or shovel to dig into the soil and clear the grass from the area that will become your firepit. Use a tape measure or ruler to measure the depth of your evacuated area. You want your area to be deep enough to accommodate six inches of gravel and the depth of your pavers.
- 4. Make your firepit base. Fill your excavated area with at least a six-inch layer of gravel or crushed stone. Use a landscape rake to evenly spread the base material in your paving area. Wet the base material using a garden hose, then use a tamper across the layer of stone or gravel, which will compact the material into a firm and even base layer.
- 5. Build your firepit. Using your pavers, start to lay out the blocks to form the firepit. If you’re making a circular firepit, you’ll be using trapezoidal pavers. If you’re using rectangular ones, you should make a square base. Use leveling sand to even out spaces between bricks. When stacking your bricks or pavers, leave a hole or two to allow ventilation into your firepit.
- 6. Add a metal grate or basin. Add a metal grate or basin to the top of your firepit. Before you secure your pavers, test the size of your basin against your firepit walls to ensure it will fit properly.
- 7. Secure your firepit. You can use construction adhesive or grout to hold the blocks of your firepit in place. Then add any finishing touches, such as metal grills, basins, or decorative rocks.
Ready to Give Your Space a Chic Update?
Master everything from color theory to pattern mixing with the MasterClass Annual Membership and exclusive lessons from award-winning interior designers like Kelly Wearstler and Corey Damen Jenkins. From shopping for statement furniture to designing a lighting scheme to choosing the newest member of your plant family, the skills you’ll pick up are sure to make your house, apartment, or condo feel even more like a home.
