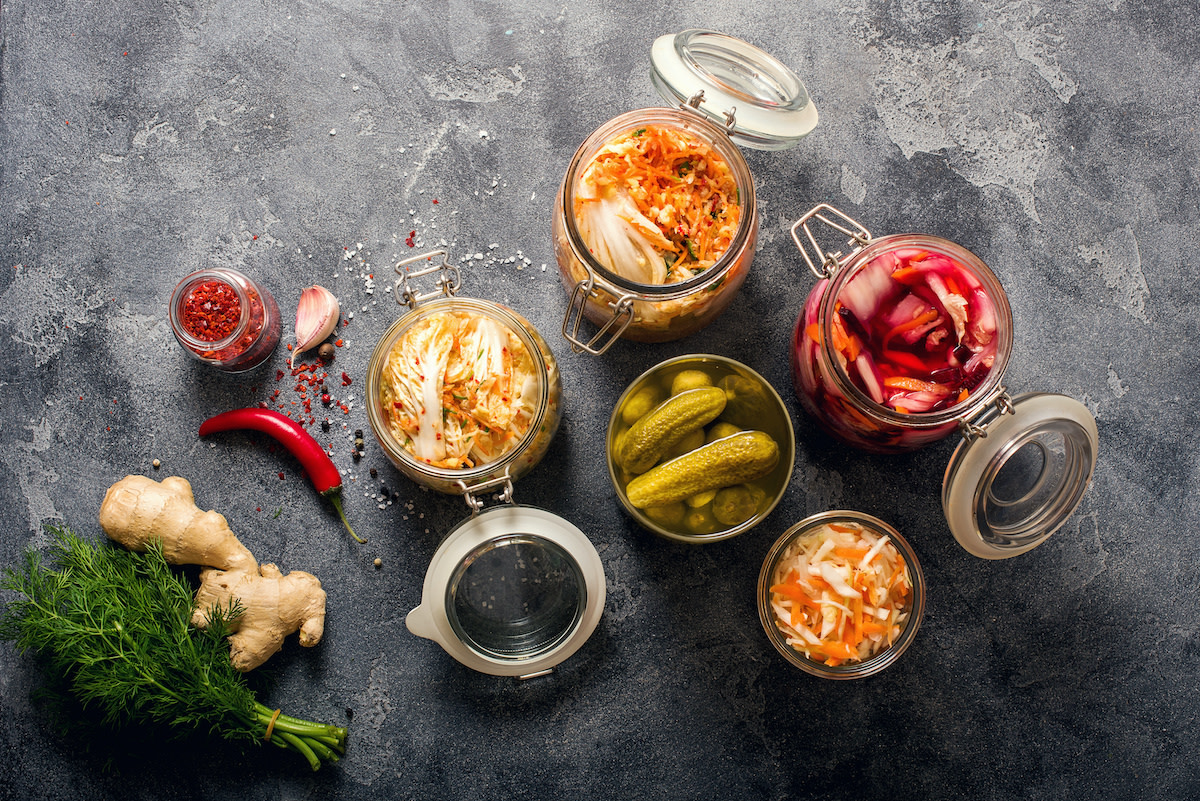
Fermented Vegetables: How to Ferment Vegetables
Written by MasterClass
Last updated: Feb 10, 2022 • 2 min read
Fermented vegetables make a great side dish, condiment, or probiotic-rich snack and are possible to make at home.
Learn From the Best
What Are Fermented Vegetables?
Fermented vegetables undergo a lacto-fermentation process, which extends their shelf life and can help to reduce food waste. Korean kimchi and sauerkraut are two examples of popular side dishes or condiments featuring fermented vegetables. Other fermented foods include probiotic-rich kombucha, kefir, and sourdough.
There are some health benefits of consuming fermented vegetables and other fermented foods. The food preservation method inhibits the growth of harmful bacteria while encouraging the growth of beneficial bacteria known as lactobacillus or probiotics. Fermentation also increases or, at the very least, preserves the nutrients and enzymes in the vegetables. This increases the digestibility of many vegetables, which promotes good gut health.
8 Steps to Making Fermented Vegetables
Fermenting vegetables involves many steps but is still an approachable process for home cooks. Follow these steps to make DIY fermented vegetables:
- 1. Prepare the vegetables. Use radishes, beets, cucumbers, green beans, turnips, jalapeños, or other vegetables. Chop the ingredients or cut them into matchsticks. Place them in a wide-mouth glass jar, along with your choice of whole spices (for example, peppercorns, mustard seed, or coriander seed) and dried herbs. Fill the jars but leave about an inch of headspace from the top of the jar.
- 2. Make the salt brine. Use kosher salt or sea salt, but make sure to use the type of salt your recipe specifies since different salts have varying salinity levels. Stir the salt into filtered water until the salt dissolves. There is no need to heat the salt water. Skip using vinegar in the salt brine since this is for fermentation and not pickling.
- 3. Fill the jars with the brine. Ladle the brine into the jars or use a funnel. Leave the inch of headspace at the top of the jar to account for carbon dioxide development during the fermentation process—otherwise, the jars could explode from too much gas buildup.
- 4. Add a cabbage leaf. Many fermented vegetable recipes call for adding a cabbage leaf to the surface of the liquid. This helps to keep the vegetables submerged in the brine.
- 5. Secure the jars. Tighten the lids on the jars. There’s no need to use an airlock for most fermentation recipes, but use it if the recipe calls for it.
- 6. Set the jars in a cool, dark place. Store the jars away from direct sunlight and at a moderate temperature. A room temperature above 68 degrees Fahrenheit and below 75 degrees Fahrenheit is ideal. Check the jars after two days. There should be bubbles forming.
- 7. Burp the jars. After two days of fermentation, take the jars—one at a time—to a sink. Carefully loosen the lid to allow some of the gas to escape. Chefs call this process burping the jars. Do this once or twice a day as the fermentation continues.
- 8. Perform a taste test. At around day four, start tasting the vegetables. At this stage, they should be tangy and soft. The longer the vegetables ferment, the more lactic acid bacteria will develop, and the sourer they will become. Once you’re satisfied with the taste, move the jars to the refrigerator, where they should keep for a couple of months.
Want to Learn More About Cooking?
Become a better chef with the MasterClass Annual Membership. Gain access to exclusive video lessons taught by the world’s best, including Alice Waters, Gabriela Cámara, Niki Nakayama, Chef Thomas Keller, Gordon Ramsay, Yotam Ottolenghi, Dominique Ansel, and more.
