Drilling Into Concrete: Steps for Using a Masonry Drill Bit
Written by MasterClass
Last updated: May 6, 2022 • 4 min read
Drilling into concrete might seem like a daunting home improvement task, but it can be a straightforward and simple-to-learn process for any DIYer with the right tools, methods, and safety equipment.
Learn From the Best
What Is Concrete?
Concrete is a versatile and reliable hard building material in commercial and residential construction. The Roman Empire built the earliest concrete structures with a concrete mix of quicklime, pozzolana, and pumice. In modern times, the basic ingredients of concrete are cement, aggregate, and admixtures.
Since concrete has limited tensile strength, builders often use embedded metal plates in concrete walls, which they can then weld to steel framing members. Alternatively, they might place mats of overlapping steel rebar inside a concrete floor or concrete wall to increase the structural stability.
Necessary Supplies for Drilling Into Concrete
A home improvement project might require you to drill into concrete to reinforce a structure, access cables or plumbing, or anchor something to a wall or floor. Collect these tools and supplies in advance to efficiently complete your DIY concrete drilling project:
- Masking tape: Use duct tape or masking tape to cover your work area with protective plastic and to serve as a depth stop marker. Measure the length of your fastener, masonry nail, or concrete screws, and place a piece of tape on the drill bit at the same distance from the sharp tip of the bit. You can then drill until you reach your tape marker without worrying you have drilled too deep.
- Masonry drill bit: Use tungsten carbide drill bits or SDS Max drill bits (SDS stands for slotted drive shaft or slotted drive shaft system) when drilling holes into concrete, brick, or stone. These drill bits are stronger and sharper than the regular drill bits for use with wood. Manufacturers design masonry drill bits with deep shanks, which lock the bit into place, and wider, spiraling flutes on the bit to reduce the chance of it catching on obstructions or overheating your power tool.
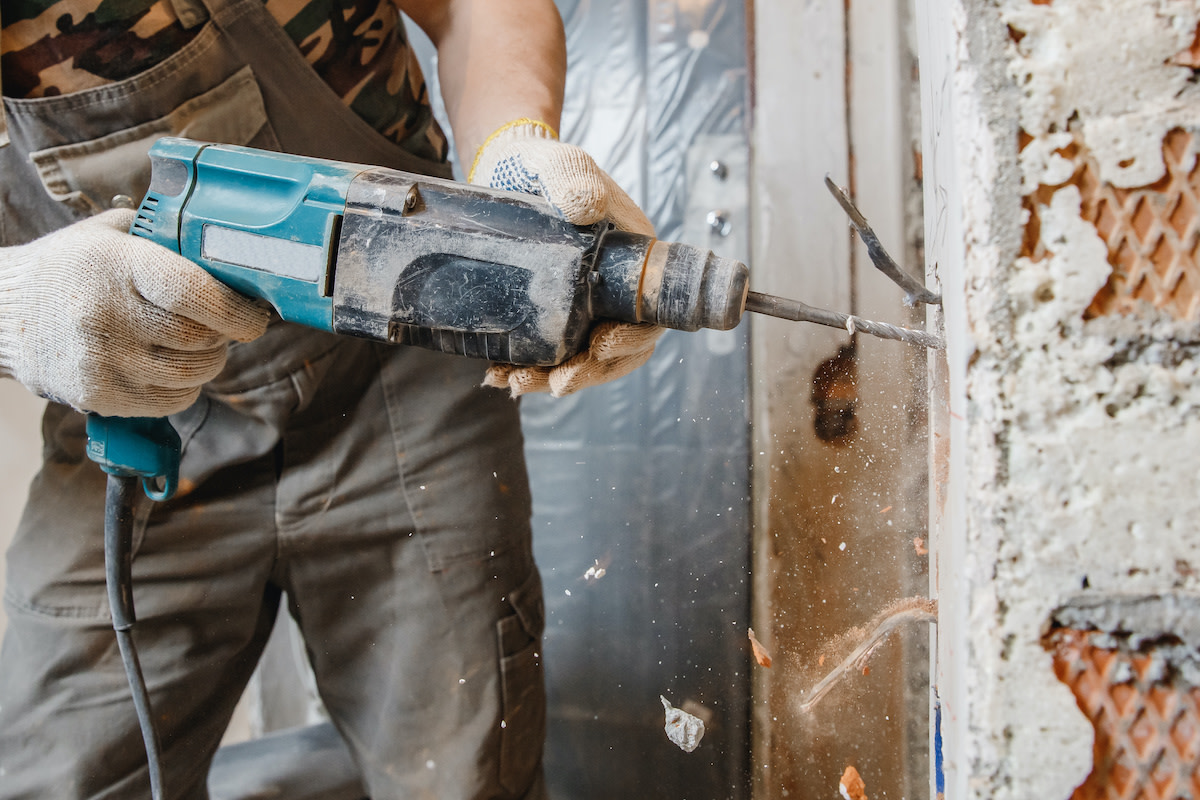
- Rotary hammer drill: This type of drill has more torque and power than a standard drill and can assist in heavy-duty drilling tasks, such as into hard materials or concrete surfaces. There are corded and cordless drill options homeowners can purchase at local home improvement stores.
- Safety gear: Wear safety goggles or eye protection when you drill into concrete since drilling can produce chips of concrete and dust that can irritate or damage your eyes. Additionally, concrete dust encompasses particles of silica dust, which can damage your respiratory system. Use a dust mask or respirator to drill concrete in confined spaces.
6 Steps for Drilling Into Concrete
Once you have collected all the necessary supplies for drilling into concrete, you are ready to continue your home improvement project. Here are the general steps of the concrete drilling process:
- 1. Plan ahead. It is more difficult to patch concrete walls than drywall surfaces, so double-check you will be drilling into the correct location. You can also place protective plastic on the floors or set up a vacuum system to mitigate concrete dust from spreading throughout your home. Planning ahead will decrease your cleanup time.
- 2. Don safety equipment. Use eye protection and a respiratory filter when you drill concrete. Also, use the auxiliary handle on the side of the drill to keep the tool stabilized during use. The handle will provide steady control while you drill, but it can also protect your hands and wrists if the drill bit catches on rebar or other obstructions in the concrete. A stuck bit will force the back of the drill to spin and twist in the user's grip, sometimes causing injury.
- 3. Drill a pilot hole. When you start drilling, set your drill to a slow speed setting and place a guide hole in the wall. This pilot hole should be approximately one-eighth-inch deep and perpendicular to the wall surface. This hole will guide your drill bit to create a straight, ninety-degree hole into the wall surface.
- 4. Apply steady, firm pressure. Drill in a stabilized position, allowing the hammer action of the rotary hammer drill to assist the drill bit through the material. This force can cause a slight recoil for the user, so ensure you hold the tool with a strong grip. Push the drill bit into the wall with steady pressure. Be aware there might be inconsistent thicknesses and air pockets throughout a concrete wall—prepare for the drill to meet resistance or move deeper into the wall than you intended.
- 5. Withdraw your drill bit every ten to fifteen seconds. Giving your drill bit an intermittent break releases pressure and allows the flutes of the bit to clear away debris and dust in the hole. This dust and debris can build up and cause a drill bit to stick or burn out the gears of your rotary drill. Keep in mind, each withdrawing of the drill bit might cause a puff of concrete dust, so have a vacuum nearby to mitigate dust.
- 6. Clean your work area. Protect yourself and the people in your home by cleaning up silica dust with a HEPA-filtered shop vacuum or a mop. Refrain from using a broom or a vacuum without a special filter since these methods could disperse silica molecules into the air and cause irritation and respiratory problems.
Ready to Give Your Space a Chic Update?
Master everything from color theory to pattern mixing with the MasterClass Annual Membership and exclusive lessons from award-winning interior designers like Kelly Wearstler and Corey Damen Jenkins. From shopping for statement furniture to designing a lighting scheme to choosing the newest member of your plant family, the skills you’ll pick up are sure to make your house, apartment, or condo feel even more like a home.
