Draping a Dress: 7 Steps to Draping Fabrics for Garments
Written by MasterClass
Last updated: Dec 15, 2021 • 4 min read
Apparel design students, professional dressmakers, and amateur hobbyists alike benefit from learning the art of draping. Whether you aspire to make your own clothes or do high fashion design, knowing how to drape will help you produce good results.
Learn From the Best
What Is Draping In Fashion?
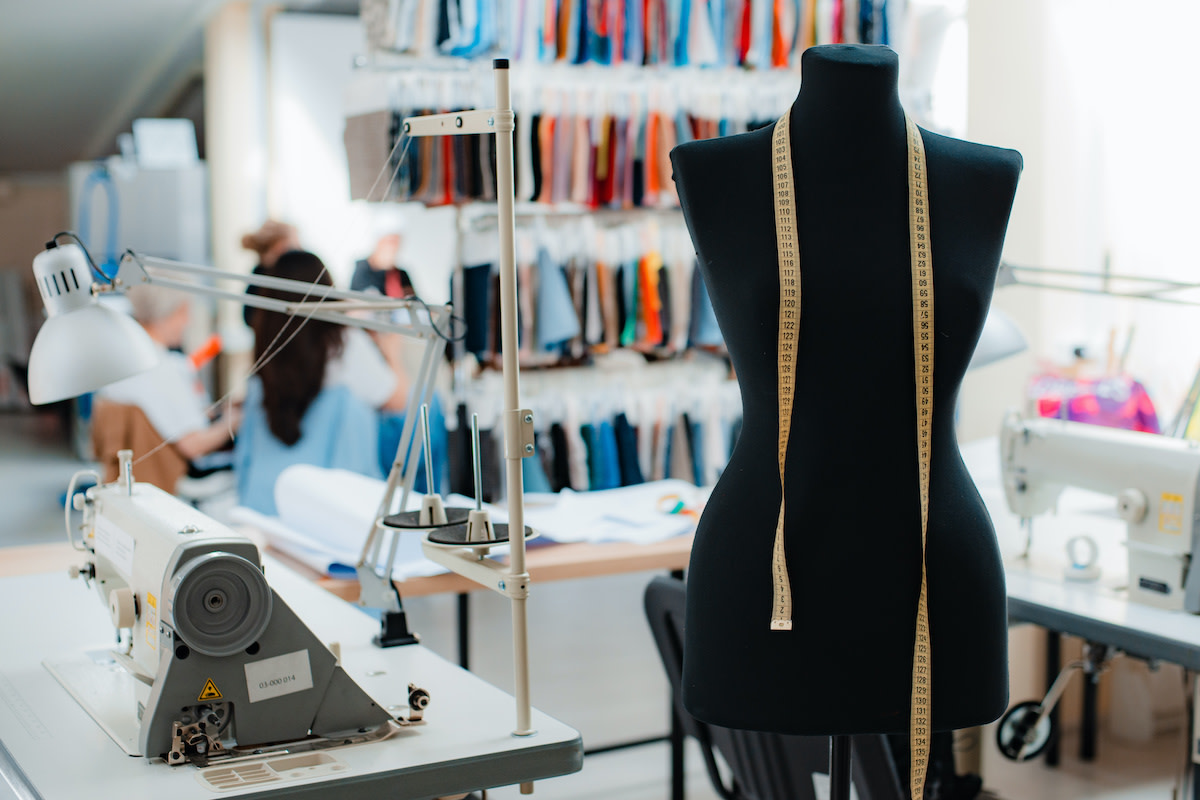
Draping is a means by which fashion designers can three-dimensionally prototype their sketches on a mannequin or dress form. They do so by draping fabric over one of these forms and then pinning, pleating, and sewing where appropriate. Generally, you drape a design in a less expensive fabric than the one you plan to use for the final product. Draping grants you accessibility to the finer details of what makes a design work or not work pragmatically. Draping can help determine how breathable the clothes are or how well they might adapt to an economy of motion.
7 Steps to Draping a Dress
Follow these seven steps to start draping a dress design on your own:
- 1. Acquire materials. Before you start draping, you’ll need all the requisite materials. Purchase plenty of drapable fabrics like chiffon or muslin to experiment with, as well as a dress form or mannequin sized to the body type for which you’re designing. Sewing materials, pins, rulers, and shears are also must-haves.
- 2. Begin a design sketch. You should iron out the basic design details for your dress before you even start touching the fabric. This sketch (a “croquis” in the fashion industry) is the phase where you should plot out the general look of the neckline or length of the dress as a whole. Draw your design and include basic instructions for yourself about how much material you think you might need for any given element.
- 3. Make measurements. Take a ruler or measuring tape to all the relevant sections of the dress form or mannequin. You should get an idea of the front and back bodice, waistline, neckline, and so on. The goal here is to give you a more concrete picture of how much fabric you’ll need, where you will need to pin it, and what areas it should cling to. Once you have these measurements, take some shears to your fabric and begin cutting in accordance with them.
- 4. Overlay the mannequin. Swathe the dress form with fabric, starting with a foundation piece, moving on to the front and back bodices, and so forth. Alternate this step with the following one as you add one piece of fabric after another. This is where you’ll begin pinning and fitting the dress to the form itself. Tailor the draped dress to fit as you sketched it out.
- 5. Pin where necessary. As you add each piece of drapery to your mannequin, resolve all fitting issues. If the dress should cling tightly to the bodice, pin it tight and add some indications of where the seam lines should go once you remove it. If you want it to be flowier, pin it looser. Repeat the process as you add each piece of fabric to the front and back of the dress.
- 6. Remove the dress. Once you finish making all the relevant notches, pleats, tucks, and so on, take the draped garments carefully off of the dress form. Lay the dress on a nearby table to store it until you’re ready to move on to sewing your prototype.
- 7. Sew the seams. Now that you’ve completed the draping process of positioning and pinning all your loose garments, you can start to use seam and grain lines as a sewing pattern guide. Once you turn your draped dress into a set of sewn fabrics, you'll have a finished garment prototype.
4 Tips for Draping a Dress
Draping garments will prove more helpful as you become more acclimated to the process. Consider these four tips to improve your draping technique:
- 1. Alternate draping with flat pattern-making. Draping and flat pattern-making are opposite in many ways, but you can use both strategies as you work. Flat fabric or paper pattern-making works a little better when you know your measurements outright; draping is useful when you need to take a more hands-on approach to figure out those numbers.
- 2. Get creative. The art of fashion draping should be just that: an art. Use your time draping to experiment with garment design. So long as you’re using cheap fabric, you don’t have to get it right the first time. Drape your sketched garment once to emphasize the front bodice, and then do it again to foreground the profile silhouette. Take what you like from both and try it a third time. This is just one way you can get creative with draping.
- 3. Make use of muslin. Although many different fabrics and textiles are suitable for draping, muslin is one of the most common. This light and inexpensive fabric allows amateur designers to repeatedly prototype their creations without breaking the bank. Whether you’re designing an A-line or a sheath dress, you’re better off with some wiggle room—and muslin affords you that possibility.
- 4. Mind the specifics. As you move through the design process, pay attention to the details. Don’t let an overfocus on the cowl lead you to disregard the armhole. Make all the relevant measurements and cuts you need to before you start draping, and then hone in on each specific element of the dress as you go. Conclude by looking at the entire design holistically.
Want to Learn More About Fashion Design?
Become a better fashion designer with the MasterClass Annual Membership. Gain access to exclusive video lessons taught by the world’s best, including Marc Jacobs, Laura Kim & Fernando Garcia, Tan France, Diane von Furstenberg, Anna Wintour, and more.
