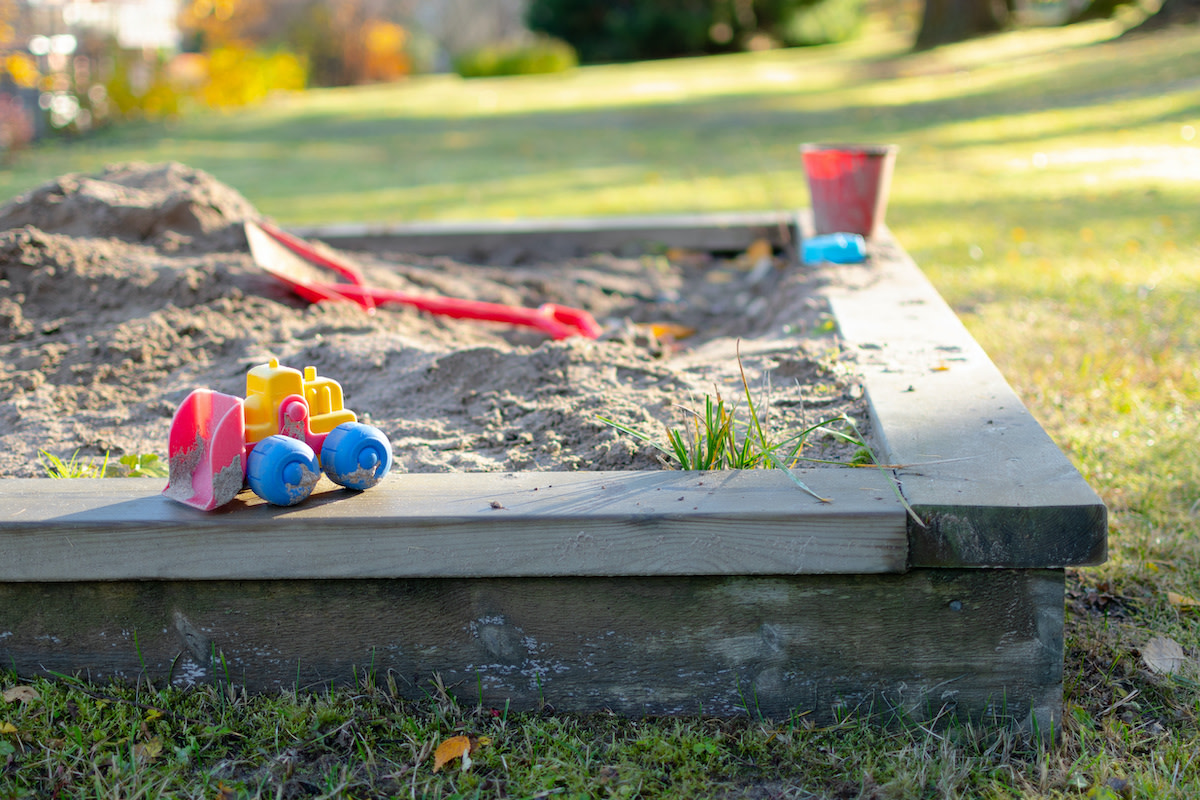
How to Build a DIY Sandbox: 9 Step Guide to Building a Sandbox
Written by MasterClass
Last updated: Jul 15, 2021 • 4 min read
Building your own sandbox is a family woodworking project that gives your kids a play area to enjoy.
Learn From the Best
What Is a Sandbox?
A sandbox is a shallow pit or box that is filled with sand for children to play in. Sandboxes can be found in playgrounds or they can easily be installed in your backyard. A sandbox can be a shallow structure built above ground level or it can be dug into the ground. In either case, a sandbox should have a clearly defined perimeter that separates the sandbox area from the rest of your yard to prevent a mess.
4 Styles of Sandboxes
Beyond the professional playground models, there are plenty of styles of sandbox that you can find in anyone’s backyard. Here are some of those styles.
- 1. Above-ground framed sandbox: This type of sandbox sits above the ground level. It is usually a square or rectangular box with a framed wooden perimeter.
- 2. Pit sandbox: A pit-style sandbox is dug directly into the ground with a perimeter that is usually made out of wood or river stones. These sandboxes can be dug into any shape depending on the layout of your yard.
- 3. Ready-made plastic sandpit: You can buy a small pre-made sandpit from a number of toy stores. They are typically made of plastic and often come in festive shapes or themes.
- 4. Sand table: Similar to a sandbox, a sand table is elevated off the ground so your children can stand beside the table and play with the sand without getting in it.
3 Factors to Consider Before Building a Sandbox
Building a sandbox in your own backyard is a relatively easy DIY project that the whole family can participate in. If you’re considering building your own sandbox at home, there are a few things that you should take into consideration.
- 1. Type of sand: There are several different kinds of sand you can use for your at-home sandbox. Play sand is the most popular choice because it has been pre-washed and sifted to ensure safety for your child's playtime. Jurassic sand is similar to play sand but comes in a red clay color. Kinetic sand binds together, making it easier to clean up and fun to play with when using a sand table.
- 2. Location: Before you decide where to add a sandbox to your backyard, consider where the sand will travel after your children have played in it. Situate your sandbox far enough away from your main house to avoid sand trailing inside.
- 3. Covering: Consider making a covered sandbox to help keep the sand inside of it, and to protect your sand from rain and wind.
How to Build a Sandbox
Follow this step-by-step simple sandbox tutorial for a simple DIY woodworking project that the whole family can enjoy.
- 1. Measure out your sandbox area. Measure out the dimensions of what will become your sandbox with a tape measure once you’ve chosen your location. You can mark it out in the ground using chalk or twine and wooden stakes.
- 2. Cut the wood for the sides of your box. Cut 12 pieces of 4x4 inch lumber to the length you measured for your sandbox minus four inches, because your sandbox frame pieces will fit together butt-to-side. Once your wood is cut, lay out the perimeter of your sandbox using your first four pieces.
- 3. Dig your sandpit. Dig out the area where the sandbox will fit, digging inches into the ground. Then add a one-inch layer of sand to level out the surface if it is uneven.
- 4. Lay your first frame. Lay the first layer of framing using your wooden pieces, checking as you go to make sure that each side is level and squaring each corner off. Use a framing square at the sandbox corners to make sure that the pieces fit perfectly together.
- 5. Lay your second frame. Once the first layer is perfectly squared off, lay the second layer of the frame over the first, overlapping the corners by changing the direction of the butt-to-side fit.
- 6. Fasten the first and second layers of framing. Screw the first and second frames together using deck screws at two-foot intervals all the way around the frame.
- 7. Line the sandbox. Cover the frame with landscape fabric or a plastic tarp to create the base lining for your sandbox. Push the fabric down into the corners and edges and make sure it overlaps every side of the box.
- 8. Lay the top frame. Lay the last four pieces of lumber over the previous frame and the landscape fabric, overlapping the corners again. Screw the third frame into the second which will secure the fabric on each side. Trim the excess landscape fabric from the outside edge of the frame.
- 9. Fill your sandbox. Fill your sandbox with the type of sand of your choice. Your sandbox is now ready to use.
Learn More
Grow your own garden with Ron Finley, the self-described "Gangster Gardener." Get the MasterClass Annual Membership and learn how to cultivate fresh herbs and vegetables, keep your house plants alive, and use compost to make your community—and the world—a better place.
