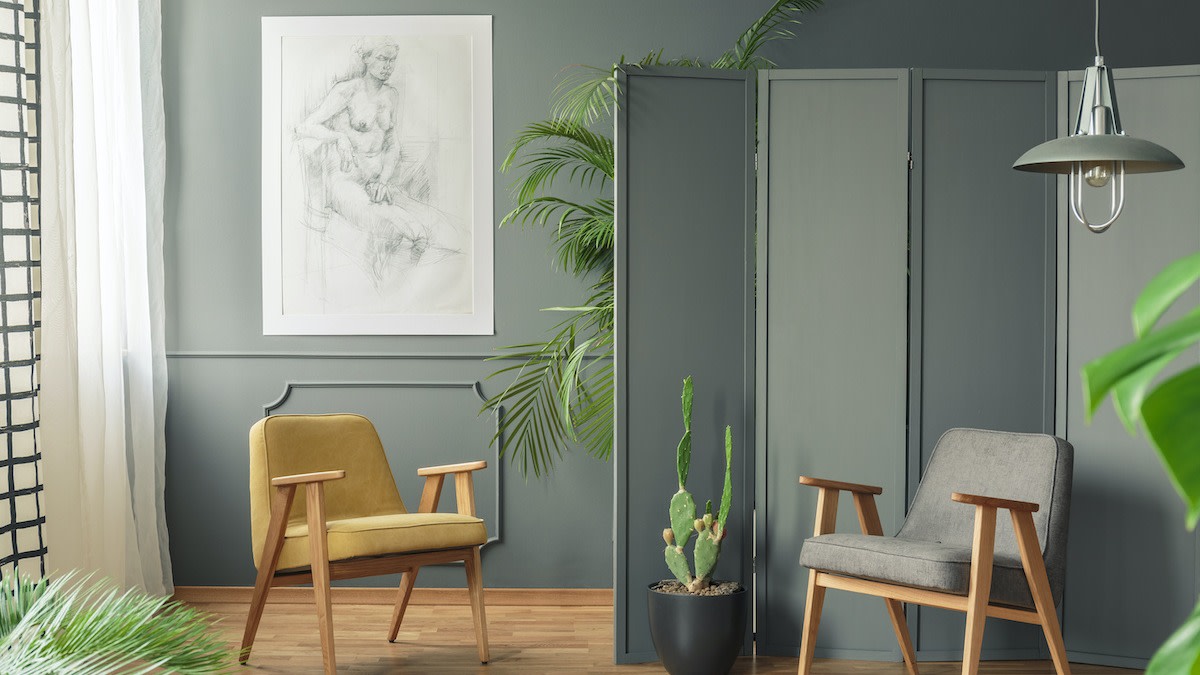
DIY Room Divider: How to Make Your Own Room Divider
Written by MasterClass
Last updated: Nov 4, 2021 • 3 min read
Revamping your home décor doesn’t have to be an expensive or complicated endeavor. Learn how to give your living space a makeover with a DIY room divider.
Learn From the Best
What Is a Room Divider?
A room divider is a mounted, hanging, or freestanding structure that divides a single room into separate spaces. Room dividers are a common addition to homes with open floor plans—such as studio apartments—where they serve as privacy screens or create designated sections with specific uses. For example, room dividers can transform a single multi-use space into a home office space, a dining room, and a living room.
3 Types of Room Dividers
There are endless ways to divide a room, but these are three of the most popular categories for DIY room dividers:
- 1. Recycled material dividers: This type of room divider is made of previously used objects. You can make recycled material dividers from various materials that you can find at thrift stores or scrapyards, such as an old barn door, window pane, wooden pallets, or a disused headboard. Once you’ve sourced your material of choice, paint or customize it to match the surrounding home décor.
- 2. Hacked dividers: You can modify or strategically stage furniture or shelving units to act as wall dividers. With some creativity, you can turn a bookshelf or console table into a multifunctional décor element that will separate the areas of a room. Furniture dividers have the added benefit of providing extra storage, which can be beneficial for small spaces.
- 3. DIY dividers: The construction and assembly of a from-scratch divider can range from easy to one of the more involved DIY projects you can undertake. On the simpler side, you can use a curtain rod and fabric to create a hanging room divider. For a more challenging project, consider mounting chicken wire onto a wood frame or suspending rope or macramé from a set of hanging wooden boards.
How to Make a Room Divider
While the prospect of adding a room divider or other large design feature may seem daunting, following these steps can help ensure you wind up with an overall effect that makes you happy.
- 1. Identify and measure the installation site. First, determine the best location for your room divider. Take into consideration both the aesthetics and the natural divisions between parts of the room, making sure not to impede any walking paths. After you’ve decided on the location, use a tape measure to take measurements of the area.
- 2. Decide on a divider type. Evaluate your budget, skill level, and time commitment to determine which options make the most sense for you. You can assemble a curtain room divider with relative ease, while a door divider on a sliding track will require more materials and know-how.
- 3. Source the materials. Consider the realities of your budget and location when sourcing materials. You can assemble a pallet room divider simply by fastening existing objects together, but it may not be practical if you don’t have access to a warehouse or scrapyard. It may be easier to purchase and customize a cheap bookcase or shop around at your local hardware store.
- 4. Build and install the divider. Once you’ve assembled your materials, clear your workspace and begin decorating and constructing your room divider.
3 Tips for Building a DIY Room Divider
Here’s how to decide which room divider project is right for your space.
- 1. Seek inspiration. For DIY room divider ideas, consult examples online or ask friends and family who have spent time in your living space for recommendations.
- 2. Think materially. Pay particular attention to the functionality and style of your chosen material. For example, a macrame or rattan room divider will feel lighter than a repurposed barn door. Similarly, if you plan to apply additional elements like chalkboard paint, the divider will be more functional if it’s a flat surface.
- 3. Consider time and labor. While you may gravitate toward a more complicated room divider concept, consider how long it will take to make and the steps involved before you begin. There are plenty of easy DIY designs that will put less strain on your schedule and budget.
Ready to Give Your Space a Chic Update?
Master everything from color theory to pattern mixing with the MasterClass Annual Membership and exclusive lessons from award-winning interior designers like Corey Damen Jenkins and Kelly Wearstler. From shopping for statement furniture to designing a lighting scheme to choosing the newest member of your plant family, the skills you’ll pick up are sure to make your house, apartment, or condo feel even more like a home.
