DIY Light Reflector Guide: How to Make a DIY Light Reflector
Written by MasterClass
Last updated: Oct 28, 2021 • 2 min read
A light reflector can be a powerful tool in your photography kit, diffusing harsh studio lights and reducing shadows from natural sunlight. If you don’t have one, don’t worry—it’s easy to make a DIY light reflector using household items.
Learn From the Best
What Is a Light Reflector?
A light reflector, also known as a photography reflector, is a reflective surface used to bounce light in photography or filming. A light reflector can reflect a light source, such as sunlight, towards the subject you’re photographing or filming, reducing harsh shadows (and cutting down the amount of photo editing you’ll do later). A light reflector is typically a wide, flat, silver surface, but photographers occasionally use white reflectors and gold reflectors. You can purchase collapsible light reflectors at camera shops and online, or you can make your own reflector using cardboard and aluminum foil.
How to Use a Light Reflector
Light reflectors don’t create light, so you will either need to shoot during the day to reflect the natural light or use another powered light source. Here are some of the ways you can use a DIY photo reflector.
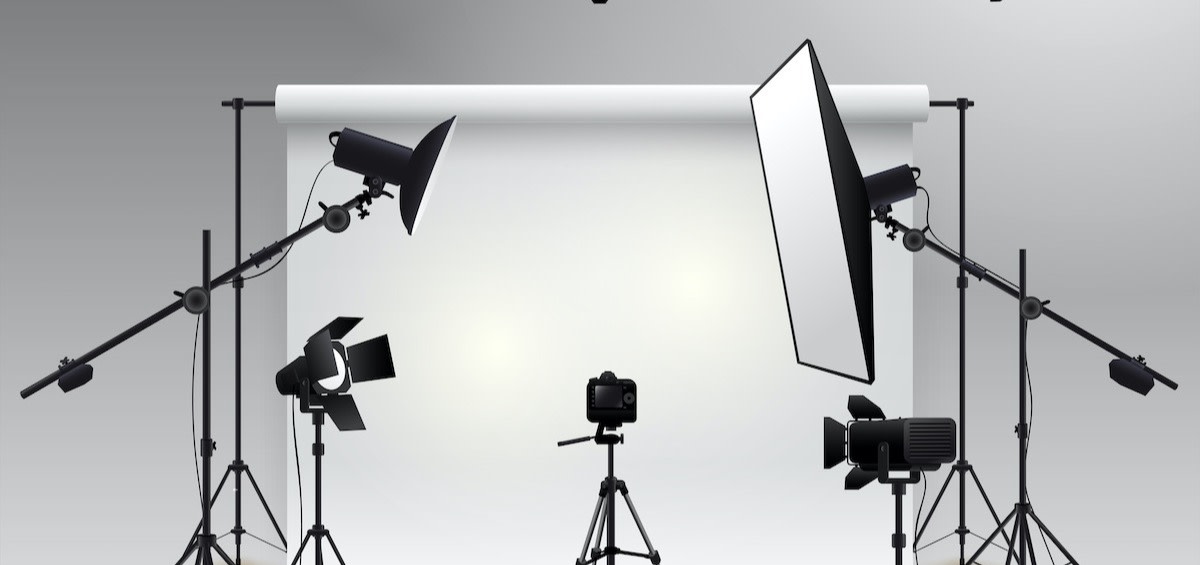
- Soften light source: A light reflector can be used as a diffuser to soften and even out the spread of light from a direct light source. This can be especially helpful when working with artificial light, and with still life or product photography, if your photography lighting setup doesn’t include a softbox (a box with reflective lining for a soft light effect) or a lightbox (a box with clear sides and a white backdrop to eliminate shadows).
- Catchlights: In portrait photography, photographers often use light reflectors as catchlights, to catch reflected light in the subject’s eyes.
- Fill light: A light reflector can be used as a fill light in a three-point lighting scheme to balance out the light from the primary key light.
- Eliminate shadows: If working with the natural light from the sun, a light reflector can help to balance the light and eliminate shadows cast by harsh sunlight.
Materials You Will Need to Make a Light Reflector
Making your own DIY silver reflector is very simple. Here is everything you will need to make your own aluminum foil reflector.
- Aluminum foil
- Cardboard or foam board
- Scissors
- Masking tape or duct tape
How to Make a Light Reflector
This DIY reflector tutorial will light up your subject’s face—professional photography studio lighting not required.
- Cut the board: Use scissors to cut your board to size. You can use the cardboard from a large opened cardboard box or you can buy a foam core board from an art supply store. You’ll want your board to be just smaller than your wingspan so you can easily hold it.
- Wrap with aluminum foil: Pull the aluminum foil out in long sheets and lay it over the board. Wrap the ends of the foil around to the back of the board and squeeze it tight so the foil holds shape.
- Tape in place: Use masking tape or duct tape to secure the foil in place at the back of the board. Your DIY light reflector is now ready to use.
Want to Learn More About Photography?
Become a better photographer with the MasterClass Annual Membership. Gain access to exclusive video lessons taught by the world’s best, including Tyler Mitchell, Jimmy Chin, Annie Leibovitz, and more.
