DIY Blanket Ladder Tutorial: How to Make a Blanket Ladder
Written by MasterClass
Last updated: Aug 13, 2021 • 3 min read
While you can buy a blanket ladder at a décor store, making your own at home is a simple DIY project that you can tackle over a weekend. Learn how to build a wooden blanket ladder using our step-by-step guide.
Learn From the Best
What Is a Blanket Ladder?
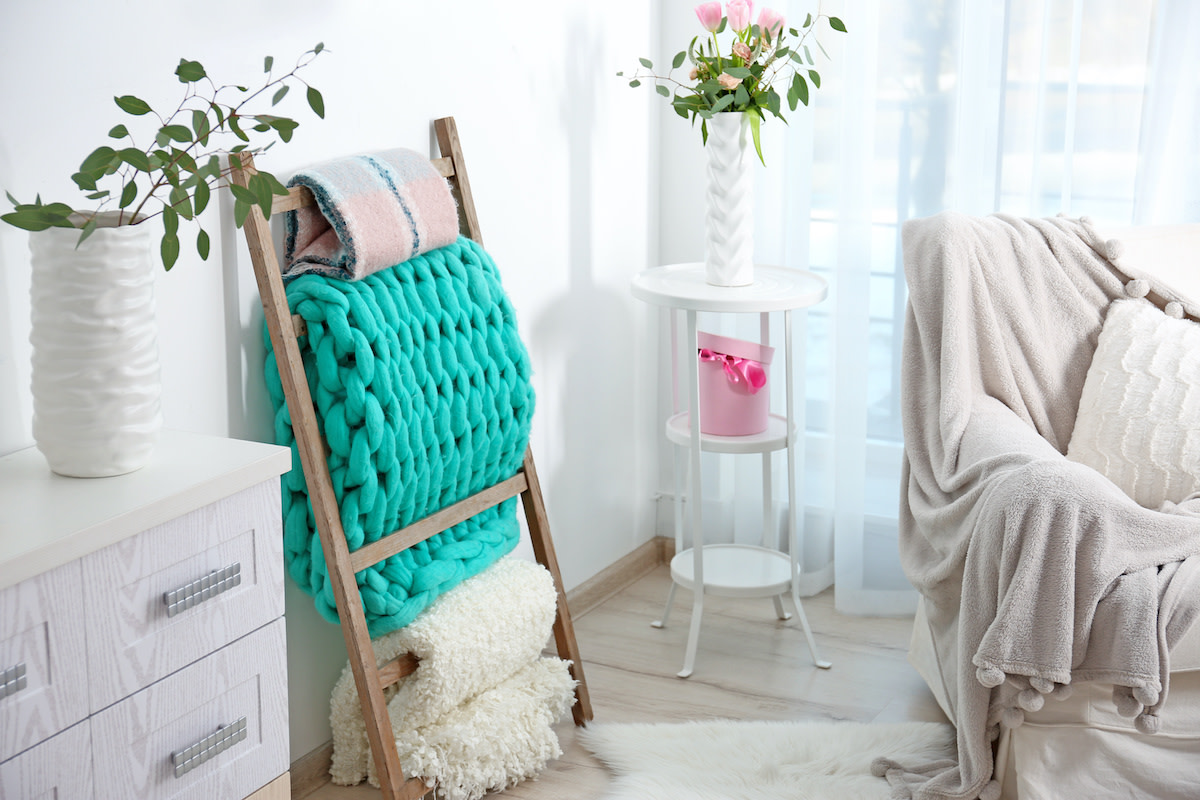
A blanket ladder is an accent storage device that resembles a standard rigid ladder with rungs for hanging blankets and towels. Unlike storage trunks, dressers, or large baskets, which take up floor space, the decorative blanket ladder leans against a wall in a living room or bedroom, using vertical space to hold and display bulky blankets. The blanket ladder, usually made of wood, is an optimal way to spruce up your home décor, especially for those with shabby chic or farmhouse décor. A rustic blanket ladder is also a good choice for people who want to display antique quilts or high-quality throw blankets.
The blanket ladder has many uses outside of blanket storage. You can use the decorative ladder as a towel rack for the bathroom, to display holiday ornaments, or hang kitchen towels in your kitchen.
What You’ll Need to Make a Blanket Ladder
Gather these supplies to build your own rustic blanket ladder:
- 3, 1-inch x 3-inch x 8-foot boards (pick whatever size works best for you, as long as there is enough for two long legs and four to six shorter legs)
- 24 x 1¼-inch pocket hole screws
- Latex gloves
- Pencil
- Power drill or hand screw
- Rags for cleaning
- Sandpaper
- Saw of your choice
- Tape measure
- Wood glue
- Wood stain or paint of your choice
How to Make a Blanket Ladder
Building a decorative blanket rack is a straightforward woodworking project. Follow this step-by-step tutorial to build your own DIY blanket ladder:
- Create the legs. The first step is to cut two of the three pieces of wood to size to form the ladder’s legs. Use a saw—either a circular saw, miter saw, jigsaw, or hand saw—to trim two of the three pieces to six feet. These pieces will form the rails of your ladder.
- Cut the ladder rungs. Use your saw to create 6x17-inch rungs with the remaining piece of wood.
- Measure rung placement. Next, use a tape measure to measure where the rungs will go on the ladder. Place the first rung eight inches from the bottom and subsequent rungs 11-inches apart to create ample space for your blankets. Learn how to read a tape measure.
- Pre-drill holes in the rungs. In woodworking, pocket holes offer builders a way to hide screws by drilling at an angle to form a pocket for the screw. You can drill two pocket holes on the side of each rung. However, if this move is too advanced, you can use nails or wood screws to attach the rungs to the legs.
- Attach the rungs. Next, grab the wood glue and 1¼-inch pocket hole screws. Apply a few dots of wood glue along the edge of the rung that presses against the leg. Drill the screws through the pocket holes into the legs.
- Prepare the ladder for staining. Once the wood glue is dry, you can prepare the ladder for painting or staining by sanding it. If you have access to power tools, use a sander to do this task quickly and efficiently. If not, you’ll have to sand it by hand. Whatever method you choose, be sure to take your time sanding the ladder so that the paint or stain applies smoothly.
- Apply your stain or paint. Apply a coat of your choice of finish—whether it’s a dark walnut stain for a modern farmhouse appearance or clean white paint for a fresh beach house aesthetic. Next, apply a coat or two of a polyurethane topcoat to protect your new blanket ladder. You may also want to stick felt pads to the bottom of each leg to ensure the ladder does not scratch your flooring.
- Showcase your new ladder. Once the topcoat is dry, lean your new ladder against the wall in the family room, living room, or bedroom, and style it with your blankets.
Ready to Give Your Space a Chic Update?
Master everything from color theory to pattern mixing with the MasterClass Annual Membership and exclusive lessons from award-winning interior designers like Kelly Wearstler and Corey Damen Jenkins. From shopping for statement furniture to designing a lighting scheme to choosing the newest member of your plant family, the skills you’ll pick up are sure to make your house, apartment, or condo feel even more like a home.
