Blackout Curtains: How to Make DIY Blackout Curtains
Written by MasterClass
Last updated: Jul 15, 2021 • 4 min read
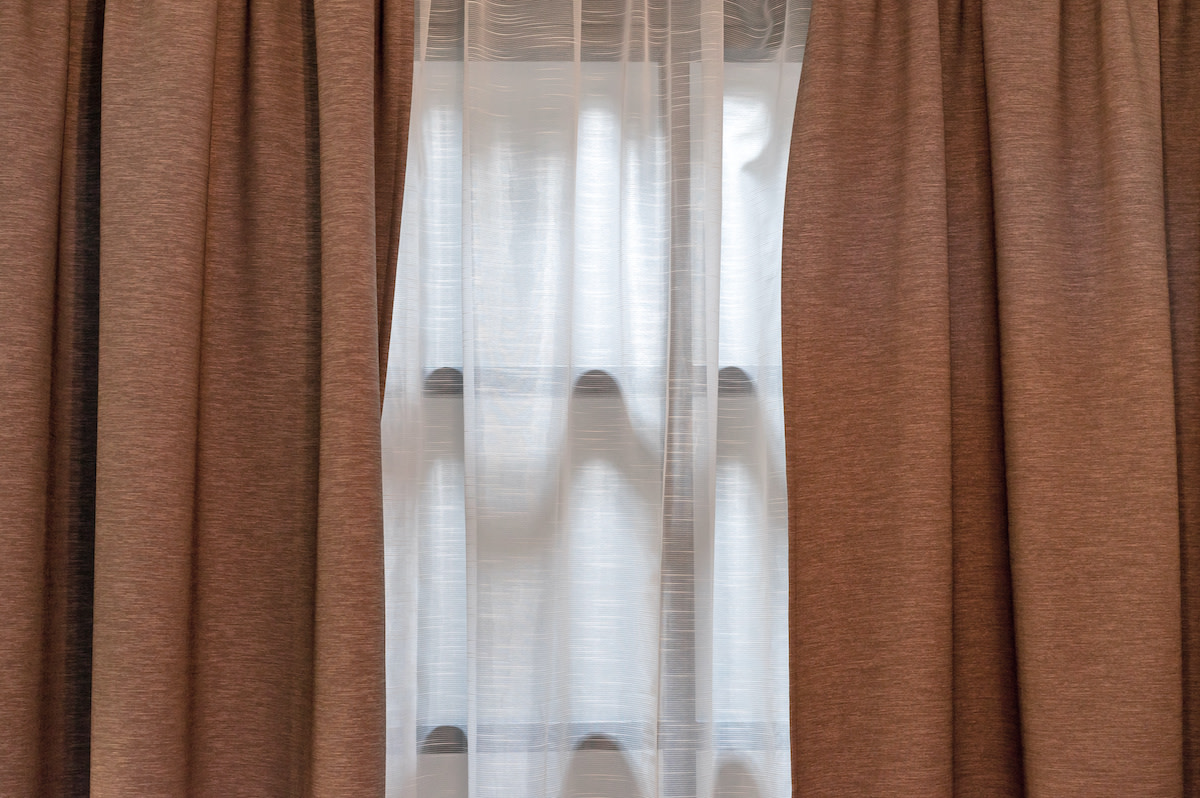
Blackout curtains in rooms can block sunlight, help to regulate temperature, and complement or enhance existing decor. They make good DIY projects because they require relatively few materials.
Learn From the Best
What Are Blackout Curtains?
Blackout curtains are window treatments that block out light and retain heat. They can help you control the luminosity, darkness, and temperature in a room.
4 Benefits of Blackout Curtains
There are several advantages to adding blackout material to your curtains. Here are four reasons you might consider adding blackout curtain liners to your windows:
- 1. Better sleep: The darker a room is, the easier it is for your circadian rhythm to abide by your schedule. If you work at night, these curtains afford you the ability to trick your brain into thinking it’s night in the middle of the day.
- 2. Heat conservation: The blackout fabric in these curtain liners doesn’t just keep light out—it also helps keep heat in. In the winter, leaving your blackout lined curtains drawn can keep up to a quarter of the heat that would escape through your windows inside your house.
- 3. Greater lighting control: Although often used as bedroom curtains, blackout curtains’ room-darkening features can be useful all around the house. For instance, this sort of light-blocking drapery gives you the freedom to create cinematic lighting for movie watching in your living room at any time.
- 4. Elegant home decor: These curtain panels can be a graceful and sophisticated addition to your overall home decor, blackout liner notwithstanding. As a matter of fact, the curtains’ blackout lining can be totally secondary to your goals as an interior decorator. If you’re unhappy with your own curtains right now—perhaps they don’t match the paint color of your walls or they’re a little too basic for your liking—the thicker, billowy curtain fabric here could both block out light through your window frames and serve as a stylish addition to your bedroom.
Choosing Fabric and Lining for DIY Blackout Curtains
Blackout curtain liners, which are mostly white, do most of the work when it comes to blocking out light. Given that, choosing a more opaque fabric at the fabric store for the curtain itself will give the lining any additional boost it needs to keep light from bleeding into the room.
4 Steps to Making Your Own No-Sew Blackout Curtains
If you prefer to eschew sewing projects in favor of those requiring zero stitching, here’s a basic, step-by-step tutorial on how to make blackout window curtains without the use of a sewing machine:
- 1. Measure your windows. With a measuring tape, measure from the top edge of your window to the bottom and the right side to the left. You’ll need to know these measurements in order to get the right amount of curtain and lining fabric. Add half a foot or so on to the total for the curtain fabric in every direction, as you’ll need to hem and fold the lining inward.
- 2. Determine the appropriate hem. It’s important that your blackout lining is hemmed in a way that blocks out all light but doesn’t extend beyond the bottom, sides, or top of the curtain itself. Hemming the curtain fabric is also important to give the drapery itself an elegant look. If it’s your first time creating a hem, here’s what you do: Fold the blackout material three to five inches inward. Then fold in the top, bottom, and side hems to your liking.
- 3. Pin and add adhesive. Once you’ve determined where the hems will be, it’s time to pin and adhere all the elements together. Pin the lining and curtain in just a few areas and in such a way that the metal isn’t visible from the front side of the curtain. Overall, add iron-on adhesive to the various places where the lining and curtains meet, as well as any additional hemming spots. After you’re done ironing, they should stick together.
- 4. Hang on your curtain rod. Now that your top and bottom hems are ironed into place, you can get your curtains ready to hang up on the curtain rod itself. You can perforate grommets—or holes—into the top of the fabric, remove the rod from your windowsill, and slide the curtains onto it, much like you would a shower curtain. An alternative would be to affix small wire hangers to the tops of your new blackout curtains in a straight line for an easier fix that won’t require you to remove anything from your wall. Another option is to either sew or use pins and adhesive to create a rod pocket—a tunnel in the fabric itself to slide the rod through—and hang up the curtains that way.
Ready to Give Your Space a Chic Update?
Master everything from color theory to pattern mixing with the MasterClass Annual Membership and exclusive lessons from award-winning interior designers like Kelly Wearstler and Corey Damen Jenkins. From shopping for statement furniture to designing a lighting scheme to choosing the newest member of your plant family, the skills you’ll pick up are sure to make your house, apartment, or condo feel even more like a home.
