Creeping Jenny Plant: How to Care for Creeping Jenny
Written by MasterClass
Last updated: Dec 16, 2021 • 3 min read
Creeping Jenny is a low-maintenance and fast-growing creeper plant. Learn how to care for and propagate the versatile creeping Jenny plant.
Learn From the Best
What Is Creeping Jenny?
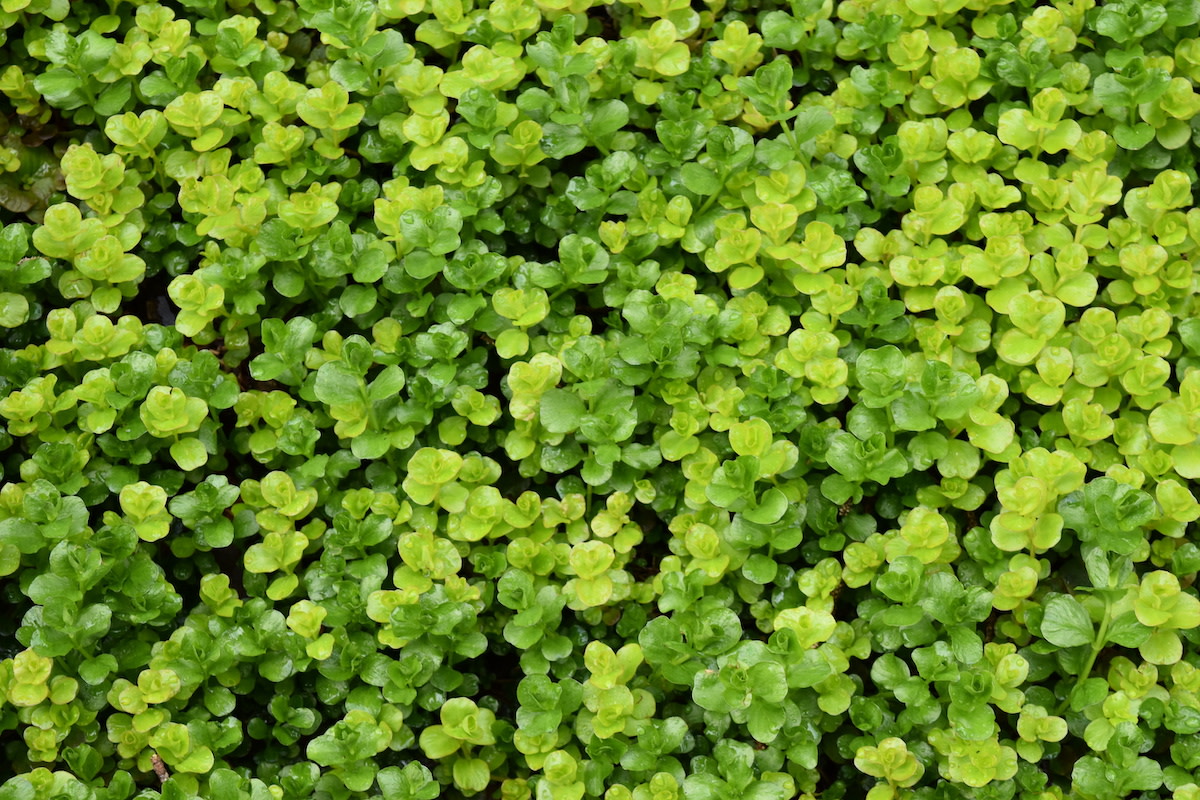
Creeping Jenny (Lysimachia nummularia) is a fast-growing creeper plant of the Primulaceae family known for its natural texture and visual softness, making it a common ground cover plant, border plant, or trailing plant in a hanging basket. Also called by the common names “moneywort” or “twopenny grass,” creeping Jenny has small, coin-shaped leaves and small, golden yellow flowers with a short bloom time.
Due to its fast-growing nature, creeping Jenny is an invasive plant in certain climates. Check with your local gardening center to find out if creeping Jenny is a good choice in your area. Many areas sell a cultivar called “golden creeping Jenny” (Lysimachia nummularia ‘Aurea’) as an alternative since it grows slightly slower than its green relative. Golden creeping Jenny has a lighter-colored foliage, with chartreuse or yellow leaves.
You may confuse creeping Jenny for creeping Charlie, another creeping plant that often invades yards.
How to Care For Creeping Jenny
Creeping Jenny is a strong grower that requires straightforward care.
- Plant it somewhere with full sun or partial shade. Creeping Jenny can survive in a variety of light conditions, though it does best in full sun or partial shade. In full sun, the plant’s leaves will look more yellow, helping it produce more blooms; in partial shade, the leaves will look darker, and the plant will bloom less. If your summers get especially hot, consider planting your creeping Jenny in a spot that will protect them from the intense afternoon sun.
- Keep the soil moist. Creeping Jenny is a moisture-loving plant, thriving in constantly moist conditions. It can thrive in water gardens or as a pond edge plant in up to an inch of fresh water. To help your Creeping Jenny thrive, do not let the soil dry out.
- Prune it regularly. Creeping Jenny is a fast grower, so prune it regularly to keep it from taking over the rest of your landscaping. Simply use a pair of gardening shears or sharp scissors to trim stems that grow outside of the desired shape. Be aware of how you dispose of these stems—if you toss them into a corner of your yard or onto your compost pile, they may take root. To prevent unwanted creeping Jenny sprouts, immediately put the trimmings in a garbage container. If you don’t want to prune your creeping Jenny regularly, it’s a strong candidate for container gardening since this method will naturally confine the plant to a hanging basket.
- Overwinter them. While creeping Jenny is an herbaceous perennial even in areas with hard winters (it can survive year-round in USDA Hardiness Zones 4–9), its foliage will usually die back in the winter, leaving just its roots and rhizomes beneath the surface to sprout new growth in early spring. To overwinter your creeping Jenny, simply trim back the foliage in late fall (or wait until the foliage naturally dies and then trim it back). If you want to preserve the plant’s growth, consider keeping it in a container and moving your creeping Jenny into a greenhouse or to a sunny window as a houseplant during cold winter months.
- Keep an eye out for fungal disease. Creeping Jenny is a resilient plant that’s not a target for pests or disease. However, in especially moist or cold environments, it can develop plant rust or leaf spots. If you see signs of discoloring, treat with an organic fungicide or increase airflow in the area.
How to Propagate Creeping Jenny
Creeping Jenny is a vivacious grower, so it’s easy to propagate—in most cases, cut stems will readily root even when you simply tossed atop moist soil. For the best results:
- 1. Trim stems or dig up rhizomes. Creeping Jenny will spread happily through either cuttings or division. For cuttings, trim a few healthy stems off of the mother plant. For division, dig up a portion of an established plant and cut it away by its roots, so you have a length of stems with rhizomes still attached.
- 2. Plant into soil. Plant the cut stems or rhizomatous growth into new, damp soil. You do not need to root cut stems in water first, though you can if you prefer.
- 3. Keep moist. Keep the soil moist and your cuttings or clump should readily establish roots in its new home, spreading into new plants.
Learn More
Grow your own garden with Ron Finley, the self-described "Gangster Gardener." Get the MasterClass Annual Membership and learn how to cultivate fresh herbs and vegetables, keep your house plants alive, and use compost to make your community—and the world—a better place.
