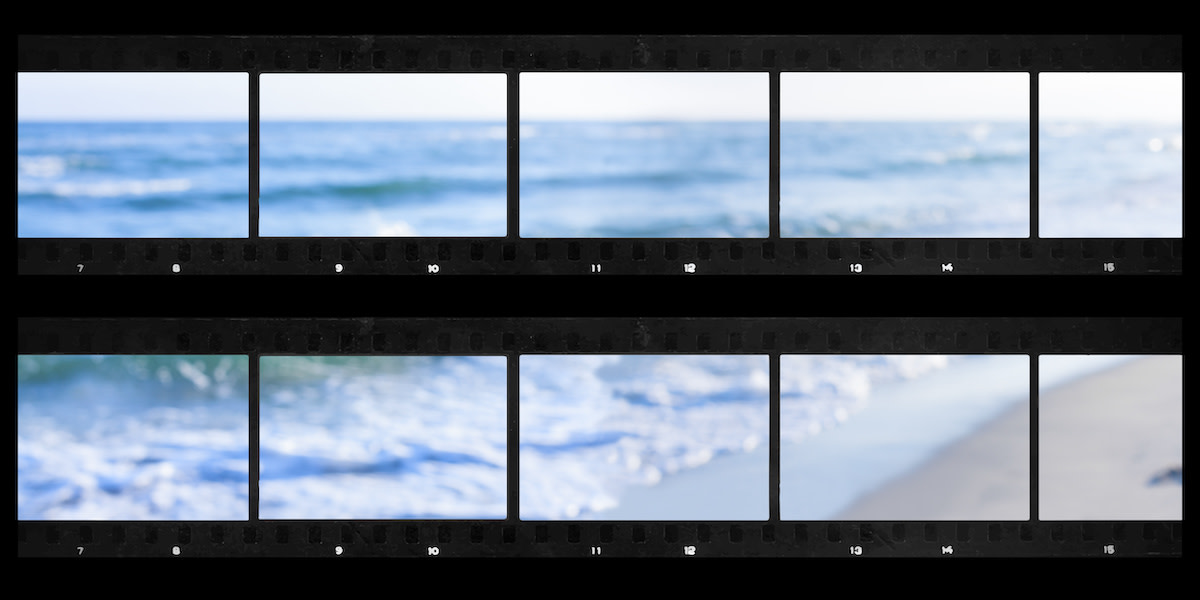
Contact Sheet in Photography: How to Make a Contact Sheet
Written by MasterClass
Last updated: Oct 26, 2022 • 3 min read
Before digital photo editing software arrived on the scene, film photographers compared their images by printing them on a sheet of paper. To this day, many photographers still use these contact sheets due to their convenience and versatility. Learn more about what a contact sheet is and how to make one yourself.
Learn From the Best
What Is a Contact Sheet?
A contact sheet is a piece of photographic paper featuring a set of thumbnail images. These images come from a roll of film after the photographer cuts it into multiple strips. They then expose these negatives against the sheet, so they can better compare each single image against the others. Photographers might use multiple sheets at once, especially if they have many films to develop.
Why Are Contact Sheets Important?
Contact sheets help photographers determine which images they want to further develop and which they want to discard. Here are just a few areas in which these sheets can prove useful:
- Comparison: Contact sheets were the primary mode of comparison in film photography for decades upon decades. Photographers could look through a number of columns and rows to decide which photos were worth developing. This proved particularly useful when many of the images were similar.
- Convenience: Photographers can use one large, format-size page of printing paper to compare multiple film strips. Sometimes multiple page numbers are essential, but using contact sheets can still be more convenient than checking each individual image and developing your images one at a time.
- Creativity: Film photographers can rely on the convenience of contact sheets to expedite their creative processes. After looking through one of these print modules, they can assess changes they might want to make in the future without having to further develop images. For example, they might decide to change their ISO or other image settings for their next roll of film.
How to Make a Contact Sheet
Developing a traditional contact sheet is quite simple. Keep this step-by-step tutorial in mind as you do so yourself:
- Cut film into strips. After entering a darkroom, remove your film from your camera and begin to cut it up into manageable strips. Consider your ultimate page setup as you begin to slice up your film. Try to cut film negative strips long enough for almost the entire width of the paper. You can also mix and match these strips as you see fit.
- Lay the strips on photographic paper. Take each of your filmstrips and lay them across darkroom printing paper. Do so with the emulsion side down. Use a large or medium-format paper size to accommodate as many strips as possible. Once you’ve lined everything up to your satisfaction, widen the darkroom enlarger’s aperture to include the entire piece of photographic paper.
- Make your contact print. Consider making a proof sheet first to ensure your final one comes out to your satisfaction. You can do so by covering up most of the sheet aside from one frame (perhaps in the top right or left) with a black piece of paper. If everything looks good to go, expose the entire sheet to light and apply relevant chemicals to develop it.
- Study the photos. After you finalize your contact printing, you can take your contact sheet into the light for study. Use a magnifying glass or loupe to get a closer look at each of the photos. Mark up your print job with notes so you know which photos you want to develop further and which you can discard. You can also emblazon the sheet with an identity plate or watermark at this point.
Can You Make a Contact Sheet with Digital Photos?
After digital photography became more available and popular, individual photographers still wanted to recapture the magic and convenience of a film contact sheet. After all, while digital photography allows you to compare and contrast down to the pixel, you might still want to look at a long series of images in thumbnail format to get a wider-angle view of all your photos.
The most popular photo editing programs offer digital contact sheet templates you can utilize to automate this already simple process even further. After selecting a sheet type from a template browser, you can also use your program’s toolbar to customize cell spacing and sliders between images.
You’ll also have more presets to play around with on a digital contact sheet than you would with film. Additionally, you can save a JPEG of the sheet under a file name you’ll remember so you can avoid the risk of losing a physical copy.
Want to Learn More About Photography?
Become a better photographer with the MasterClass Annual Membership. Gain access to exclusive video lessons taught by the world’s best, including Annie Leibovitz, Tyler Mitchell, Jimmy Chin, and more.
