Butter Mochi Recipe: How to Make Hawaiian Butter Mochi
Written by MasterClass
Last updated: Oct 15, 2024 • 3 min read
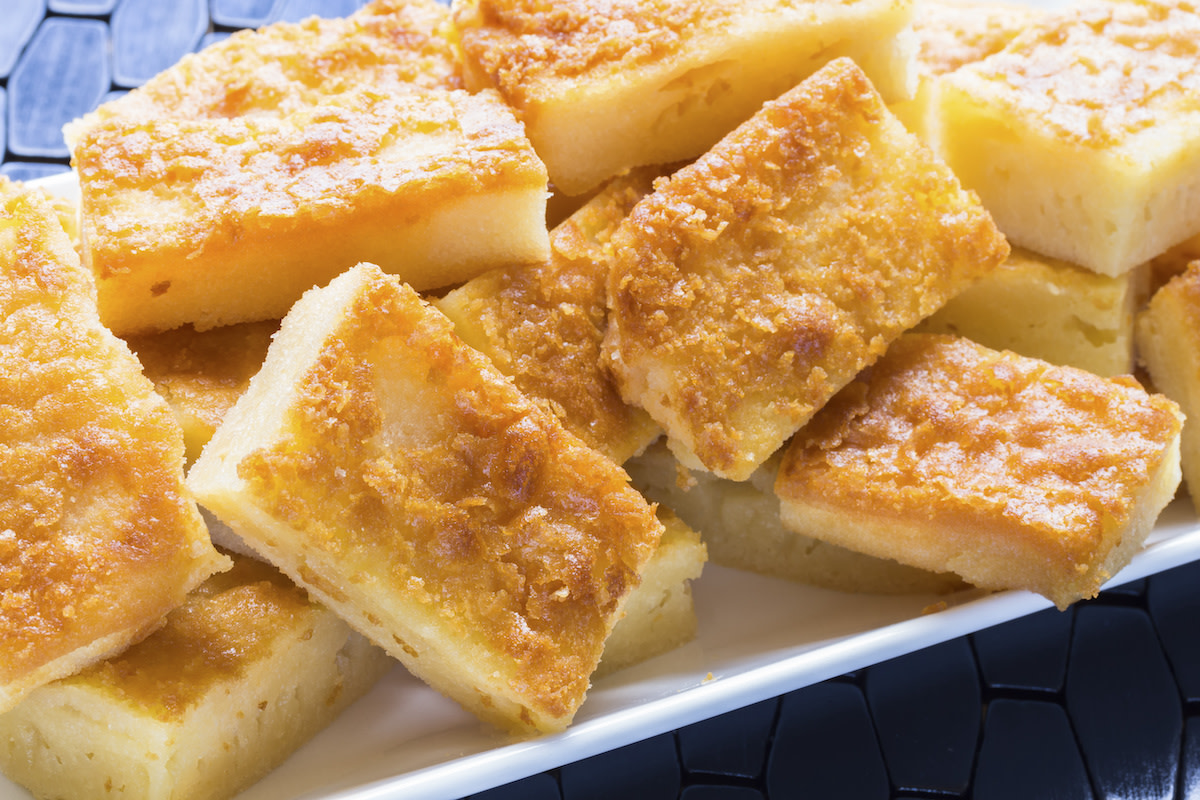
Butter mochi is a popular Hawaiian baked good that takes its inspiration from multiple cultures. It uses Japanese rice flour and tropical coconut milk, but it takes the form of a Western-style sheet cake made with butter and eggs.
Learn From the Best
What Is Butter Mochi?
Butter mochi is a Hawaiian dessert consisting of rice flour, butter, and coconut milk. The rice flour yields a chewy texture reminiscent of Japanese wagashi, while the rich coconut flavor brings to mind Filipino bibingka. A top layer of shredded coconut turns crispy and caramelized in the oven.
Hawaiian Butter Mochi vs. Japanese Mochi: What’s the Difference?
Both Hawaiian and Japanese mochi are made with rice flour, but there are several key differences.
- Type of rice flour: Hawaiian butter mochi is made with mochiko, a Japanese sweet rice flour made from cooked mochigome, a glutinous variety of short-grain rice. To make mochiko, producers wash the grains in water to slough away the outer husk, then dehydrate the kernels and mill them into a fine powder. Most Japanese mochi is made with shiratamako, another flour made from mochigome that grocers sometimes sell as sweet rice flour. However, shiratamako has a slightly different texture due to the extensive treatment of the rice: After an initial wash, producers soak the grains again, then grind them while wet. Producers press the resulting liquid, then dehydrate and grind it into flour. You can find both mochiko and shiratamako in Asian grocery stores.
- Texture: Butter mochi has a more delicate chew than traditional mochi, which tends to have a gummy texture. This is because butter mochi contains ingredients typically found in cakes, like eggs, butter, and baking powder. Mochi’s only ingredients are rice flour, sugar, and water.
- Cooking process: Butter mochi cake is baked in the oven, while Japanese mochi dough is steamed, boiled, or microwaved.
Can You Use Standard Rice Flour Instead of Mochiko Flour for Butter Mochi?
Regular rice flour is not a suitable stand-in for mochiko flour. Though rice flour can be used as a thickening agent in some dishes, it does not have the same elastic properties as flour made from mochigome. The sticky, chewy texture they bring to confections is characteristic of the specific cultivar of rice grain, Oryza sativa var. glutinosa, which merely replicates the snappy stretch of gluten.
4 Tips for Making Butter Mochi
If it’s your first time trying this Hawaiian classic, here’s what to know.
- 1. Aim for a very smooth batter. Unlike other cakes or quick breads, where overdeveloped gluten can turn into a dense, too-tight crumb, there’s no harm in overmixing butter mochi. For a smooth cake with a subtle jiggle, whisk well, and ensure there are no bubbles or flour pockets left before pouring the batter into the baking pan.
- 2. Let cool, then slice. Like any moist cake (or brownies fresh from the oven), butter mochi is much easier to slice when it’s cool. Use a sharp knife, and clean your knife under hot water after every few cuts as needed.
- 3. Incorporate bright, tropical flavor. For a tart, fruity counterbalance to the buttery notes of coconut, swap some of the milk for passion fruit purée or guava juice.
- 4. Store at room temperature. Keep leftover butter mochi in an airtight container at room temperature. For best results, enjoy it within three to four days.
Butter Mochi Recipe
makes
1 9x13-inch baking dishprep time
15 mintotal time
1 hr 15 mincook time
1 hrIngredients
- 1
Preheat the oven to 350 degrees Fahrenheit. Lightly grease a 9x13-inch baking pan with butter or nonstick spray.
- 2
In a small skillet, melt the butter over medium heat. Cook, swirling or stirring often, until amber brown in color and nutty in aroma, about 5–7 minutes. Set the browned butter aside to cool.
- 3
In a large bowl, whisk together the milk, eggs, and vanilla extract.
- 4
In a medium bowl, whisk together the mochiko, sugar, baking powder, and salt.
- 5
Add the dry ingredients to the bowl of wet ingredients and mix well.
- 6
Add coconut milk and melted butter to the batter, and mix until very smooth and uniform.
- 7
Transfer the mixture to the prepared pan and use a rubber spatula to smooth the surface.
- 8
Tap the pan on the counter a few times to rid the batter of air bubbles.
- 9
Spread the shredded coconut in an even layer on top of the batter.
- 10
Bake until the surface and edges of the cake are golden brown and a toothpick inserted into the center comes out clean, about 1 hour.
- 11
Let the cake cool slightly before slicing into even squares and serving.
Become a better chef with the MasterClass Annual Membership. Gain access to exclusive video lessons taught by the world’s best, including Niki Nakayama, Gabriela Cámara, Chef Thomas Keller, Yotam Ottolenghi, Dominique Ansel, Gordon Ramsay, Alice Waters, and more.
