How to Build a Shed: 3 Tips for Building a Shed
Written by MasterClass
Last updated: Jul 28, 2021 • 4 min read
Outdoor sheds are useful for a variety of purposes, including as a tool shed or a storage shed for garden supplies.
Learn From the Best
What Is a Shed?
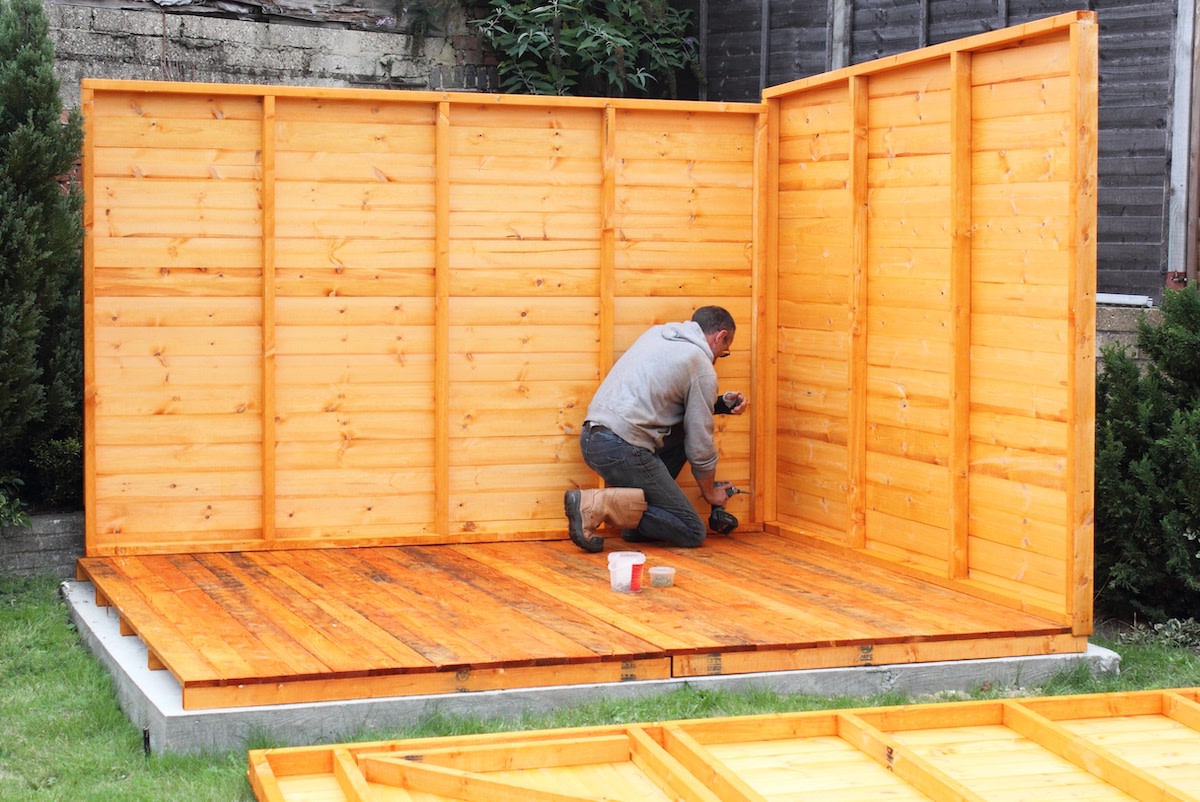
A shed is an outbuilding that serves as an outdoor storage space. Outdoor sheds can be used for a variety of purposes, including as a tool shed for a lawnmower or garden tools or as a playhouse. If you are a homeowner looking for a challenging DIY project, consider building your own shed.
7 Materials You’ll Need to Build a Shed
Your exact materials list will vary depending on the size and type of shed you’re building, but start by familiarizing yourself with the basic tools and materials you’ll need.
- 1. Measuring tools: To maintain precision throughout the building process, use a variety of measuring tools. Some of the most useful options include chalk lines, speed squares, tape measures, and levels.
- 2. Shovel: If you don’t own one, purchase a shovel for digging the trenches necessary for your shed’s foundation.
- 3. Nail gun or drill: To speed up the building process, use a nail gun or electric drill to fasten your shed together.
- 4. Wood: Use framing lumber—typically pressure-treated fir or spruce—for your shed’s framework. The most common wood used for flooring, roofing, and paneling is plywood. Although many hardware stores offer pre-cut wood, you can use a circular saw to make your own cuts if your measurements are unique.
- 5. Roofing materials: Use tarps, nails, and shingles to complete a basic roofing system on your shed.
- 6. Wood stain or paint: To protect the exterior of your shed from weathering, finish the wood with wood stain or paint.
- 7. Safety gear: As with any home improvement project, wear safety glasses, a helmet, gloves, and sturdy, closed-toed shoes while building a shed.
How to Build a Shed in 12 Steps
Follow these step-by-step instructions to build your DIY shed.
- 1. Check your local regulations. Research local building codes and zoning laws. Apply for any necessary building permits.
- 2. Draw a plan for your shed. Before you start building, draw up detailed shed plans to help you understand proper measurements and material requirements.
- 3. Set the shed foundation. Regulations, soil type, and level ground all determine how you build your shed’s foundation. The most basic foundation involves two wood beams placed on top of gravel-filled trenches.
- 4. Build the shed floor. For a wood floor, connect the wood beams of the foundation with two floor joists. Insert more floor joists for support prior to covering your floor frame with plywood. Another option for flooring is a concrete slab.
- 5. Construct the shed walls. Start with the front and back walls, as these walls need to incorporate a framework for the gambrel or gable roof depending on your shed design. Account for your door frame on the front wall. Use your shed floor as a flat surface to assemble the walls. You can also use a chalk line to help with measurements. Make the side walls by constructing two identical stud walls appropriate for the size of your shed.
- 6. Add siding. Panel each wall with the siding of your choice. The easiest and most popular siding is plywood. Another option is oriented standard board (OSB), which is cheaper but more prone to weathering.
- 7. Assemble the roof frame. Use the flat surface of your shed floor to build the frame for your shed roof. Construct multiple roof trusses for the frame. Use a triangular shape for a gable roof design or a framework with two slopes on each side for a gambrel design.
- 8. Secure the walls. Stand your constructed walls one at a time, beginning with the back wall. Align the bottom plate of each wall stud with the shed floor and the adjacent walls before securing them tightly with nails or screws.
- 9. Place the roof. Fix each truss onto the top plates of the walls to secure the roof frame. Cover and secure the frame with plywood.
- 10. Install the shed door. Whether you bought or built your door, attach it carefully to the front wall. Secure your door to the door frame with hinges. For a more elaborate entryway, install double doors.
- 11. Add the trim and paint. Attach the trim along the sides and corners of your shed. For additional protection, secure fascia boards along the edges of your roof. Stain or paint the exterior of your shed.
- 12. Finish the roof. Add roofing materials like shingles to protect your plywood from the elements throughout the year. Consider installing gutters along the edges of your roof for water runoff.
3 Tips for Building a Shed
Consider these tips when building your shed.
- 1. Measure often. Be exact with your measurements. Check between each step to make sure your measurements still line up.
- 2. Use straight pieces of wood. Purchase the straightest wood possible to ensure that your measurements remain as precise as possible throughout the building process. Although wood is rarely perfectly straight, choose the straightest cuts at your disposal for the door frame and corners.
- 3. Take your time. Remember that your backyard shed is a permanent structure. Take the time to build a shed you’ll remain excited about for years to come.
Learn More
Get the MasterClass Annual Membership for exclusive access to video lessons taught by the world’s best, including Kelly Wearstler, Ron Finley, Bobbi Brown, RuPaul, and more.
