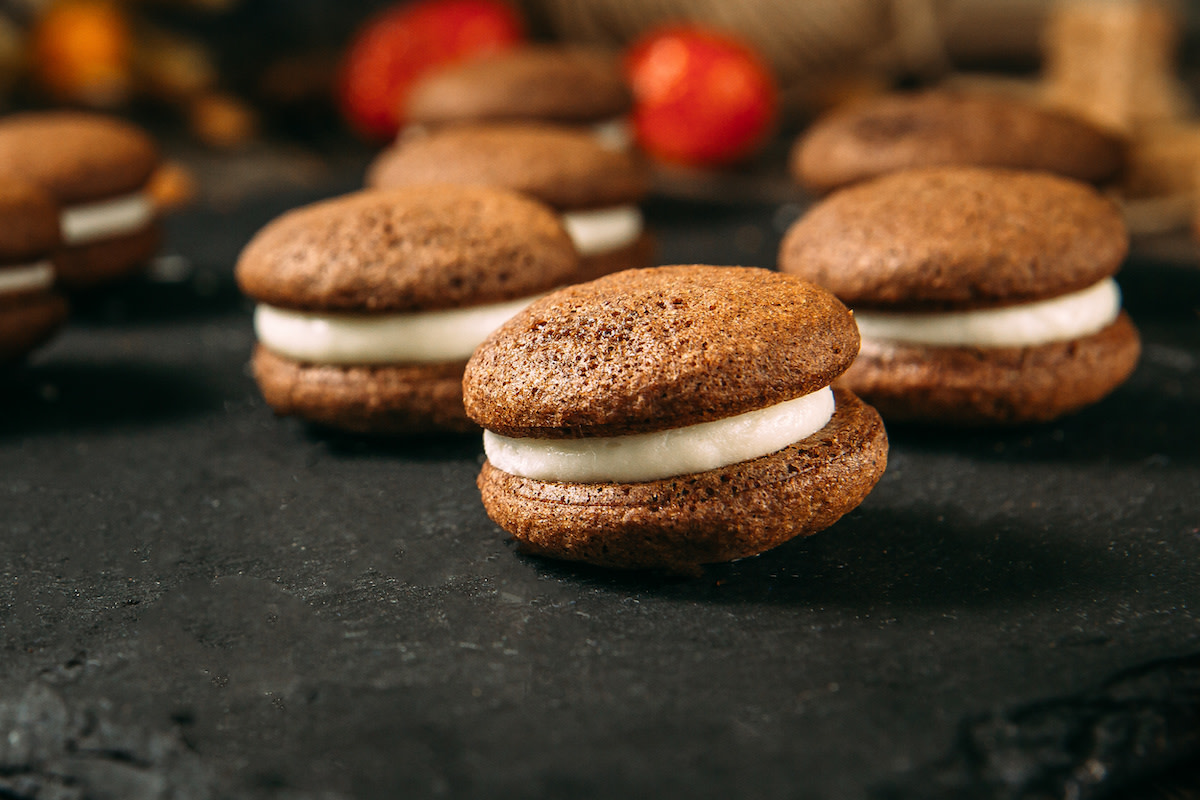
Apple Cider Whoopie Pies: Recipe and Baking Tips
Written by MasterClass
Last updated: Oct 28, 2022 • 4 min read
This fall-friendly whoopie pie, which features spiced cookies and tangy cream cheese frosting, makes a decadent alternative to apple pie. These apple cider whoopie pies are sure to become one of your favorite dessert recipes.
Learn From the Best
What Are Apple Cider Whoopie Pies?
Apple cider whoopie pies are a sweet, fall-friendly confection consisting of a silky, maple-flavored cream cheese frosting sandwiched between two apple cider–flavored spongy cookies. These soft handheld desserts are a great addition to any autumn dessert spread or bake sale.
3 Tips for Making Apple Cider Whoopie Pies
Make the most of this cozy apple flavor–packed fall treat by following these simple tips:
- 1. Adjust the filling. Customize your apple cider whoopie pies with the sweet filling of your choice. Swap out the cream cheese icing for caramel or maple-flavored buttercream frosting. Spread butterscotch, melted marshmallow, or salted caramel sauce between the cookies for a less creamy option.
- 2. Assemble the elements ahead of time. For easy day-of dessert assembly, craft the cookies and filling in advance. The baked and cooled cookies will keep well in an airtight container on the counter for up to 3 days. Prepare the cream cheese filling up to one day in advance and store it in an airtight container in the refrigerator. Let the frosting come to room temperature, and assemble the whoopie pies just before serving.
- 3. Store properly. Fully assembled whoopie pies will keep well wrapped in plastic wrap in the refrigerator for up to 3 days. For a long-term storage option, wrap the unfrosted cookies in plastic wrap and store them in a freezer-safe bag in the freezer for up to 3 months. Avoid freezing fully assembled whoopie pies because their texture will change once thawed.
Homemade Apple Cider Whoopie Pies Recipe
makes
8 whoopie piesprep time
40 mintotal time
1 hr 10 mincook time
30 minIngredients
- 1
Preheat the oven to 350 degrees Fahrenheit and line 2 baking sheets with parchment paper or silicone baking mats.
- 2
In a small saucepan over medium-high heat, bring the apple cider to a boil. Reduce the heat to medium and continue cooking until it has reduced to about a ¼ cup, about 10–12 minutes. Remove the pan from the heat and set the cider reduction aside to cool.
- 3
In a mixing bowl, whisk together the flour, baking powder, baking soda, salt, nutmeg, and 1 teaspoon of ground cinnamon until combined.
- 4
In the bowl of a stand mixer fitted with a paddle attachment, cream a ½ cup of the butter, a ½ cup of the sugar, and the brown sugar together until light and fluffy, 3–5 minutes. Scrape down the sides of the bowl with a spatula as needed. (Alternatively, place the butter and sugars in a large bowl and use an electric mixer to combine.)
- 5
Add the reduced cider, applesauce, 1 teaspoon of vanilla extract, and eggs to the creamed butter and mix until incorporated.
- 6
With the mixer running on low, gradually add the dry ingredients to the wet ingredients until the dough just comes together.
- 7
Using a cookie scoop, spoon up 1½ tablespoons of cookie dough and form it into a ball. Place the dough ball on the prepared baking sheet and press it down gently to flatten it slightly. Repeat this process with the remaining dough, leaving about 2 inches of space between each cookie on the baking sheet.
- 8
In a microwave-safe medium bowl, melt 2 tablespoons of butter. Using a pastry brush or your fingers, brush the tops of the cookies with a thin layer of melted butter.
- 9
In a small bowl, whisk together the remaining ¼ cup of sugar and 1 teaspoon of cinnamon. Sprinkle the cinnamon-sugar mixture over the cookies.
- 10
Transfer the cookie sheets to the oven and bake until the cookies are just set, about 12–15 minutes.
- 11
Remove the baking trays from the oven. Let the cookies cool on the trays for 10 minutes. Next, carefully transfer them to a wire rack to cool to room temperature, about 10 minutes.
- 12
When the cookies are fully cooled, make the cream cheese filling. In the bowl of a stand mixer fitted with a paddle attachment, cream the cream cheese, remaining 2 tablespoons of butter, powdered sugar, maple syrup, and remaining teaspoon of vanilla extract until smooth and creamy. (Alternatively, add the ingredients to a large bowl and cream with an electric mixer.)
- 13
If the frosting is too thick, mix in a tablespoon of whole milk or heavy cream to thin it out.
- 14
Fill a piping bag with the cream cheese filling. Alternatively, use a small spatula to spread the cream cheese filling on the cookies.
- 15
Flip a cooled cookie over so that the flat side is facing up, and pipe the cream cheese frosting onto it in a thin layer out to the cookie’s edge. Top the cream cheese filling with another cookie and gently press them together to create a sandwich. Repeat this process with the remaining cookies and cream cheese frosting.
- 16
Serve the whoopie pies immediately or store them in an airtight container in the refrigerator for up to 3 days.
Become a better baker with the MasterClass Annual Membership. Gain access to exclusive video lessons taught by the world’s best, including Joanne Chang, Dominique Ansel, Gordon Ramsay, Chef Thomas Keller, Mashama Bailey, and more.
